Sign In
Upload
Download
Table of Contents
Contents
Add to my manuals
Delete from my manuals
Share
URL of this page:
HTML Link:
Bookmark this page
Add
Manual will be automatically added to "My Manuals"
Print this page
×
Bookmark added
×
Added to my manuals
Manuals
Brands
iHome Manuals
Vacuum Cleaner
AUTO VAC ECLIPSE
Owner's manual
iHome AUTO VAC ECLIPSE Owner's Manual
Hide thumbs
1
Table Of Contents
2
3
4
5
6
7
8
9
10
11
12
13
14
15
16
17
page
of
17
Go
/
17
Contents
Table of Contents
Bookmarks
Table of Contents
Table of Contents
Questions? Contact Customer Service
In the Box
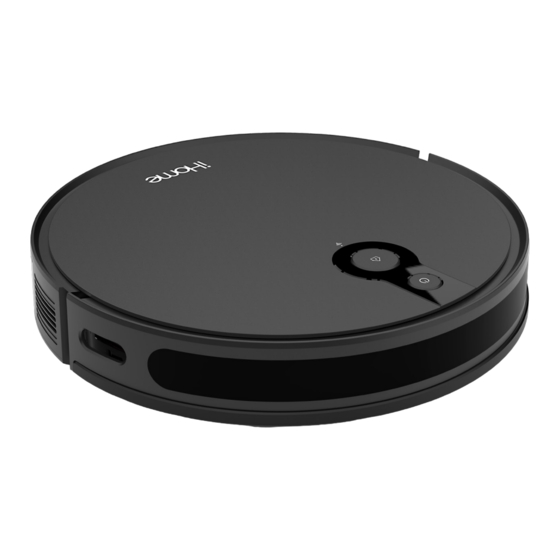
Product Overview
Dustbin Overview
AUTOVAC Indicators
Setting up the Charging Dock
Setting up the AUTOVAC
Using the Ihome Clean App
Using Your AUTOVAC
Using the Remote
Main Brush Maintenance
Maintaining the Dustbin and Filters
Side Brush and Sensor Maintenance
AUTOVAC Eclipse Troubleshoot
Advertisement
Quick Links
1
Product Overview
2
Autovac Indicators
3
Setting up the Autovac
4
Using the Ihome Clean App
5
Using the Remote
6
Autovac Eclipse Troubleshoot
Download this manual
A U T O V A C
E C L I P S E
For support content and the latest digital
copy of this manual, scan the QR code
above or visit iHomeclean.com
Owner's Guide
Model iHRV10Y
Table of
Contents
Previous
Page
Next
Page
1
2
3
4
5
Advertisement
Table of Contents
Need help?
Do you have a question about the AUTO VAC ECLIPSE and is the answer not in the manual?
Ask a question
Questions and answers
Related Manuals for iHome AUTO VAC ECLIPSE
Vacuum Cleaner iHome AUTOVAC Eclipse Series Quick Start Manual
(2 pages)
Vacuum Cleaner iHome AUTOVAC NOVA Connection Instructions
(11 pages)
Vacuum Cleaner iHome AUTOVAC ORBITA PRO Owner's Manual
(25 pages)
Vacuum Cleaner iHome AUTOVAC LUNA Owner's Manual
(20 pages)
Vacuum Cleaner iHome AutoVac Luna Pro Owner's Manual
(25 pages)
Vacuum Cleaner iHome AUTO VAC ECLIPSE PRO Owner's Manual
(22 pages)
Vacuum Cleaner iHome NOVA S1 Owner's Manual
(20 pages)
Vacuum Cleaner iHome AUTO VAC ECLIPSE PRO iHRV11 Owner's Manual
(25 pages)
Vacuum Cleaner iHome AUTO VAC NOVA PRO iHRV14 Owner's Manual
(25 pages)
Vacuum Cleaner iHome AUTO VAC JUNO iHRV9 Owner's Manual
(17 pages)
Vacuum Cleaner iHome VAC SV1 Owner's Manual
Cordless multi-use rechargeable vacuum (13 pages)
Vacuum Cleaner iHome Nova iHRV6 Owner's Manual
(24 pages)
Vacuum Cleaner iHome AutoVac Eclipse iHRV2 Owner's Manual
(18 pages)
Vacuum Cleaner iHome AUTOVAC ECLIPSE iHRV10 Owner's Manual
(20 pages)
Vacuum Cleaner iHome iHRV4 Owner's Manual
(17 pages)
Vacuum Cleaner iHome STICK VAC SV6 Owner's Manual
(12 pages)
This manual is also suitable for:
Ihrv10y
Table of Contents
Save PDF
Print
Rename the bookmark
Delete bookmark?
Delete from my manuals?
Login
Sign In
OR
Sign in with Facebook
Sign in with Google
Upload manual
Upload from disk
Upload from URL


Need help?
Do you have a question about the AUTO VAC ECLIPSE and is the answer not in the manual?
Questions and answers