Summary of Contents for iHome VAC SV1
- Page 1 For support content and the latest digital copy of this manual, scan the QR code above or visit ihomeclean.com Owner’s Guide Model iHSV1...
- Page 3 S A F E T Y For household use only. READ ALL INSTRUCTIONS BEFORE USING THIS APPLIANCE. Failure to follow the warnings and instructions may result in electric shock, fire and/or serious injury. WARNING – To reduce the risk of fire, electric shock, or injury: 1: For INDOOR use ONLY.
-
Page 4: Product Overview
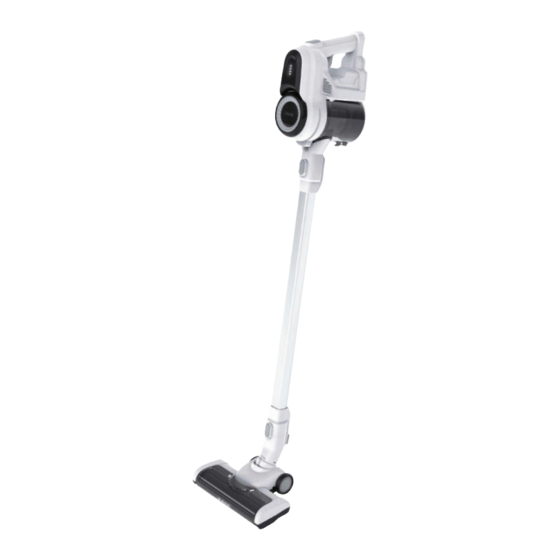
P R O D U C T O V E R V I E W 1: Rechargeable battery 10: Metal tube 2: LED indicators 11: Floor brush release 3: HEPA filter assembly 12: Full-size power brush 4: On/off button 13: Crevice tool 5: Speed control button 14: Nozzle (for crevice tool) 6: Dust canister release... -
Page 5: Vacuum Assembly
G E T T I N G S T A R T E D Vacuum assembly A: Tube Installation: Insert tube until you hear a click. B: Brush Installation: Insert brush until you hear a click. C: Battery Installation: Slide battery up into place until you hear a click. Check the underside to ensure that the latch is fully in place. -
Page 6: Installing The Wall Mount (Optional)
G E T T I N G S T A R T E D Installing the wall mount (optional) 1: Assemble the 2 parts of the wall mount as shown. 2: Determine the best wall location for mounting the dock. Be sure an outlet is nearby to connect the power cable. -
Page 7: U S I N G Y O U R V A C U U M
U S I N G Y O U R V A C U U M Operation Note: Designed for indoor use. Do not vacuum liquids. • Press the power button to turn vacuum on, press again to turn off. • Press the speed control button to toggle between Normal and Max mode. M A I N T E N A N C E Emptying the dustbin Note: Empty your dustbin and clean filters regularly to ensure optimal performance and longevity of... - Page 8 M A I N T E N A N C E Cleaning the filter system Dust canister release button Sponge filter Screen filter 1: While pressing dust canister release button, rotate the canister and 2: Remove and pull down to Identify the sponge release.
- Page 9 M A I N T E N A N C E Cleaning the floor brush 1: Remove the brush from the tube by pressing the release button and pulling apart. 2: Remove the clear cover by pulling back on the rounded portion. 3: Remove the brushroll by pushing upwards from the bottom left.
-
Page 10: Troubleshooting
T R O U B L E S H O O T I N G PROBLEM CAUSE SOLUTION Vacuum does not power on Battery is depleted. Charge the battery. Battery no longer holds a charge. Visit www.ihomeclean.com to purchase a new battery. Battery is still connected to the adapter or Disconnect the battery from the adapter or remove vacuum is on the charging mount (standby... -
Page 11: Warranty
W A R R A N T Y The One (1) Year Limited Warranty applies to purchases made from authorized retailers of Silver Point Innovations LLC. Warranty coverage applies to the original owner and to the original product only and is not transferable. We recommend registering your product online at www.ihomeclean.com SilverPoint warrants this product to be free from defects in workmanship and materials, under normal household use and conditions, one (1) year from the date of original purchase and maintained according to the requirements outlined in this User Manual.


Need help?
Do you have a question about the VAC SV1 and is the answer not in the manual?
Questions and answers
how i make funtion manually
To manually operate the iHome VAC SV1, remove it from charging. Ensure the battery is charged by checking the LED indicators. Once removed from the charging dock, the vacuum is ready for use.
This answer is automatically generated