Advertisement
Quick Links
d mi
o u t d o o r l i v i n g
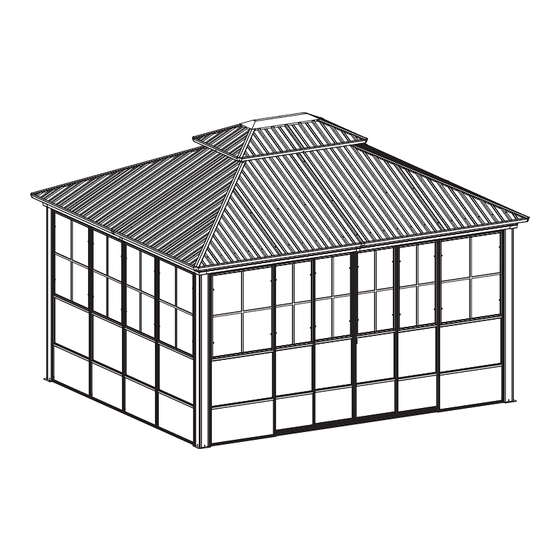
12' x 14' Sunroom with
Double Roof
ASSEMBLY MANUAL
MODEL#: LGMF8602A
Missing part? Damaged? Contact us via email at
service@domioutdoorliving.com
www.domioutdoorliving.com
©
Copyright 2022-2024 Domi Outdoor Living LLC. All Rights Reserved.
Advertisement

Related Manuals for domi LGMF8602A


Summary of Contents for domi LGMF8602A
- Page 1 12' x 14' Sunroom with Double Roof ASSEMBLY MANUAL MODEL#: LGMF8602A Missing part? Damaged? Contact us via email at service@domioutdoorliving.com www.domioutdoorliving.com © Copyright 2022-2024 Domi Outdoor Living LLC. All Rights Reserved.
- Page 2 service@domioutdoorliving.com...
- Page 8 Pole Assembly Beam Assembly...
- Page 10 (1) Put the corner cover #M on the corner and secure with 4 bolts #4. (2) Put the joint cover #M1 on the middle of the beam and secure with 4 bolts #4.
- Page 11 Be aware of the direction of part #E, #E1, E2 and #E3 when installing.
- Page 12 slid (1) Slid 2 part #10 into part #J, slid 2 part #10 into part #J1 (part #10 is used as the nuts to install the screen panel to the track); (2) Use 2 bolts #1 to connect part #J with part #J1; (3) Repeat the above procedures to assemble the opposite side.
- Page 13 (1) Use 2 bolts #1 to connect part #K with part #K1; (2) Repeat the above procedures to assemble the opposite side. (3) Use 2 bolts #1 to assemble part #J and part #K1 to the pole. (4) Repeat the above procedures to assemble the other 3 corners.
- Page 14 You should pull up the 2 plugs on one side at the same time to remove the window from the screen panel.
- Page 18 Be aware of the position of part #S & #S1, S2 and #S3 when installing.
- Page 19 FIRST TO DO: (1) Glide the screen panel #S1 &S to the inner track. (2) Glide the screen panel #S &S3 to the outer track.
-
Page 25: Inside View
Inside view... - Page 27 Install #F4, #F5 as next page shows, don't fully tighten them until finished the installation of small roofs. lf you can' t install small roof panels, push the outside roof cover up and try to insert them again.
- Page 30 Spacer #Y1 should be inserted between roof panels and solidifying bar or beams, then secure with bolts and nuts.
- Page 31 Install the center pieces (U1, U2, U5, U6)first, then install other pieces.
- Page 33 Inside view...
- Page 37 Thanks for your purchase. At domi outdoor living, we believe in our products. That’s why we provide a 12-month warranty and friendly, casy-to-reach after-sales service. So if you have any questions about our product and assembly- ,please feel free to contact us.
Need help?
Do you have a question about the LGMF8602A and is the answer not in the manual?
Questions and answers