
Related Manuals for Lamona LAM2410


Summary of Contents for Lamona LAM2410
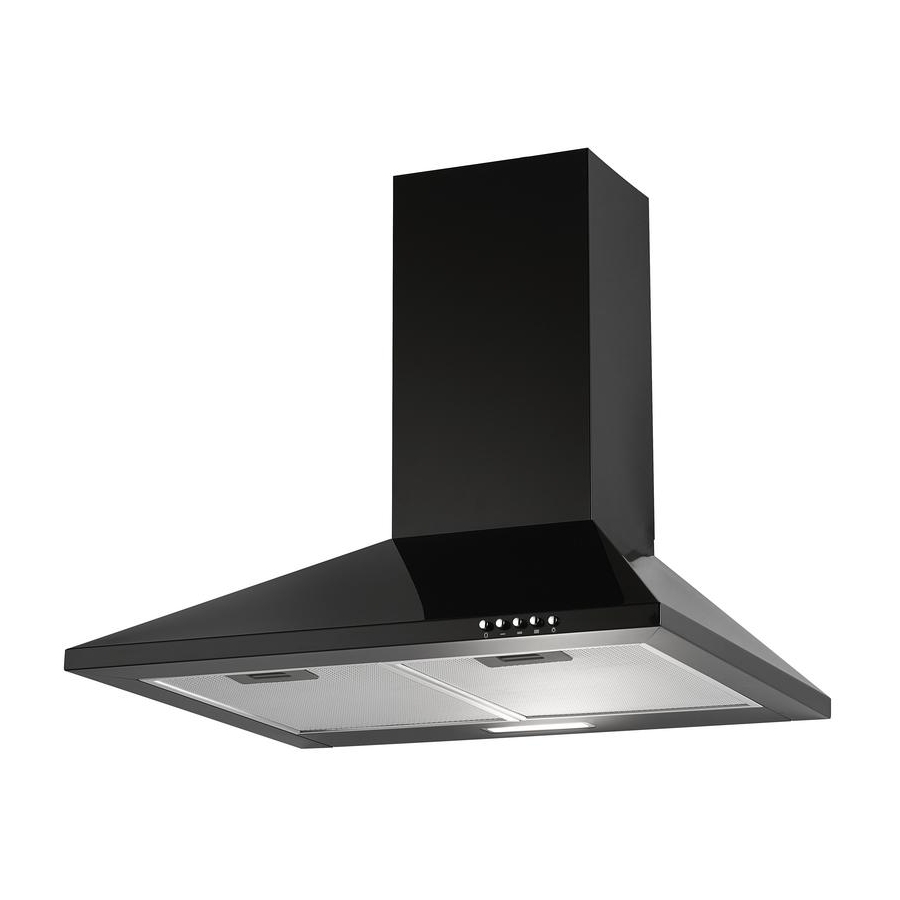
- Page 1 60cm/90cm LAM2410 LAM2411 Stainless Steel Chimney Cooker Hood LAM2412 Black Chimney Cooker Hood LAM2413 User Instructions and Installation ISSUE v3 110422 www.howdens.com/appliance-registration...
- Page 2 www.howdens.com...
-
Page 3: Table Of Contents
Welcome Dear Customer Congratulations on your choice of LAMONA Throughout this manual the domestic appliance. following symbols are used. • Please read these instructions before use to ensure safe and economical operation of Important the appliance. information or useful • Please keep these instructions in a safe hints and tips, place for your future reference. -
Page 4: Warning And Safety Information
Warning and Safety information Please read these instructions. The General safety manufacturer is not responsible if an incorrect installation and use causes injuries and/or This product is not intended to be used by damage. Always keep the instructions with the persons with physical, sensory or mental cooker hood for future reference. -
Page 5: Children And General Safety
Warning and Safety information Children and general safety Waste Electrical and Electronic Equipment (WEEE) Electrical products can be dangerous to children. Keep children away from the product when it is operating and do not allow them to symbol for waste electrical and play with or near the product. -
Page 6: Cooker Hood Overview
1. Cooker hood overview Recirculation vent Upper chimney section Lower chimney section Cooker hood body Controls Controls Light Control panel overview Power Off Speed 1 Speed 2 Speed 3 Lamp On/Off www.howdens.com... -
Page 7: Installation
2. Installation Methods of extraction The very best method of clearing the kitchen of unwanted odours is by connecting the appliance to an exhaust duct and venting to the outside atmosphere via the ceiling or an Extraction via exhaust ducting Extraction via recirculation (vented outside) (vented internally) - Page 8 On opening the packaging, remove and identify each component part. Carefully place each part on a clean, scratch free surface. Do not component parts. Main hood body Upper chimney Lower chimney Chimney brackets Cable grid 4x 30mm Round head screw 4x 40mm Countersunk screw 6x 8mm Round head screw 8x Rawl plug...
-
Page 9: Installing The Cooker Hood
Installing the cooker hood This instruction must be strictly adhered to. Failure to comply could result in overheating and serious damage to your appliance. It is recommended that the installation is carried out by two people. Before drilling or chiselling the wall or ceiling, check for pipes and power cables. - Page 10 Installing the cooker hood Position cooker hood centrally above the Minimum distance cooking area, mark and secure using the above hob. 4 holes for hanging the hood. to trim / cornice / overhang 65mm Minimum distance 750mm - from gas hob pan stand 650mm - from electric hob surface 4x 30mm Round head screw 4x Rawl plug...
- Page 11 Installing the cooker hood Position chimney, mark the 4 holes for hanging the chimney. Position the top chimney bracket 10mm below ceiling height. Remove chimney - Secure lower chimney and drill and plug the wall. upper bracket to the wall. 10mm 4x Rawl plug 4x 40mm Countersunk screw...
-
Page 12: Electrical Connection
Electrical connections IMPORTANT: Ensure that the electricity IMPORTANT: The wires in the mains lead are supply is switched off before connecting. coloured in accordance with the following code:- Blue.....Neutral Brown....Live and securely held in place or a cable grid is Green/ Yellow..Earth back into the motor cavity. -
Page 13: Operating The Cooker Hood
3. Operating the cooker hood Control panel Speed 2 Power Off Speed 1 Speed 3 Lamp On/Off Power; Press power button to switch the hood Off. Speed 1; Press button and the fan runs at low speed. Speed 2; Press button and the fan runs at medium speed. Speed 3;... -
Page 14: Care And Maintenance
4. Care and Maintenance Before cleaning or attempting any type The manufacturer declines all liability in cases of maintenance, always make sure that the where the instructions for the appropriate electricity supply is disconnected. installation, maintenance and use of the cooker hood are not observed. - Page 15 power to the cooker hood is switched off. changing them when there is a noticeable drop in performance. The intervals between the amount of cooking done, but on average will last about 3 months. from your local Howdens depot or online. (Illustrations show 2 generic applications, other installations are similar.) •...
-
Page 16: Replacing Lamps
Replacing lamps The lamps on this model are and replacement should be carried out by an used during operation of the cooker hood. authorised service agent. They should not be left on permanently and used as a main lighting source. The cooker hood is for domestic use only. - Page 17 TECHNICAL INFORMATION General Total power consumption 67 W Fuse 3 Amp Voltage / Frequency 220-240 V 50 Hz Cable type / section 3 core 0.75mm Cable length 1.5 Metres Lamps 1 x 2W LED warm white 3000 K TECHNICAL INFORMATION General Total power consumption Fuse...
-
Page 18: Guarantee
• Your full contact details. Call the Depot number on your Proof of Purchase Document supplied with the product/kitchen. Call the LAMONA Service Line on: Within UK 0344 460 0006 Within Republic of Ireland 01525 5703 * Product installed within a domestic kitchen or a non-domestic kitchen where 8 or fewer people are using the appliance. - Page 19 Exclusive to Howdens...
- Page 20 Product serial number REPRISE À DÉPOSER À DÉPOSER À LA LIVRAISON EN MAGASIN EN DÉCHÈTERIE Cet appareil se recycle Points de collecte sur www.quefairedemesdechets.fr Privilégiez la répara�on ou le don de votre appareil! Howden Joinery Ltd. Thorpe Road, Howden, East Yorkshire. DN14 7PA Imported in EU by: Howdens Cuisines SAS.
Need help?
Do you have a question about the LAM2410 and is the answer not in the manual?
Questions and answers