
Related Manuals for Impecca ITAC08-LSA23


Summary of Contents for Impecca ITAC08-LSA23
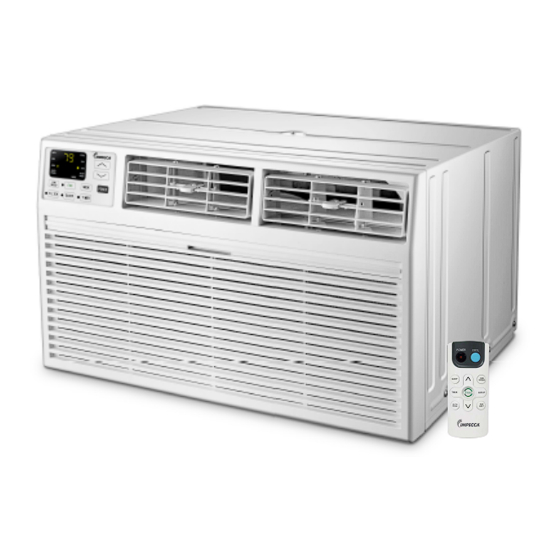
- Page 1 Through-The-Wall Air Conditioner User Manual Models: ITAC08-LSA23 ITAC10-LSA23, ITAC10-LSB24 ITAC12-LSA23, ITAC12-LSB24 ITAC14-LRB24 www.impecca.com v. 0.7...
- Page 2 INTRODUCTION IMPORTANT SAFETY INSTRUCTION ................ELECTRICAL REQUIREMENTS ................... INTRODUCTION TO REFRIGERANTS R32 ..............PACKING LIST ......................INSTALLATION & ASSEMBLY INSTRUCTIONS .............. USING YOUR AIR CONDITIONER ................OPERATING YOUR AIR CONDITIONER ................ CARE AND CLEANING ....................TROUBLESHOOTING ....................
- Page 4 8K/10K/12K-115V 8K/10K/12K/14K 10K/12K/14K-230V Cooling Cooling & Heating Cooling...
- Page 5 INTRODUCTION TO REFRIGERANTS R32 The refrigerants used for air conditioners are environmentally friendly hydrocarbons R32. This kind of erant is combustible and odorless. Moreover, it can burn and explode under certain condition. However, there will be no risk of burning and explosion if you comply with the following table to install your air conditioner in a room with an appropriate area and use it correctly.
-
Page 6: Site Safety
1. Site Safety Open Flames Prohibited Open Flames Prohibited Ventilation Necessary Don't use mobile phone Mind Static Electricity Must Wear Protective Clothing and anti-static gloves 3. Installation Safety Refrigerant Leak Detector Appropriate Installation Location The left picture is the schematic diagram of a refrigerant leak detector Please note: The installation site should be in a well-ventilated condition. - Page 7 IMAGE PAPT QUANTITY Through-The-Wall Air Conditioner Remote Controll Trim Frame 1 (Left&Right legs) Trim Frame 2 (Top&Bottom legs) Grille Aluminum Rear plastic net 1/2" Long Hex-head Screw Grouding wire with tooth washer Battery Dimension PAPT QUANTITY Seal sponge 1’’x3/4’’x14’’ Seal sponge 1’’x3/8’’x14’’...
- Page 8 Condition1: Install the back grille to the Wall-sleeve (Prior Suggestion) 1, Identify the wall-sleeve brand for your preparing, from the below chart. Wall-sleeve Dimensions Type Depth Height Width Standard Dimension 4’’ ’’ ’’ ’’ NOTE a, All wall sleeves used to mount the new air conditioner must be in sound structural condition and have a rear grille that securely attached to the sleeve, or rear flange that serves as a stop for the air conditioner.
- Page 9 6, Install the grounding wire. 4, Install the Seal. a, Install screw end of ground wire into inside of sleeve according to preparation instruction. (1) Stick 1’’x4/5’’x13 4/5’’ sponges to the condenser side b, Remove the second screw from left side of unit, and plate, for both left and right at the back side of TTW unit.
- Page 10 c, Be sure that, from the back side of the TTW, the seven Trim Kit Installation Instructions inlet opening should be at left, and the eight inlet opening 1. Install the 1''x1 1/2'' x84'' long stuffer seal between the should be at right. wall sleeve and the unit.
- Page 11 Cool Mode: The cooling function allows the air conditioner to cool the room and at the same time reduces air humidity . Press the MODE button to activate the cooling function. To optimi z e the function of the air conditioner, adjust the For Cooling model temperature and the speed by pressing the button indicated.
- Page 12 6. ECO Button: When the unit is in ECO mode, the To direct the airflow, use the Directional Louvers: light will turn on. In ECO mode, the unit will turn-off horizontal wheel to control the horizontal direction once the room is cooled to the user set temperature. and the air deflector to control the vertical The unit will turn back on when the room temperat- direction.
- Page 13 5. Timer: Use these buttons on the control panel and remote to set the Timer. Timer Off: The timed stop is programmed by pressing TIMER button. Set the rest time by pressing the button until the rest time displayed is to your demand then press TIMER button again.
- Page 14 FIG.21 FIG.21...
- Page 16 The air conditioner is under demand It is the demand response Display dr and unit without control response, only turn ON/OFF can be condition, you can wait for the actived, and the set temperature may Delay time or override it by long raise, and the compressor may stop.
- Page 17 If you wish to contact us by phone, please be sure to have your model number and serial number ready and call us between 9:00am and 5:00pm ET, at +1 866-954-4440. Keep tabs on Impecca’s newest innovations & enter contests via our social network feeds: ...
-
Page 18: One-Year Limited Appliance Warranty (Us)
U.S.A. performed by unauthorized persons; use of non-genu- ine Impecca parts, etc. To obtain warranty service by an authorized Impecca™ ser- vice center, please email us at: service@impecca.com to ob- ALL IMPLIED WARRANTIES, INCLUDING IMPLIED WARRAN-...
Need help?
Do you have a question about the ITAC08-LSA23 and is the answer not in the manual?
Questions and answers