
Subscribe to Our Youtube Channel
Related Manuals for Impecca IPAC08-DR


Summary of Contents for Impecca IPAC08-DR
- Page 1 Portable Air Conditioner - User Manual Models: IPAC06-DR (Black, 6000 BTU) IPAC08-DR (White, 8000 BTU) www.impecca.com v. 0.7...
- Page 2 Spanish and French versions of this manual are available for download from www.impecca.com NOTE: All drawings in this manual are for illustrative purposes only. The actual shape and functions of your unit and remote controller may vary slightly.
- Page 3 TABLE OF CONTENTS Introduction ..........................6 Operating Conditions ......................6 Getting To Know Your Air Conditioner .................. 7 What’s In the Box ........................8 Installation Accessory Kit Items ..................... 8 Installation Instructions ......................9 Water Drainage ........................10 Window Slider Kit Installation ..................... 10 Operating Instructions ......................
- Page 4 READ THESE NOTICES CAREFULLY—THEY ARE IMPORTANT! WARNING Do not start or stop the unit by inserting or Do not damage power cord or replace Plug in power plug completely. pulling out the power plug. with a non-original power cord. •...
- Page 5 CAUTION Stop operation and remove window filler Hold the plug by the head of the power Unplug the power cord when not using panels from window during severe storm or plug when unplugging unit. the unit for extended periods of time. hurricane.
-
Page 6: Introduction
INTRODUCTION Thank you for purchasing this quality Impecca portable air conditioner unit. To ensure the longest life and high- est energy efficiency of your unit, please carefully follow these operating instructions. Keep these instructions in a safe place and consult them as needed. Please note that constant enhancement and improvements to our air conditioning units may mean that your model will slightly differ in appearance from the model pictured in this manual, but the actual operation and installation of the unit remains unchanged. -
Page 7: Getting To Know Your Air Conditioner
• This air conditioner is equipped with casters that roll on smooth, flat surfaces. • Do not tilt or turn over the air conditioner. If there’s problem, please disconnect the power supply immedi- ately and contact your local dealer or technical support. •... -
Page 8: What's In The Box
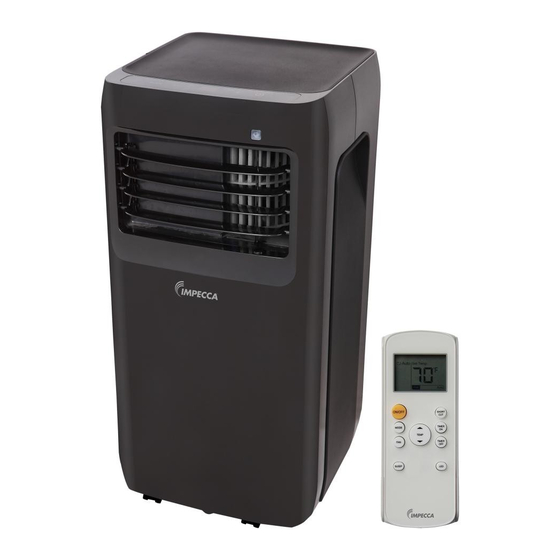
WHAT’S IN THE BOX Please verify your box for the following items. Note that some models may not include all items. 1. Air Conditioning Unit 2. Remote controller (may differ from photo) 3. User’s Guide 4. Installation kit (see details below) INSTALLATION ACCESSORY KIT ITEMS Illustrations may vary slightly from actual appearance of product. -
Page 9: Installation Instructions
INSTALLATION INSTRUCTIONS Carefully review all of these instructions BEFORE proceeding to install and operate your air conditioner unit. Fail- ure to do so may cause damage, injury, or bodily harm including permanent disability and/or death. LOCATION • The air conditioner should be placed on a firm, level surface to minimize noise and vibration. -
Page 10: Water Drainage
WATER DRAINAGE Certain functions of your air conditioning unit create condensation and the unit may need to evacuate accumulated water. Please carefully follow these instructions according to your operating and usage conditions. COOLING MODE During cooling mode, the unit attempts to evacuate all of the moisture through the exhaust hose to the outside along with the warm air exhaust. - Page 11 INSTALLATION IN A DOUBLE-HUNG SASH WINDOW: 1. Cut one adhesive foam seal to the proper length and attach it to the window stool. (Figure J) 2. Attach the window filler panel kit to the window stool. Adjust the length of the window slider kit according to the width of window, shorten the adjustable window kit if the width of window is less than 26 ½...
-
Page 12: Operating Instructions
OPERATING INSTRUCTIONS CONTROL PANEL AND REMOTE CONTROLLER OVERVIEW The following diagram and legend shows the functions of both the unit’s control panel and the remote controller. Some functions are only available on select models. ON/OFF SHORT TIMER MODE 1) ON/OFF BUTTON TEMP TIMER Machine will start and stop when this button is pressed. - Page 13 perature in another location of the room and sends information to the unit every 3 minutes. 9) LED DISPLAY BUTTON** Turns the temperature display on the unit on and off. 10) TIMER OFF BUTTON Press this button to activate Auto-Off. This feature turns off the unit at a programmed time within the next 24 hours.
-
Page 14: Control Panel And Remote Controller Displays
CONTROL PANEL AND REMOTE CONTROLLER DISPLAYS UNIT DISPLAY 1. Current operating mode COOL, FAN, DRY. When operating in AUTO mode, none of the three indicators will be lit. 2. Power indicator light. 3. Timer indicator light - showing that a timer program was set from the remote controller. -
Page 15: Functions In Detail
FUNCTIONS IN DETAIL DEHUMIDIFIER MODE OPERATION: Ensure the unit is plugged in and power is available. Instructions are for both the remote controller and the 1. Press the MODE button to select DRY mode. unit control panel itself. When using the remote con- 2. - Page 16 2. Push the TIMER OFF button again to set desired and the unit will continue to operate as originally Auto-off time. Each time you press the button, the programmed. • NOTE: This feature is unavailable under FAN or time increases in 30 minutes increments, up to 10 DRY modes.
-
Page 17: Additional Unit Features
ADDITIONAL UNIT FEATURES Auto Restart • If the unit shuts off unexpectedly due to a power outage, it will restart with the previous function setting automatically when the power resumes. • If you need full timer functionally you can hook up a properly-rated heavy duty timer to the unit to control on and off cycles. -
Page 18: Basic Unit Error Codes
CAUTION ADDITIONAL REMOTE CONTROLLER INFORMATION • Do not mix old and new batteries or batteries of a different type (e.g. alkaline and zinc). • Do not leave the batteries in the remote controller if it is not going to be used for 2–3 months. •... -
Page 19: Care & Maintenance
CARE & MAINTENANCE IMPORTANT 1) Be sure to unplug the unit before cleaning or servicing. 2) Do not use gasoline, thinner or other chemicals to clean the unit. 3) Do not wash the unit directly under a tap or using a hose. It may cause electrical danger. -
Page 20: Troubleshooting Tips
TROUBLESHOOTING TIPS Problem Possible Causes Remedies Drain the water in the bottom tray appears in the display window Unit does not start when pressing on/off button Room temperature is lower than the set Reset the temperature temperature (cool mode) The windows or doors in the room are not Make sure all the windows and doors are closed closed... -
Page 21: Costumer Support
If you wish to contact us by phone, please be sure to have your model number and serial number ready and call us between 9:00am and 5:00pm ET, at +1 866-954-4440. Keep tabs on Impecca’s newest innovations & enter contests via our social network feeds: ... -
Page 22: One-Year Limited Appliance Warranty (Us)
U.S.A. performed by unauthorized persons; use of non-genu- ine Impecca parts, etc. To obtain warranty service by an authorized Impecca™ ser- vice center, please email us at: service@impecca.com to ob- ALL IMPLIED WARRANTIES, INCLUDING IMPLIED WARRAN-... - Page 23 NINGUNA OTRA GARANTÍA, ORAL O ESCRITA, EN FORMA EXPRESA A/C. Impecca™ se reserva el derecho de reparar o reemplazar un O IMPLÍCITA. producto defectuoso con un modelo igual, equivalente o nuevo modelo.
- Page 24 L’usure normale de l’appareil n’est pas couverte par cette garan- l’autorisation d’Impecca™. tie. Impecca™ se réserve le droit de déterminer le niveau d’usure sur l’ensemble de ses appareils. Ouvrir le boîtier ou modifier Certains états ne permettent pas l’exclusion ou la limitation l’appareil annule dans son entièreté...
Need help?
Do you have a question about the IPAC08-DR and is the answer not in the manual?
Questions and answers