Table of Contents
Advertisement
Quick Links
Quick Start
NFX250
IN THIS GUIDE
Step 1: Begin | 1
Step 1: Begin
IN THIS SECTION
Meet the NFX250 | 2
What Else Do I Need? | 3
Power On | 4
In this guide, we provide a simple, three-step path, to quickly get you up and running with your new NFX250. We've
simplified and shortened the installation and configuration steps, and included how-to videos. You'll learn how to install
the NFX250 in a rack, power it up, and deploy it on your network using the CLI.
Advertisement
Table of Contents

Summary of Contents for Juniper NFX250
-
Page 1: Table Of Contents
Power On | 4 In this guide, we provide a simple, three-step path, to quickly get you up and running with your new NFX250. We’ve simplified and shortened the installation and configuration steps, and included how-to videos. You'll learn how to install... -
Page 2: Meet The Nfx250
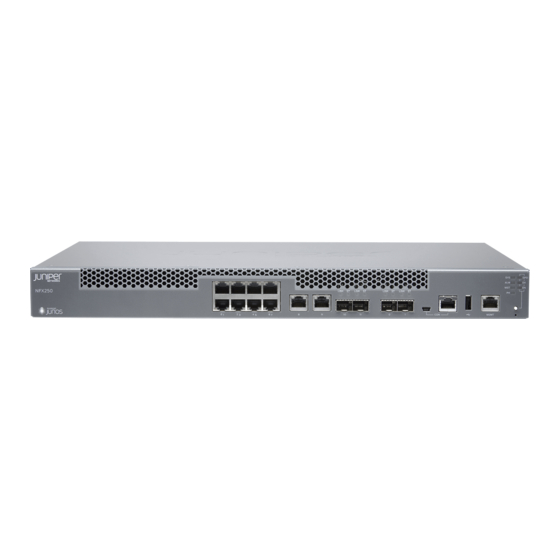
You can install the NFX250 on your desktop, on a wall, or in a two-post or four-post rack. The accessory kit that ships in the box has the brackets you need to install the NFX250 in a two-post rack. In this guide, we show you how to install the NFX250 in a two-post rack. -
Page 3: What Else Do I Need
2. Attach the ESD grounding strap to your bare wrist and to a site ESD point. 3. Secure the mounting brackets to the sides of the NFX250 using eight screws and the screwdriver. You’ll notice there are three locations on the side panel where you can attach the mounting brackets: front, center, and rear. Attach the... -
Page 4: Power On
4. Lift the NFX250 and position it in the rack. Line up the bottom hole in each mounting bracket with a hole in each rack rail, making sure the NFX250 is level. 5. While you’re holding the NFX250 in place, have a second person insert and tighten the rack mount screws to secure the mounting brackets to the rack rails. -
Page 5: Step 2: Up And Running
Connect and Configure You’ll need to do the initial configuration of the NFX250 through the console port using the CLI. Before you begin connecting and configuring the NFX250, make sure the serial port on your laptop or PC are set to the defaults: Baud Rate—9600... - Page 6 1. Connect the console port (labeled CON on the NFX250 front panel) to a laptop using the RJ-45 cable and RJ-45 to DB-9 adapter (not provided). The Juniper Device Manager (JDM) CLI is displayed. 2. Log in as root. There is no password. If the software booted before you connected the cable to the console port, you might need to press the Enter key for the prompt to appear.
-
Page 7: Step 3: Keep Going
10. Connect the NFX250 to the Internet (WAN ports 0/12 and 0/13). The ISP assigns an IP address to the NFX250 through Dynamic Host Configuration Protocol (DHCP). 11. Connect your laptop to a LAN port (ports 0/0 to 0/11). - Page 8 Manage software upgrades Software Upgrade Path for NFX250 Devices General Information If you want to Then See all documentation available for the NFX250 Visit the NFX250 Documentation page in the Juniper TechLibrary Find more in-depth information about installing the...
- Page 9 Juniper Portal Juniper Networks, the Juniper Networks logo, Juniper, and Junos are registered trademarks of Juniper Networks, Inc. in the United States and other countries. All other trademarks, service marks, registered marks, or registered service marks are the property of their respective owners. Juniper Networks assumes no responsibility for any inaccuracies in this document. Juniper Networks reserves the right to change, modify, transfer, or otherwise revise this publication without notice.


Need help?
Do you have a question about the NFX250 and is the answer not in the manual?
Questions and answers