Table of Contents
Advertisement
Quick Links
Quick Start Guide
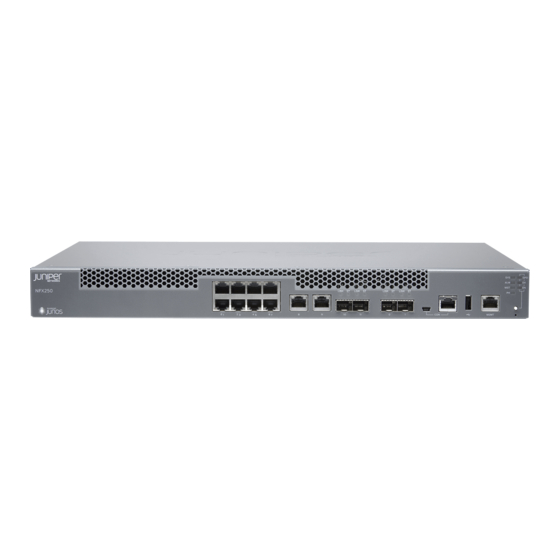
NFX250
IN THIS GUIDE
Step 1: Begin | 1
Step 1: Begin
IN THIS SECTION
Mount The Nfx250 | 2
To mount and connect power to the Juniper Networks
configuration, you need:
Electrostatic discharge (ESD) grounding strap (not provided)
One pair of front-mounting rails (provided)
Twelve screws to secure the mounting rails and mounting blades to the chassis (provided)
Eight screws to secure the chassis and mounting-blades to the rack (not provided)
Screwdriver appropriate for your rack mounting screws (not provided)
An AC power cord with plugs appropriate for your geographical location (not provided)
RJ-45 cable and RJ-45 to DB-9 serial port adapter (provided)
®
NFX250 Network Services Platform, and perform initial
Advertisement
Table of Contents

Related Manuals for Juniper NFX250


Summary of Contents for Juniper NFX250
- Page 1 IN THIS SECTION Mount the NFX250 | 2 Connect Power to the NFX250 | 3 ® To mount and connect power to the Juniper Networks NFX250 Network Services Platform, and perform initial configuration, you need: Electrostatic discharge (ESD) grounding strap (not provided)
- Page 2 Mount the NFX250 You can mount an NFX250 device on two posts of a 19-in. rack by using the mounting brackets provided with the device. The device weighs approximately 9.4 lb (4.3 kg). Two persons are required for mounting the device.
- Page 3 AC power outlet by using the power cord. The NFX250 device uses a fixed, internal AC power supply. 2. Set the power switch to the OFF (O) position.
- Page 4 1. Connect the console port to a laptop or PC using the provided RJ-45 cable and RJ-45 to DB-9 serial port adapter. The console (CON) port is located on the management panel of the device. The Juniper Device Manager (JDM) CLI prompt appears.
- Page 5 0 family inet address address/prefix-length NOTE: The management port, eth0, is located on the front panel of the NFX250 device. 9. Enable Telnet service. By default, Telnet is not enabled and SSH is enabled: [edit] root@jdm# set system services telnet 10.
- Page 6 Before connecting the device to a power source, read the installation instructions in the NFX250 documentation. The NFX250 device weighs approximately 9.4 lb (4.3 kg). Manually installing the device in a rack at a height above 60 in. (152.4 cm) requires two persons; one to lift the device and the second to install the mounting screws. To prevent injury while lifting, keep your back straight and lift with your legs, not your back.
- Page 7 For technical support, see: http://www.juniper.net/support/requesting-support.html Juniper Networks, the Juniper Networks logo, Juniper, and Junos are registered trademarks of Juniper Networks, Inc. in the United States and other countries. All other trademarks, service marks, registered marks, or registered service marks are the property of their respective owners.
Need help?
Do you have a question about the NFX250 and is the answer not in the manual?
Questions and answers