Table of Contents
Advertisement
Quick Links
1
ge tt i n g s t a r te d
This Quick Start Guide has been design to aid in quickly getting started with using your new projector. If you require further help, or have further questions on the
detail in how to operate this unit, please refer to our web site in order to download full product documentation. You can also access FAQs, and download detailed
white papers in order to get to know the more specific product features and benefits.
Packaging contents:
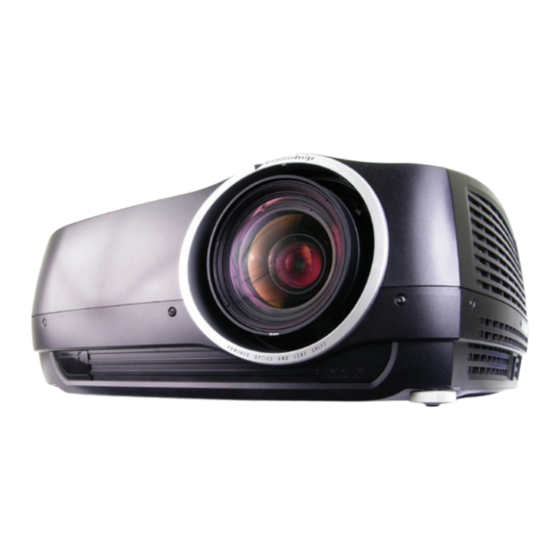
projector unit
2
m o u n t p r o j e c t i o n l e ns , g e t t o k n ow t h e c on n ec t or p an el
Carefully mount the projection lens. Remove protection end caps on lens and bayonet mount, then insert, and turn clockwise until it stops and a click sounds. The
connector panel at the back features a wide range of connectors for all sorts of source connections. Decide which one(s) that meet(s) your requirement(s).
3
c o n n e c t so urce s , co nn ect p owe r, p ow er on
Make sure the projector is switched off, and not connected to power when connecting to sources. Connect video and computer sources, then insert the power
cable. Power up sources, including computers and video playback devices. Power up the projector by pressing the power key (
will indicate it is in operation. CAUTION! Connecting sources to a powered projector may result in product failure. It is recommended that the power cable connector
(projector-end) or the mains power socket are accessible whilst the product is in use to enable mains power to be disconnected or switched off when connecting
source devices. This should be considered during product installation.
user documentation
power cable
remote control
). A steady, bright indicator light
P le as e v is it ou r w e b si t e t o d ow n l oad f u l l u s er m a nua l o r f i nd re l a te d i nf or m at i o n
4
a dj ust pr oj ec to r se t ti ngs
Adjust zoom to set correct image size, shift to position correctly, focus for clarity, and any other desired setting, such as tilt or keystone. Note that keystone is very
rarely needed when using lens shift for positioning. Adjust image level with the front feet, and tilt with the rear foot.
*
A
C
B
A: Zoom
B: Focus
C: Shift
Press to activate. Adjust with arrow keys.
5
a dj us t i ma ge a nd sys te m se t ti ngs
Change and adjust settings such as brightness and contrast, ceiling mount and rear projection display, as well as colour calibration, and other system settings by
using the remote control or through the menu system that is accessible from the on-board keypad.
6
powe r of f a nd al l ow to c oo l down
To power off, press the power (
) key once, and confirm by pressing again. Allow to cool down for a minimum of 30 seconds, and steady amber indicator lights
indicate the projector has been safely turned off. Disconnect any cables, sources and power cables before uninstalling the projector.
*
The cabinet colour may differ from the one shown in the pictures
* Pictures show backpanel of projector with UHP lamps.
LED illumination projectors have one indicator lamp (LED), instead of two (LAMP 1, LAMP 2).
** Main menu may vary depending on product configuration.
Quick Start Guide
E
D: Lens shift (operated from back)
E: Adjustable feet for levelling.
**
>30 s
When referring to the term F32 in this document, it means that the content
is applicable for the following Barco products:
F32 SXGA+
FL33 1080p
F32 1080p
FL33 WUXGA
F32 WUXGA
FS33 IR 1080p + Addendum
FS33 IR WUXGA + Addendum
F32
E
*
www.barco.com
Advertisement
Table of Contents

Related Manuals for Barco F32


Summary of Contents for Barco F32
- Page 1 LED illumination projectors have one indicator lamp (LED), instead of two (LAMP 1, LAMP 2). ** Main menu may vary depending on product configuration. When referring to the term F32 in this document, it means that the content is applicable for the following Barco products:...
- Page 2 english deutsch francais español italiano norsk SAFETY SICHERHEIT SÉCURITÉ SEGURIDAD SICUREZZA SIKKERHET This device complies with safety regulations for Information Technology Dieses Gerät erfüllt die relevanten Sicherheitsbestimmungen für Cet appareil est conforme aux normes de sécurité relatives à l’utilisation en Este aparato cumple las normas de seguridad correspondientes a equipos Il presente dispositivo è...
Need help?
Do you have a question about the F32 and is the answer not in the manual?
Questions and answers