Paradox GlassTrek DG457, 457 - Security Sensor Manual
- Reference and installation manual (2 pages) ,
- Instructions (2 pages)
- Also fits for
- Glasstrek 457
- Dg457
- 457
Advertisement
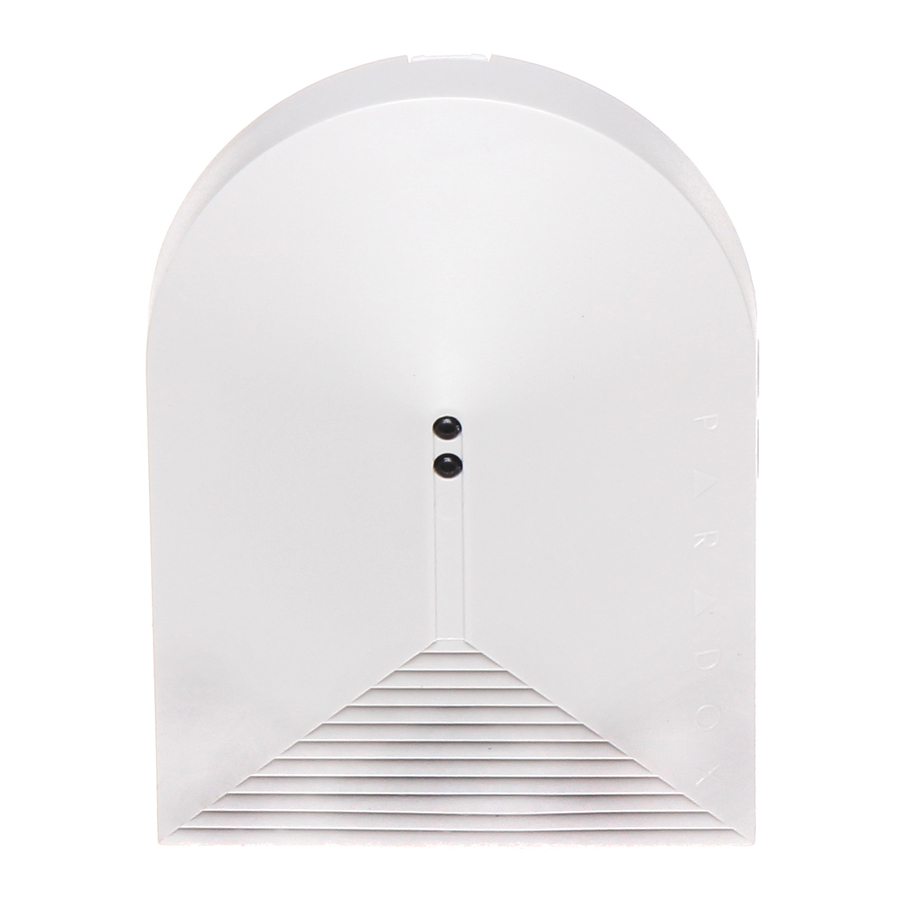
Overview
GlassTrek delivers effective coverage of plate, tempered, and laminated glass without the need for special sensitivity adjustments. GlassTrek can be used in most protected areas, including rooms with blinds, curtains, or multiple windows, as long as careful coverage tests are conducted using TestTrek. Breakage in panes of glass 40.6cm x 61cm (16in x 24in) or larger will be detected, for every standard thickness of plate (0.3cm x 0.6cm or 1/8in-1/4in).
| DG457 | Digiplex Mode or Stand-Alone Mode |
| 457 | Stand-Alone Mode only |
 The GlassTrek detector should not be connected to 24 hour protection zones. Installation is not recommended in protected areas that contain any of the following: windows with closed wooden interior shutters, windows with insulated, lined, or sound-muffling drapes, and rooms with ceilings higher than 4.5m (15ft). If ceiling-mounted, it should not be mounted in rooms smaller than 3m x 3m (10ft x 10ft) where loud noise is common or rooms where machinery noise is present.
Installation Location
Look for installation locations on the ceiling or walls adjacent or opposite to the protected glass and ensure that the installation will respect the detection angle as shown in figure 1. Make sure that the microphone side of the detector has a direct and unobstructed view of the protected glass and that the detector is positioned so that the protected glass lies within the optimal detection angle. Avoid proximity to noisy objects such as bells, fans, compressors and loud machinery.
Figure 1: Detection Angle

Installing GlassTrek (see figure 3)
Figure 3: Exploded View

- Remove the cover by pressing the opening pin (A) on the side of the detector.
- Remove the PCB and run the wires through one of the openings on the side (C) or back (D) of the case.
- Mount the detector in its location by drilling screws into the screw holes (B).
- Connect the PCB terminals (see figure 2).
Figure 2: Connections

- Replace the PCB and close the cover.
- Test the GlassTrek (see "Test Mode" under "Utilities").

Powering Up
After the initial power up sequence, the GlassTrek unit remains in test mode for approximately 1 minute.
Display Mode
Red LED:
- Intermittent flashing takes place upon recognition of high level attack signals. (Can be tested by clapping or knocking close to the detector.)
- 5-second illumination if a glass break is detected when alarm memory latch is "off" (J1 ON).
- Continuous illumination upon detection of a glass break when alarm memory latch is "on" (J1 OFF).
- 3-minute continuous flashing indicates unit is in "test" mode.
Green LED:
Will flash intermittently when spectrum analysis is in progress, indicating attack analysis has been successfully confirmed and part of the frequency spectrum is valid.
Detector Settings
| Step | Details | |
| 1 Operational Mode | Jumper | J3 ON = Combus mode; go to step 2 J3 OFF = Relay mode; go to step 3 (default) |
| 2† | Enter detector programming mode. Press and hold [0] + [ INSTALLER CODE ] + [4003] (EVO) + S.N. (located on PCB) | |
| 3 Sensitivity Setting | Regular sensitivity If the environment has damping materials such as drapes, carpets, furniture. Install at 1.2m to 9m (4ft to 30ft) from the protected glass. Low sensitivity If the environment produces echoes, as when the walls and ceilings are concrete or metal. Install at 1.2m to 4.5m (4ft to 15ft) from the protected glass. | |
| Section [001]†: | [1] OFF = Regular Sensitivity (default) [1] ON = Low Sensitivity | |
| Jumper | J2 OFF = Regular Sensitivity (default) J2 ON = Low Sensitivity | |
| 4 Alarm Memory | When an alarm occurs, the alarm relay remains latched for 5 seconds. The alarm memory feature can also latch the red LED upon detection. Alarm memory disabled: The red LED illuminates for 5 seconds. Alarm memory enabled: The red LED remains on (latched) until you set jumper J1 on and remove it again, or you disable Alarm Memory in section [001], or you disconnect and restore power to the detector. | |
| Section [001]†: | [3] OFF = Alarm memory disabled (default) [3] ON = Alarm memory enabled | |
| Jumper | J1 OFF = Alarm memory enabled J1 ON = Alarm memory disabled (default) | |
| 5 Tamper Recognition | Select tamper recognition settings | |
| Section [001]†: | [5] OFF = Tamper recognition disabled (default) [5] ON =Tamper recognition enabled | |
† = DG457 only
Utilities
| Test Mode | To test the GlassTrek detector you must enter test mode and use a TestTrek unit (459). |
Red + Green LED = Test OK Green LED only = Test Failed | |
| Voltage Meter† | Used for trouble-shooting, the voltage meter indicates the GlassTrek's input voltage. |
| Enter section [900]. The 3-digit number that appears on the screen represents input voltage x 10 (e.g. [133] = 13.3V). |
† = DG457 only
Technical Specifications
| Voltage | 9 - 16Vdc |
| Current | DG457 (35mA) 457(25mA) |
| Coverage | High: 9m (30ft) / Low: 4.5m (15ft) |
| Size | 9cm (3.5in) x 6.6cm (2.6in) x 2.5cm (1in) |
| Weight | 100g (4oz) |
| Alarm output | 150mA, 28VDC, Form A (N.C.) / via combus |
| Anti-tamper output | 150mA, 28VDC, Form A (N.C.) / via combus |
| Operating temp. | -20°C to 50°C (4°F to 122°F) |
| Processing |
|
| Microprocessor type | 12/8-bits |
| Compatibility | All Digiplex series (DGP/DGPNE) and all EVO series control panels. |
| Testing tool | TestTrek (DG459) |
| Certification (i.e. CE, UL) | For updated information, visit www.paradox.com |
Warranty
For complete warranty information on this product please refer to the Limited Warranty Statement found on the website www.paradox.com/terms. Your use of the Paradox product signifies your acceptance of all warranty terms and conditions.
© 2007 Paradox Security Systems Ltd. All rights reserved. Specifications may change without prior notice. One or more of the following US patents may apply: 7046142, 6215399, 6111256, 6104319, 5920259, 5886632, 5721542, 5287111, 5119069, 5077549 and RE39406 and other pending patents may apply. Canadian and international patents may also apply.
GlassTrek, Digiplex, Digiplex EVO, Magellan and Spectra SP are trademarks or registered trademarks of Paradox Security Systems Ltd. or its affiliates in Canada, the United States and/or other countries
Printed in Canada 7/2007 paradox.com 457-EI00

Documents / Resources
References
Download manual
Here you can download full pdf version of manual, it may contain additional safety instructions, warranty information, FCC rules, etc.
Download Paradox GlassTrek DG457, 457 - Security Sensor Manual
Advertisement


Need help?
Do you have a question about the GlassTrek DG457 and is the answer not in the manual?
Questions and answers