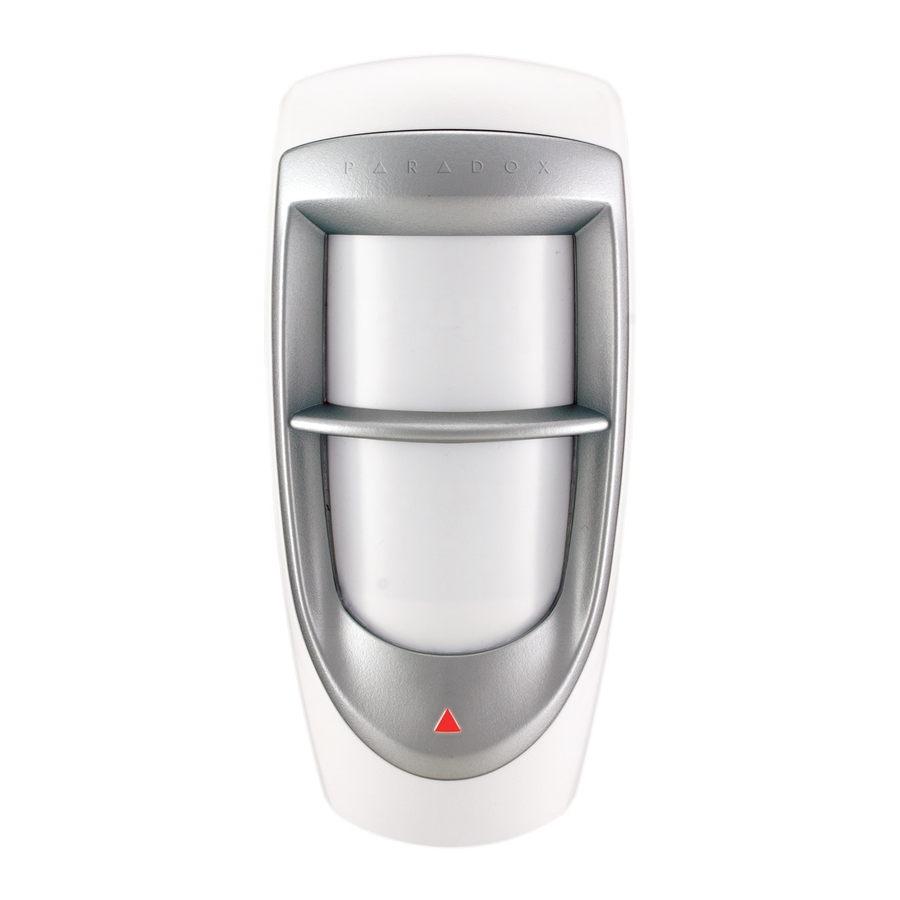
Paradox PMD85 - Outdoor Digital Dual-Optic High-Performance PIR Manual
- Installation manual (2 pages)
Advertisement
- 1 Description
- 2 Features
- 3 Installation
- 4 Turning on the PMD85
- 5 Startup Sequence
- 6 Replacing the Batteries
- 7 RF Signal Strength Test
- 8 Walk-testing
- 9 Alive Software
- 10 Detector Settings
- 11 Beam Patterns
- 12 Changing the PMD85 Lens
- 13 Technical Specifications (Detector)
- 14 Technical Specifications (Lenses)
- 15 Documents / Resources
Description

The PMD85 Outdoor Digital Dual-Optic High- Performance PIR overcomes the environmental challenges of the outdoors while giving you the same reliability as a highperformance indoor motion detector by combining a special weatherproof design with the proven technology of Paradox's patented digital detection.
The PMD85 also features patented animal immunity, which by way of two sensors, allows the unit to identify humans while ignoring animals weighing up to 40kg (90lbs.).
Features
- Impact and temperature resistant casing (lined with an injected rubber gasket)
- UV protected lens
- Dual Optical Filtering System
- Multi-level sensitivity adjustment
- Patented Digital Motion Detection
- Digital Dual Opposed Detection
- Alive software (alarm LED continues to display when PIR is in energy save mode without compromising battery life)
- 3-minute Energy Save mode after two detections within a five-minute period
Installation
Figure 1: Installation

- Front cover screws
- Swivel-mount bracket knockouts (used with the SB85)
- Corner-mount knockouts
- Flat surface mount knockouts
There are three different mounting methods that can be used for the PMD85, they include corner-mount, flat surface mount, or swivel-mount using the SB85. When installing the PMD85, avoid placing the detector within proximity of sources of interference such as direct sunlight, reflective surfaces and moving cars. To install the PMD85:
- Select the detector's location.
- Remove the front cover screws holding the cover into place; open the cover.
- Loosen the screw holding the PCB into place and gently slide and lift from back cover.
- Drill or punch out the selected knockout holes from the PMD85 back cover as shown in Figure 1 and secure to surface using appropriate mounting screws.
Note: The PMD85 can also be mounted using the Paradox Heavy Duty Swivel Mount Bracket (SB85). The swivel mount may allow for easier mounting. If using the swivel mount, it is recommended that you seal the space where the swivel mount is connected to the back cover with some silicon or with a rubber gasket to ensure that moisture does not enter the detector.
After you have installed the detector, ensure that the adjustable height markings on the upper right of the PCB's cover inside the unit match the installation height (see Figure 2). Any PCB adjustments should be followed by a walk-test to verify detector coverage.
Figure 2: PCB Setup

- Sensors
- Battery connector
- Anti-tamper switch
- Antenna
- Detect LED
- DIP switches
- Sensitivity trimpot

Do not touch the sensor surface as this could result in a detector malfunction. If necessary, clean the sensor surface using a soft cloth with pure alcohol.
Ensure that the unit's front and back cover are tightly joined together without any spacing (around the rim of the unit) before tightening the screw, otherwise the weatherproof casing may be compromised and moisture may enter the unit.
Turning on the PMD85
- Insert three "AA" batteries into the battery holder while verifying polarity (see Figure 3).
- Insert the battery holder into the back cover and affix the battery cable to the battery connector on the PCB. See below for a description of the PMD85's startup sequence.
Startup Sequence
After connecting the battery cable, a power-up sequence will begin. During this time, the detector will not detect an open zone or tamper. The startup sequence is as follows:
- The LED flashes four times.
- The LED flashes fast to indicate RF communication.
- If cover is open: LED flashes to indicate trimpot sensitivity level - e.g., if unit is set at default level 3, the LED flashes three times (see Figure 2, G- Sensitivity Trimpot). The LED will continue to indicate the sensitivity level for two minutes. If cover is closed: End of startup sequence. The unit is ready for operation.
Replacing the Batteries

- Disconnect the battery cable from the battery connector of the PCB.
- Remove the battery holder from the back cover and remove the old batteries.
- Press and release the tamper switch to ensure that the unit has powered down.
- Follow the steps outlined in "Turning on the PMD85 "above.
RF Signal Strength Test
In order to verify the receiver's reception of the motion detector's signal, perform a signal strength test before finalizing the installation of the PMD85. Prior to performing the test, make sure that the batteries have been inserted into the battery holder to power the detector. Also verify that the motion detector has been assigned to a zone. For more information on signal strength tests and zone programming, refer to the appropriate security panel /wireless receiver's Reference & Installation Manual. If the transmission is weak, just moving the detector by a few inches can greatly improve the reception. If the signal is still weak, it is recommended that the detector be moved to another location.
Walk-testing
To put the detector into Walk-test Mode, open and close the cover. At 20°C (68°F), with the detector at the highest sensitivity setting, in Single Edge Processing mode, and with APSP set to Normal you should not be able to cross more than one complete zone (consisting of 2 beams, left and right sensor detecting elements) in the coverage area of up to 35 feet, with any kind of movement; slow/fast walking or running.
You can adjust the sensitivity level using the trimpot. Five trimpot gain levels provide fine gain tuning with steps of 10%. The level can be adjusted between a minimum gain of 50% and maximum gain of 100%. The approximate width of a full beam at 11m (35ft) from the detector is 1.8m (6ft).
Note:
- When walk-testing, always move across the detection path, not toward the detector.
- After a power up, the detector will automatically enter Walk-Test mode for three minutes.
Alive Software
If the motion detector transmits two alarm signals (LED on for 4 seconds) within a five minute period, the detector will fall into Energy Save mode where the detector will not transmit any alarm signals for approximately 3 minutes. Due to the motion detector's Alive software, the red LED continues to flash to indicate a detection even when in Energy Save mode. Once the three-minute Energy Save mode ends, the detector will return to normal operation.
Note: If the detector's cover is removed and then replaced while in Energy Save mode, the first detection will trigger an alarm signal.
Detector Settings
| Step | DIP | Details |
| LED Feedback On for 4 seconds: Motion has been detected Flash every 8 seconds: Low battery trouble (checked every 12 hours) Rapid Flash: Sending signal to receiver | |
| DIP Switch 1 | OFF = LED indicator is deactivated ON = LED indicator is activated  | |
| Single edge processing should be used in normal environments with minimal sources of interference. Dual Edge Processing requires balanced detection from both sensor elements and requires that a beam must be fully crossed even at close range. This setting provides better false alarm rejection and is suitable to all lens types, including curtain lenses. Use this setting if the detector is placed near sources of interference that can adversely affect it. | |
| DIP Switch 2 | OFF = Dual edge ON = Single edge | |
| APSP measures the energy from each detected signal and stores it in memory. To generate an alarm, the memory must reach a required minimum level. APSP can be set to normal level or high level. When APSP is set to normal level, the unit is calibrated to detect the energy level which is typical to crossing one full single beam at the maximum detection distance. When APSP is set to high level, the unit is calibrated to detect the energy level which is typical to crossing two full beams at the maximum detection distance. When APSP is set to high level, the detector is set for high-risk environments (potential interference) and therefore provides greatly increased false alarm immunity. | |
| DIP Switch 3 | OFF = APSP - High level ON = APSP - Normal level | |
| The PMD85 features adjustable sensitivity. Adjust from 1 (lowest sensitivity = 50%) to 5 (highest sensitivity = 100%); default = 3 Depending on the sensitivity setting, an alarm condition can be generated between 0.25 sec. (highest) and 2 sec. (lowest) after the actual movement. Viewing Sensitivity Settings: Remove the cover to view how many times the LED flashes, then adjust the setting accordingly. The LED flashes a consecutive amount of times to show the setting. Thus if the sensitivity is set to 3, the LED flashes 3 times. Turn clockwise = Increase sensitivity Turn counterclockwise = Decrease sensitivity The sensitivity trimpot is fragile. Do not overtorque. = default settings | |
| Trimpot | Note: DIP switch 4 is reserved for future use. * The response for a single beam pattern, such as the Vertical Curtain lens, may be slow at the maximum range, in such cases it is recommended that the unit be set to a single edge and/or normal APSP setting. | |
Beam Patterns
| Detector | Beam Pattern |
| PMD85 | Pet Array beam pattern |
| PMD85L1 | Horizontal Curtain beam pattern |
| PMD85L2 | Vertical Curtain beam pattern |
The PMD85 series features the following beam patterns:

Changing the PMD85 Lens
To change the PMD85 lens:
- Remove the top and bottom screws from the PMD85 front cover; remove the cover.
- From the inside cover, remove the top and bottom screws holding the bezel into place.
- Push and lift the locking tabs on both sides using a small screw driver. Gently lift the bezel out. Push the lens out and replace with new lens.
- Align the tabs of the lens to the rubber gasket and secure into place. Ensure that there are no gaps between the lens and the rubber gasket that would allow water to leak into the PMD85. Once the lens is replaced, reconnect the bezel and secure with screws.
Technical Specifications (Detector)
| Compatibility | MG5000, MG5500, MG6250, MG6130, MG6160, 1759MG, RTX3, RCV3, RX1 |
| Sensor type | Dual Element Infrared (x2) |
| Operating temperature | -35°C to +50°C (-31°F to +122°F) |
| Sensor geometry | Rectangular |
| Power | 3 x "AA" alkaline batteries |
| RF frequency | 433* or 868**MHz |
| Lens | 2nd generation Fresnel lens, LODIFF®, segments |
| Transmitter range (typical in a residential environment) | 35m (115ft) with MG6160 / MG6130 / MG6250 70m (230ft) with MG5000 / MG5500 / RTX3 / RX1 |
| Voltage | 10 - 16Vdc |
| Tamper switch | Yes |
| Detection speed† | 0.2m to 3.5m/s (0.6ft to 11.5ft/s) |
| Battery life‡ | 3 years |
| * FCC ID: KDYMGPMD85 Canada: 2438A-MGPMD85 The PMD85 complies with part 15 of the FCC rules. Operation is subject to the following two conditions:
** 868MHz (only) is not UL approved. | |
Technical Specifications (Lenses)
| Angle | Coverage | Installation Height | Pet Immunity | |
| PMD85 | 90° | 11m x 11m (35ft x 35ft) | 2.1m (7ft) | 40kg (90lbs) |
| PMD85L1 (Horizontal) | 85° | 11m x 11m (35ft x 35ft) | 1.1m (3.6ft) | Multi/ large pet |
| PMD85L2 (Vertical) | 5.64° | 13m (43ft) x 2 beams | 2.1m (7ft) | N/A |

Documents / ResourcesDownload manual
Here you can download full pdf version of manual, it may contain additional safety instructions, warranty information, FCC rules, etc.
Download Paradox PMD85 - Outdoor Digital Dual-Optic High-Performance PIR Manual
Advertisement


Need help?
Do you have a question about the PMD85 and is the answer not in the manual?
Questions and answers