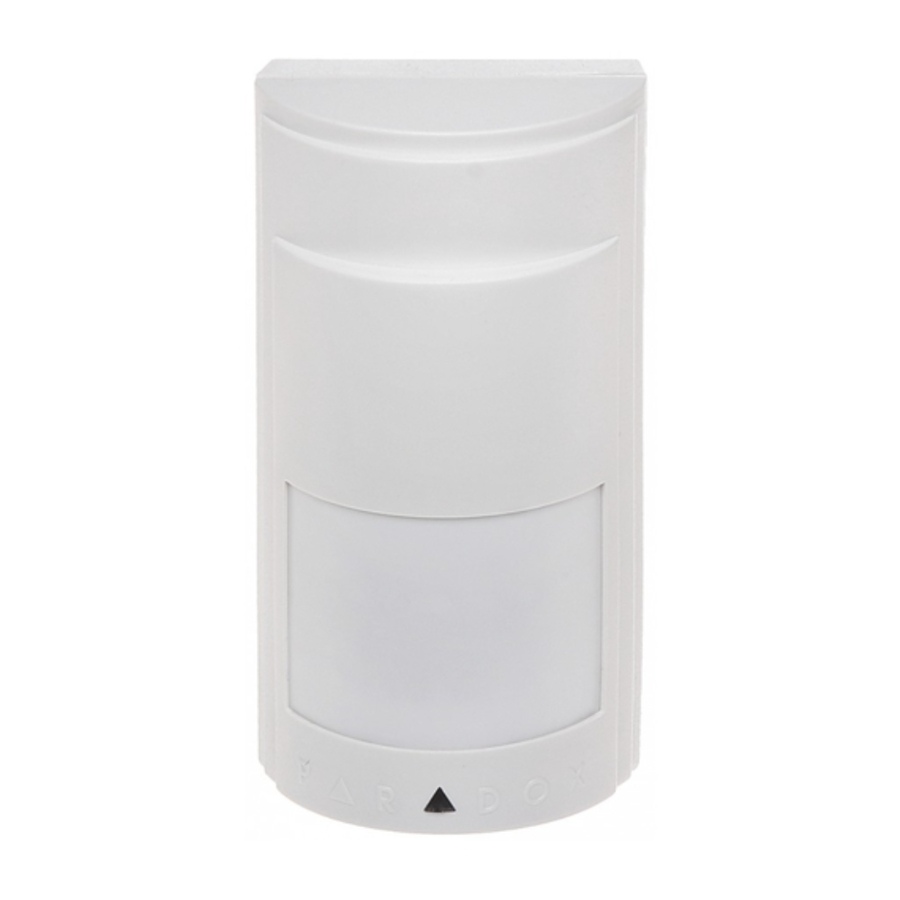
Paradox Omnia OMN-PMD1 - Wireless Motion Detector Manual
- Instructions (2 pages)
Advertisement
Features
You have selected one of the most advanced wireless motion detectors available on the market today. Every wireless motion detector is 100% quality-control tested using computerized test equipment, guaranteeing proper operation and unit durability. The OMN-PMD1 Wireless Motion Detector includes the following features:
- Dual rectangular element sensor
- Auto Pulse Signal Processing (Patented)
- Auto Temperature Compensation
- "No Dead Zone" standard lens
- Low battery / signal transmission / alarm red LED indicator
- Built-in antenna
- Tamper switch
- Three "AA" alkaline batteries (included)
- Range: 500 ft (150m)
INSTALLATION SITE
Using a Paradox® standard lens at the recommended installation height of 7ft (2m) ±10%, the Omnia OMN-PMD1 will provide full coverage from 4ft (1m) to 45ft (14m), without any dead zones (see figure 2 on reverse side). When installing transmitters, please be sure there is at least 1ft (30cm) between each transmitter and 5ft (2m) between the transmitters and the receiver. Avoid placing the motion detector in proximity to potential sources of interference such as: reflective surfaces, direct air flow from vents, fans, windows, sources of steam/oil vapor, and objects causing temperature changes such as heaters, refrigerators, ovens, and infrared light sources.
CHANGING THE LENS

Figure 1

Do not touch the sensor surface; this could result in a motion detector malfunction. If necessary, clean the sensor surface with pure alcohol using a soft cloth.
The motion detector comes equipped with the Paradox "no dead zone" WA-1 standard lens.
For more information on the full range of Paradox lenses, please visit our Web site at www.paradox.ca. If another lens pattern is required, choose the desired lens and perform the following while referring to Figure 1:
- Remove the front cover of the detector (1) by gently pushing the cover pin (11) in with a screwdriver.
- Pull out the bezel (3) by lightly pressing on the bezel pins (4) and (5).
- Remove the lens (2) and replace it with the alternate lens (Note: when the new lens is properly installed, the grooves should be inside the bezel and the lens catalogue number on top.).
- Verify that the lens is centered and replace the bezel by lightly pressing it into place.
SIGNAL STRENGTH TEST
In order to verify the receiver's reception of the motion detector's signal, perform a signal strength test as described in the Omnia Wireless Receiver Module's Reference and Installation Manual before finalizing the installation of the motion detector. Prior to performing the test, make sure the batteries have been inserted into the battery
compartment to power the detector. Also verify that the motion detector has been assigned to a zone according to the instructions in the Omnia Wireless Receiver Module's Reference and Installation Manual. If the transmission is weak, relocating the transmitter by a few inches can greatly improve the reception.
MOUNTING
Avoid bending, cutting or altering the antenna or mounting the detector near or on metal as this may affect signal transmission.
Corner Mount
Carefully remove the PCB by loosening the PCB screw (6) and drill or punch out holes A, B, C and D from the back plastic case. Screw the back plastic case onto the installation site and screw the PCB back into place.
Flat Surface Mount
Carefully remove the PCB by loosening PCB screw (6) and drill or punch out holes E, F, G and H from the back plastic case (see Figure 3 on reverse side). Screw the back plastic case onto the installation site and screw the PCB back into place.
JUMPERS
These motion detectors are equipped with four jumpers used to set the operational modes of the motion detector. In the following instructions, when referring to jumper settings, refer to Figure 1 for jumper locations.
After changing jumper settings, you must reset the unit. To reset the unit, remove the batteries, press and release the tamper switch (refer to Figure 1) and wait 60 seconds. Reinsert the batteries while verifying proper polarity.
JP1 - Check-in Supervision Time Value
ON (default) = 12
OFF = 6
JP2 - Check-in Supervision Base Time
ON (default) = hours
OFF = minutes
For example, to obtain a Check-in Supervision
Timer of 6 minutes, set JP1 = OFF and JP2 = OFF.
Use the same supervision setting as in the Omnia Wireless Receiver Module.
JP3 - Sensitivity Setting
ON = (Low Sensitivity) In "2-6 mode", the amount of movement required to generate an alarm is doubled. The use of 2-6 mode is recommended in areas where the incidence of false alarms may be greater.
OFF(default) = (High Sensitivity) In "1-3 mode", you should not be able to cross more than one complete zone (consisting of two beams - left and right sensor detecting elements) in the coverage area with any kind of movement. Use this setting for the majority of installations.
JP4 - Fast/Slow Mode
ON (default) = "Fast Mode" is recommended for the majority of installations.
OFF = "Slow Mode" is suggested in areas where the incidence of false alarms may be greater.
JP5 - LED ON/OFF (see below)
ON (default) = LED activated
OFF = LED deactivated
RED LED INDICATOR
The red LED indicates the following:
Alarm
The red LED (9) will illuminate for a period of 2 seconds whenever the motion detector detects any kind of movement.
Low Battery
The motion detector performs a battery test every 12 hours and if a battery voltage of 3.1V or less is detected during this test, the red LED will flash at 5 second intervals.
Signal Transmission
The red LED indicator light will blink rapidly when the motion detector transmits a signal to the receiver.
POWERING THE WIRELESS DETECTOR
Verifying proper polarity, insert three "AA" alkaline batteries into the motion detector's battery compartment (7). To replace the batteries, remove the old batteries, then press and release the tamper switch and wait 60 seconds in order to reinitialize the unit. Insert new batteries while verifying proper polarity.
After inserting the batteries in the motion detector, a power-up sequence will begin (lasting 10-20 seconds) during which the detector will not detect an open zone or tamper.
ALIVE SOFTWARE
In order to conserve battery life, after transmitting an open zone and alarm signal (LED on for 2 sec.), the motion detector will fall into Energy Save Mode where it will not transmit any alarm signals for approximately 5 minutes. With the motion detector's Alive Software, the red LED will continue to flash to indicate a detection even while in Energy Save Mode. When the five-minute Energy Save Mode ends, the motion detector returns to normal operation.
NOTE: If the detector's cover is removed and then replaced while in Energy Save Mode, the first detection will trigger an alarm signal.
Specifications

AUTOMATIC TEMPERATURE COMPENSATION
These motion detectors are equipped with "automatic temperature compensation", which adjusts amplifier gain to maintain coverage levels across a wide range of temperatures.
AUTO PULSE SIGNAL PROCESSING
Patented Auto Pulse Signal Processing™ provides a variable pulse count rate in response to signal shape, strength and width. The motion detector will immediately generate an alarm for very strong signals, or switch automatically to pulse counting as signals become weaker. The motion detector permits a very high pulse count rate (up to 6 or more) in the presence of low level signals. Ordinary fixed pulse count motion detectors cannot provide this high pulse count rate due to a heavy loss of detectability at any pulse count rate higher than 3.
WARRANTY
The Seller warrants its products to be free from defects in materials and workmanship under normal use for a period of one year. Except as specifically stated herein, all express or implied warranties whatsoever, statutory or otherwise, including without limitation, any implied warranty of merchantability and fitness for a particular purpose, are expressly excluded.
Note: The warranty does not apply to the alkaline batteries provided with the unit.
Auto Pulse Signal Processing:
Patent #5077-549 (U.S.)
Patent #1-302-541 (CAN)
LODIFF® lens: Patent #4,787,722 (U.S.)
LODIFF® registered trademark of Fresnel Technologies Inc.

Documents / Resources
References
Download manual
Here you can download full pdf version of manual, it may contain additional safety instructions, warranty information, FCC rules, etc.
Download Paradox Omnia OMN-PMD1 - Wireless Motion Detector Manual
Advertisement


Need help?
Do you have a question about the Omnia OMN-PMD1 and is the answer not in the manual?
Questions and answers