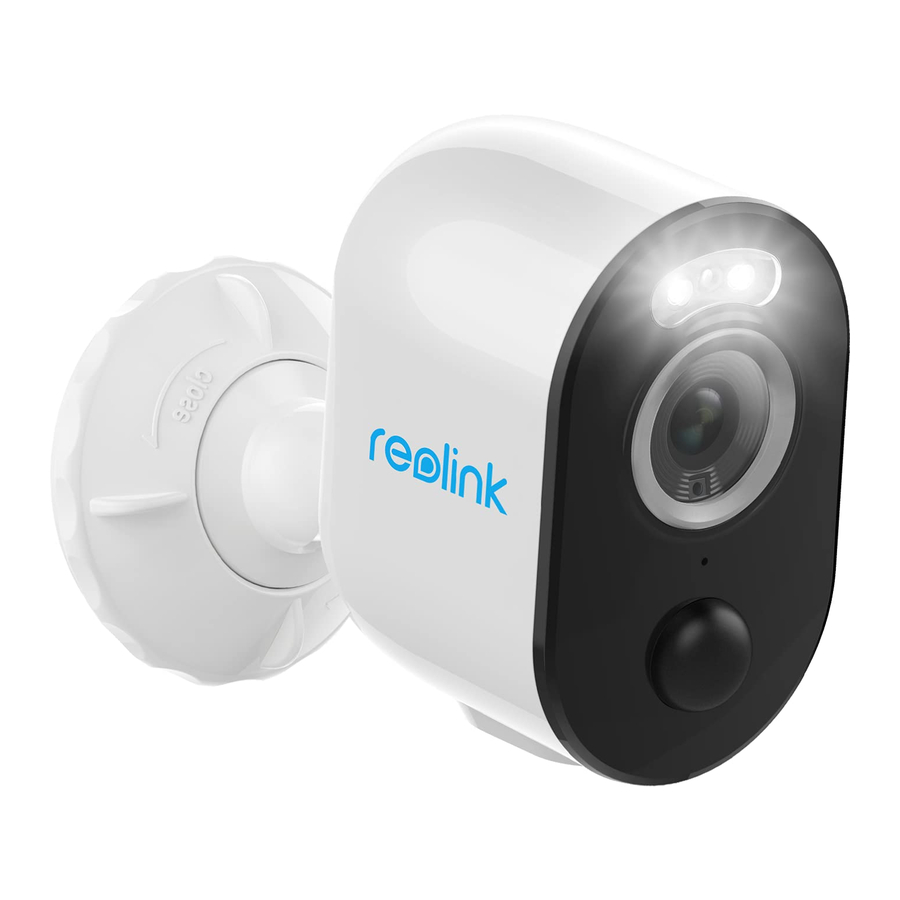
Reolink Argus 3 Pro - Smart 2K 4MP Wire-Free Camera Manual
- User manual (115 pages) ,
- Operational instruction (41 pages) ,
- Operational instruction (41 pages)
Advertisement

Get wire-free security anywhere you need it with Argus 3 Pro, a battery or solar operated security camera with motion spotlight and siren. See what's going on in 2K Super HD, enjoy color night vision and stop the crime before it happens.
Specs

| 1 | Spotlight |
| 2 | Status LED |
| 3 | 6 IR LEDs |
| 4 | Lens |
| 5 | Daylight Sensor |
| 6 | Built-in Mic |
| 7 | Built-in PIR Motion Sensor |

| 1 | Reset Button |
| 2 | Power Switch |
| 3 | Micro SD Card Slot |
| 4 | Bracket |
| 5 | Battery Status LED |
| 6 | Micro USB Port |
| 7 | Speaker |
Status Light
| Status Light | Camera Status |
| Red light | Wi-Fi connection failed |
| Blue light | Wi-Fi connection succeeded |
| Blinking | Standby status |
| On | Working status |
Setup and Install
Set up the Camera
What's in the Box
Note: The package content may vary and update with different version and platforms, please take the below information only for a reference. And the actual package content are subject to the latest information on the product selling page.

Set up the Camera on the App
Please follow the steps below to do initial setup for the battery-powered cameras via Reolink App.
Step 1. Power on the camera. Remember to turn on the power switch on the camera before initial setup except for Argus 2 and Argus Pro. After a startup sound, you will hear a repeated Ding sound or a voice prompt.
Note: The voice prompt you will hear may be "Welcome to Reolink, please install Reolink app and scan the QR code on the camera" in multilingual versions, or "please run Reolink app, add the camera and set it up".
Step 2. Tap the icon ![]() in the top right corner to start the initial setup.
in the top right corner to start the initial setup.

Step 3. Scan the QR code on the back of the camera. You may tap Light to enable a flashlight when setting up the camera in a dark environment. If the phone doesn't respond, please tap Input UID/IP and then manually type in the UID (16-digit characters under the QR code of the camera). Then click Next.

Step 4. Select Wi-Fi Not Configured. If you hear a voice prompt played by the camera, please tick correspondingly and then tap Next.

Step 5. Enter the WiFi password of the selected WiFi network (you may tap the right eye icon to see and double-check the password) and tap Next.

Note: Only Argus 3 Pro, Argus PT (5/2.4GHz), Reolink Duo (Battery) and Reolink TrackMix support 5GHz/2.4GHz Dual-Band WiFi connection.
Step 6. Tap Scan Now. Place the QR code on your phone in front of the camera's lens at a distance of about 20 cm (8 inches) and let the camera scan the QR code. Tick correspondingly and tap Next.

Step 7. Wait around 60 seconds for the camera to connect to the router. After hearing "connection to the router succeeded", tick correspondingly and tap Next.

Step 8. Create a login password and then name your camera.

Step 9. Select a scene according to the place where your camera will be installed, then click Next.

Step 10. Read the note below and then tap Finish to complete the initialization of your camera.

Once the initial setup is completed, you may choose a good position to mount your camera.
Install the Camera
We offer you guides on three different scenes in which the camera could be installed. Check out them respectively.
Mount the Camera to the Wall
Step 1. Rotate to separate the base from the security mount.

Step 2. Drill holes with the mounting template and screw the base of the mount onto the wall. Then attach the other part of the mount to the base.

Step 3. Screw the camera to the mount.

Step 4. Adjust the camera's angle to get the best field of view.

Step 5. Secure the camera by turning the part on the mount identified in the chart clockwise.

Note: To adjust the camera angle later, please loosen the mount by turning the upper part counterclockwise.
Install the Camera with Loop Strap
If you'd like to install the camera to a tree stem, follow up on the mounting method below.
Step 1. Thread the loop strap through the slot at the bottom of the security bracket.

Step 2. Fasten the strap around the tree tightly.

Place the Camera on a Surface
If you plan to place the camera on a level surface indoors, for example, on the bookshelf, you could put the camera into the stand bracket and adjust the camera angle by slightly rotating the camera back and forth.

Documents / ResourcesDownload manual
Here you can download full pdf version of manual, it may contain additional safety instructions, warranty information, FCC rules, etc.
Download Reolink Argus 3 Pro - Smart 2K 4MP Wire-Free Camera Manual
Advertisement


Need help?
Do you have a question about the Argus 3 Pro and is the answer not in the manual?
Questions and answers