Sign In
Upload
Download
Table of Contents
Contents
Add to my manuals
Delete from my manuals
Share
URL of this page:
HTML Link:
Bookmark this page
Add
Manual will be automatically added to "My Manuals"
Print this page
×
Bookmark added
×
Added to my manuals
Manuals
Brands
Reolink Manuals
Digital Camera
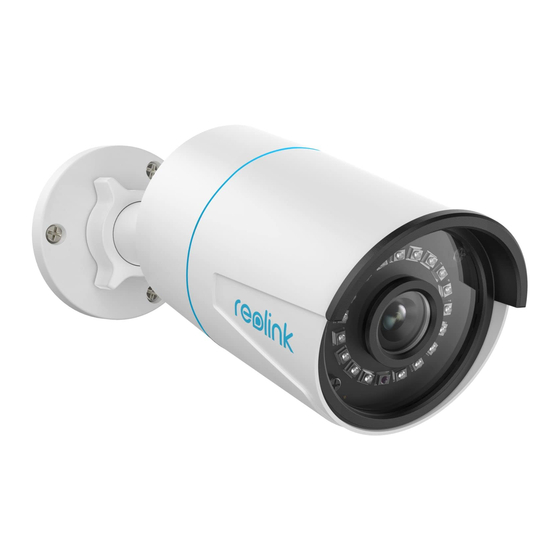
RLC-510A
User manual
Reolink RLC-510A User Manual
Poe camera
Hide thumbs
Also See for RLC-510A
:
Operational instruction
(41 pages)
1
Table Of Contents
2
3
4
5
6
7
8
9
10
11
12
13
14
15
16
17
18
19
20
21
22
23
24
25
26
27
28
29
30
31
32
33
34
35
36
37
38
39
40
41
42
43
44
45
46
47
48
49
50
51
52
53
54
55
56
57
58
59
60
61
62
63
64
65
66
67
68
69
70
71
72
73
74
75
76
77
78
79
80
81
82
83
84
85
86
87
88
89
page
of
89
Go
/
89
Contents
Table of Contents
Troubleshooting
Bookmarks
Table of Contents
Table of Contents
Camera Introduction
Device Overview
Setup and Installation
Power on Poe Cameras
Set up Poe Cameras on App
Install the Camera
View Your Camera
Live View
Display Settings
Lights and LED
Alarm and Detection
Set up Motion Detection
Set up Motion Alerts
Set up Motion Recording
Recording and Playback
Set up Recording
Replay and Download Recordings
Time Lapse
Use the Reolink App
Share Your Devices with Others
Scene Modes
Add or Delete a Camera
Register Account
App Settings
Camera Settings
SD Card Storage
Device Information
Device Password
Date and Time
Reboot and Restore
Firmware Upgrade
Smart Homes
Google Home
Amazon Alexa
Faqs and Troubleshooting
Faqs
Troubleshooting
Advertisement
Quick Links
1
Device Overview
2
Setup and Installation
3
Power on Poe Cameras
4
Install the Camera
5
Camera Settings
Download this manual
Sept 2021
QSG1_A
User Manual
Reolink PoE Camera
User Manual
Table of
Contents
Previous
Page
Next
Page
1
2
3
4
5
Advertisement
Table of Contents
Troubleshooting
FAQs and Troubleshooting
87
Troubleshooting
89
Need help?
Do you have a question about the RLC-510A and is the answer not in the manual?
Ask a question
Questions and answers
Related Manuals for Reolink RLC-510A
Security Camera Reolink RLC-810A Operational Instruction
(41 pages)
Security Camera Reolink B800 Operational Instruction
(29 pages)
Security Camera Reolink B800 Quick Start Manual
(8 pages)
Reolink B800, D800, B400, D400 - Add-on Camera Manual
(article)
Digital Camera Reolink RLC-510WA Quick Start Manual
(9 pages)
Reolink RLC-842A - 4K PoE Cam with Intelligent Detection Manual
(article)
Digital Camera Reolink rlk16-800d8 Operational Instruction
(35 pages)
Digital Camera Reolink RLC-81MA Quick Start Manual
(39 pages)
Digital Camera Reolink RLC-823A 16X Operational Instruction
(38 pages)
Digital Camera Reolink RLC-820A Quick Start Manual
(8 pages)
Digital Camera Reolink RLC-843WA Quick Start Manual
(9 pages)
Reolink Go PT Ultra - Smart 4K 8MP Battery Camera Manual
(article)
Digital Camera Reolink Argus B350 Series Quick Start Manual
(9 pages)
Digital Camera Reolink Argus 2 Operational Instruction
(51 pages)
Digital Camera Reolink FE-P Operational Instruction
(41 pages)
Digital Camera Reolink Argus Series Manual
(24 pages)
This manual is also suitable for:
Rlc-410
B400
Table of Contents
Save PDF
Print
Rename the bookmark
Delete bookmark?
Delete from my manuals?
Login
Sign In
OR
Sign in with Facebook
Sign in with Google
Upload manual
Upload from disk
Upload from URL


Need help?
Do you have a question about the RLC-510A and is the answer not in the manual?
Questions and answers