Advertisement
Wiring:
PWR
DIM
SND
GND/Gauge case
Earlier style sensors have the following color code: RED – power, GREEN – output, BLACK & WHITE – ground.
Mounting:
The Series II gauge requires a round hole 2-1/16" in diameter. It should be inserted into the opening from the front
and the U-clamp will be installed from the back. Tighten the two nuts on the U-clamp so that the gauge is secure. Gauge
depth to the back of the case is 1". Gauge depth including the mounting studs is 1-7/8".
Display update choices:
FSt (fast)
-
SLO (average) -
HLd (Peak Hold)-
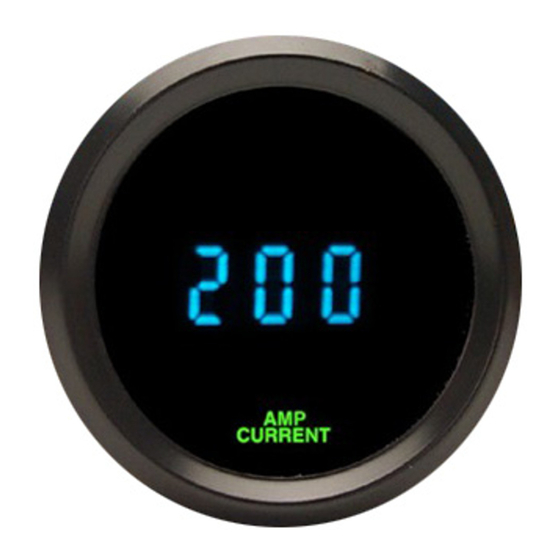
The amp current gauge will operate and read correctly from 3 – 250 Amperes. The sender has an opening which the
cable to be monitored must pass through. An arrow on the sensor points towards the end of the power wire leading to
the load.
The sender must be Dakota Digital part SEN-20-3. Sending units from other manufacturers will cause incorrect
readings. The output of the sensor is linear with 0V at 0A, 5V at 250A, and 10V at 500A.
Setting the update speed:
The SND terminal is used to enter and change the warning settings. You will need a wire connected to the SND
terminal that can be connected to power while you watch the gauge. The sender must be disconnected from the gauge
while this is done. The headlights should be off or the DIM terminal unhooked so that it does not interfere with the setup.
1. To enter the set mode, turn the key on with the SND wire powered. The gauge will display "SEt".
2. Disconnect the SND wire. The gauge will display "SPd". (If you wait too long the gauge will exit the setup routine
and you will need to repeat step #1).
3. Power the SND wire. The gauge will display the current update speed (SLO, FSt, or HLd).
4. Disconnect the SND wire.
5. Each time you momentarily power the SND wire the speed setting will change.
6. When the desired update speed is displayed, keep the SND wire powered for about 2 seconds. The gauge will
display "--".
7. Turn the key off.
ODYR/SLX-20 AMP CURRENT GAUGE
-
connect to fused, switched, 12 volt power (an accessory terminal will work for this)
-
connect to the tail light circuit (when terminal has +12V, gauge will dim)
-
connect to the Output terminal from current sensor.
-
connect to a main ground location. The sensor and gauge should have a common
ground wire to ensure accurate readings.
The display is updated 10 times per second. (default setting)
The display is averaged over one second.
The display uses the fast rate and the highest current reading will be held for up to ½ second.
MAN#650111 rev. A
Advertisement
Table of Contents

Related Manuals for Dakota Digital ODYR/SLX-20


Summary of Contents for Dakota Digital ODYR/SLX-20
- Page 1 The sender must be Dakota Digital part SEN-20-3. Sending units from other manufacturers will cause incorrect readings. The output of the sensor is linear with 0V at 0A, 5V at 250A, and 10V at 500A. Setting the update speed: The SND terminal is used to enter and change the warning settings.
- Page 2 Any action for breach of any warranty hereunder, including any implied warranty of merchantability, must be brought within a period of 24 months from date of original purchase. No person or representative is authorized to assume, for Dakota Digital, any liability other than expressed herein in connection with the sale of this product.
Need help?
Do you have a question about the ODYR/SLX-20 and is the answer not in the manual?
Questions and answers