Table of Contents
Advertisement
Quick Links
Wiring:
PWR
-
DIM
-
SND
-
Gauge case
-
Mounting:
The gauge requires an oval hole 1-7/16" high x 3-1/16" wide. It should be inserted into the opening from the front
and the 2 L-clamps will be installed from the back. Tighten a nut on each of the L-clamps so that the gauge is secure.
Gauge depth to the back of the case is 1". Gauge depth including the mounting studs is 1-7/8".
Factory settings:
Temperature unit:
Hi warning point:
Lo warning point:
The temperature gauge will operate and read correctly between the temperature range of -40 - 255 F
(-40 - 125C).
This gauge has a user adjustable low and high warning level, which can be set to indicate when the temperature is too
high to too low.
The sender must be Dakota Digital part SEN-15-1. Sending units from other manufacturers will cause incorrect
readings.
The sensor will measure the temperature where its probe is located. The sensor has a 12' two wire cable to
connect it to the gauge. This cable can be shortened or additional wire can be added. If additional wire is added, the
added wire pair should be twisted and polarity of the wires should be carefully noted. If the probe temperature is below -
39 the display will show "—". If a sender is not connected properly, the display will show "EEE". If the SND terminal is
shorted to ground, the display will show "---".
For outside temperature sensing, the best location will be in the front grill or another location at the front of the
vehicle where it will have good air flow while the vehicle is moving. Do not mount the sensor too close to the engine or
exhaust. Doing so will cause the temperature reading to be much higher than the actual outside temperature. Please note
that with the sensor mounted in the front grill the temperature will be very accurate while the vehicle is moving, but the
temperature will rise when the vehicle is sitting still. This is due to the engine heat radiating forward.
For inside temperature sensing, keep the sensor away from heating and A/C vents. Having these blowing on the
sensor will cause inaccurate readings of the actual vehicle cabin temperature. Also keep sensor away from any heat
generating electrical components.
The amp temperature gauge will read the amplifier case temperature from a remote sensor. The sensor should
be secured to the case of the amplifier that is to be monitored. If the amp has forced air cooling it, then mount the sensor
on the side opposite the air source. This will provide the highest case temperature reading. The amp temperature gauge
will operate and read correctly between the temperature range of -39 - 255 F(-39 - 125C). The gauge has a user
adjustable low and high warning level. This can be set to indicate when the temperature is outside a set range.
ION-14 INSIDE/OUTSIDE TEMPERATURE GAUGE
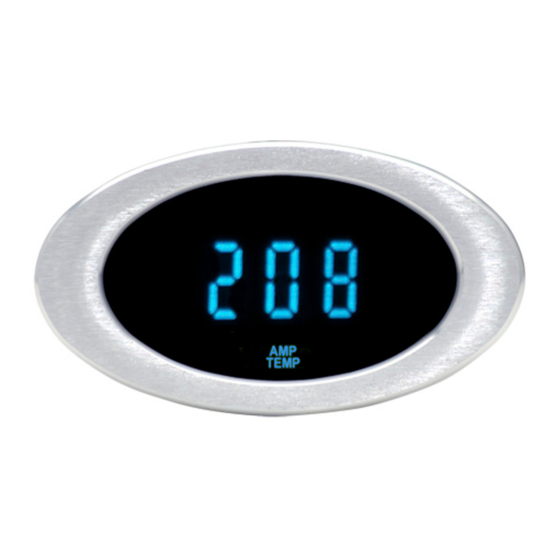
ION-15 AMP TEMPERATURE GAUGE
connect to fused switched 12 volt power. (An accessory terminal will work for this.)
Night Dimming: connect to the head light switch.
Connect to the RED wire from temperature sensor.
connect to a main ground location and sensor BLACK wire.
°F.
175 °F.
18 °F.
MAN#650063
Advertisement
Table of Contents

Related Manuals for Dakota Digital ON-14


Summary of Contents for Dakota Digital ON-14
- Page 1 This gauge has a user adjustable low and high warning level, which can be set to indicate when the temperature is too high to too low. The sender must be Dakota Digital part SEN-15-1. Sending units from other manufacturers will cause incorrect readings.
- Page 2 Setting the warning limits and sender setup: The SND terminal is used to enter and change the warning settings. Make sure the sensor is disconnected from the gauge before attempting to enter setup. You will need a wire connected to the SND terminal that can be momentarily grounded while you watch the gauge.
- Page 3 24 months from date of original purchase. No person or representative is authorized to assume, for Dakota Digital, any liability other than expressed herein in connection with the sale of this product.
Need help?
Do you have a question about the ON-14 and is the answer not in the manual?
Questions and answers