Table of Contents
Advertisement
Quick Links
Advertisement
Table of Contents

Related Manuals for Midea MOC5BL


Summary of Contents for Midea MOC5BL
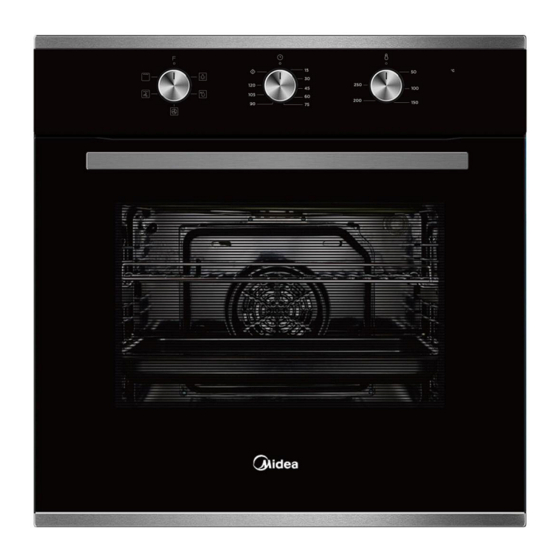
- Page 1 Midea Built-in Electric Oven Instruction MODEL : MOC5BL SAVE THESE INSTRUCTIONS CAREFULLY Read these instructions carefully before using your oven,and keep it carefully. If you follow the instructions, your oven will provide you with many years of good service.
- Page 3 ACKNOWLEDGMENT Thank you for purchasing our product. We hope you enjoy using the many features and benefits it provides. Before using this product please study this entire Instruction Manual carefully. Keep this manual in a safe place for future reference. Ensure that other people using the product are familiar with these instructions as well.
- Page 4 Do not use harsh abrasive cleaners or sharp metal scrapers to clean the glass of the oven. This can scratch the surface and may result in permanent damage to the glass. During use, the appliance becomes very hot. Care should be taken to avoid touching heating elements inside the oven.
-
Page 5: Safety Hints
SAFETY HINTS Do not use the oven unless you are wearing something on your feet. Do not touch the oven with wet or damp hands or feet. For oven: Oven door should not be opened often during the cooking period. The appliance must be installed by an authorized technician and put into use. -
Page 6: How To Use
HOW TO USE Stay on: For the oven to be used in the " ". the food may catch fire if the cooking time is set too long. Close supervision is necessary during toasting and the time should not be set too long. NOTE: For cooking times which are under sixty minutes, first set to a longer time and then turn the switch back to the time you require. -
Page 7: Shelf Placement Warning
ACCESSORIES Wire shelves : For grill .dishes, cake pan with items for roasting and grilling. Universal pan: For cooking large quantities of food such as moist cakes, pastries, frozen food etc,or for collecting fat/ spillage and meat juices. SHELF PLACEMENT WARNING: To ensure the oven shelves operate safely, correct placement of the shelves between the side rail is imperative. -
Page 8: Bulb Replacement
BULB REPLACEMENT For replacement, process as follows: 1> Disconnect power from the mains outlet or switch off the circuit breaker of the unit's mains outlet. 2> Unscrew the glass lamp cover by turning it counter-clockwise (note, it may be stiff) and replace the bulb with a new one of the same type. - Page 9 REMOVING THE DOOR FROM OVEN (OPTIONAL) Removable door allows full access to entire interior of the oven for easier and quicker maintenance. To remove the door, open the door to the maximum angle. Then pull the buckle at the door hinge backward. (Figure 1) Figure 1 Close the door to an angle approximately 15°.
-
Page 10: Cleaning And Maintenance
CLEANING AND MAINTENANCE For the sake of good appearance and reliability, keep the unit clean. The modern design of the unit facilitates maintenance to a minimum. The parts of the unit which come into contact with food have to be cleaned regularly. Before any maintenance and cleaning, disconnect the power.
Need help?
Do you have a question about the MOC5BL and is the answer not in the manual?
Questions and answers