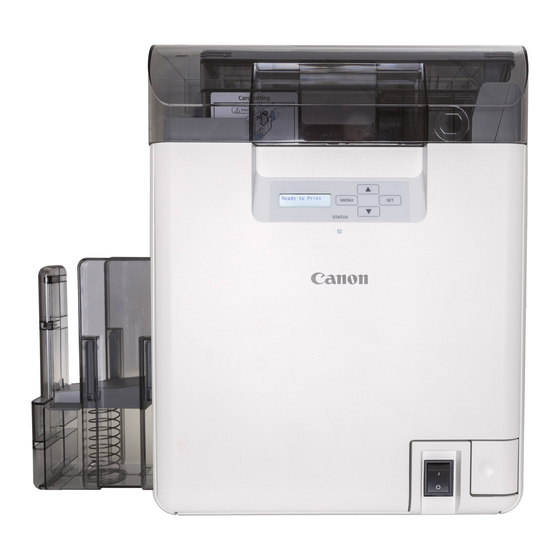
Summary of Contents for Canon IX-R7000
- Page 1 IX-R7000 Card Lamination Module Configuration Guide Last updated: 4/20/2023 IX-R7000 Card Lamination Module Configuration Guide...
-
Page 2: Table Of Contents
LAMI Film Error / D3-02 ......................9 LAMI No Film / D4-01 ........................9 LAMI Cover Open / D5-01 ......................9 LAMI Mechanical / D6-01 ......................9 LAMI Hopper Full / D7-01 ......................9 Service Call / D8-01 ........................9 IX-R7000 Card Lamination Module Configuration Guide... -
Page 3: Preface
Preface Thank you for purchasing the IX-R7000 Card Lamination Module (Laminator). Please read this user guide to learn how to configure the Laminator with your IX-R7000 Card and Badge Printer (IX- R7000). How to Use This Guide This guide describes how to configure the Laminator and troubleshoot error messages. -
Page 4: Chapter 1 Overview And Setup
Please refer to the IX-R7000 User Manual for firmware update instructions. Installation The Laminator must be installed against the left side of the IX-R7000 so that the printer output slot aligns with the Laminator input slot. The Laminator connects to the IX-R7000 via an RS-232C serial cable to facilitate communication and error handling. -
Page 5: Chapter 2 Laminator Configurations
Chapter 2 Laminator Configurations The operation panel of IX-R7000 is used to configure the Laminator. The Laminator Setup menu can be accessed under the User Mode setup menu after installing the IX-R7000 firmware version v.151.F01. See the diagram below for the IX-R7000 Laminator Setup menu tree. -
Page 6: Connection
Laminator, it must be set manually by the user. DISCONNECT … Set when the Laminator is not connected. (Default value) CONNECT … Set when the Laminator is connected. This setting will be applied after power cycling the IX-R7000. Version The Version menu displays the Laminator firmware version. -
Page 7: Adjust Speed
0 to 20. Lowering the number will move the laminated patch up towards the leading short edge of the card. Increasing the number will move the laminated patch down towards the trailing short edge of the card. IX-R7000 Card Lamination Module Configuration Guide... -
Page 8: Film Tag Info
Side Speed … The recommended 1 side lamination speed for the loaded film. Side Speed … The recommended 2 side lamination speed for the loaded film. Both Side TEMP … The recommended lamination temperature for the loaded film. IX-R7000 Card Lamination Module Configuration Guide... -
Page 9: Chapter 3 : Error Messages
Chapter 3 : Error Messages These error messages appear on the IX-R7000 operational panel when a Laminator error occurs. LAMI COM Error / D0-01 Buffer overflow. Please try again. LAMI COM Error / D0-02 No response from the Laminator. Check the connection by referring to Installation on page 4.


Need help?
Do you have a question about the IX-R7000 and is the answer not in the manual?
Questions and answers