
Related Manuals for Sencor SRD 7200


Summary of Contents for Sencor SRD 7200
- Page 1 SRD 7200 User Manual RADIO Uživatelská příručka RÁDIO Používateľská príručka RÁDIO Felhasználói kézikönyv RÁDIÓ Podręcznik użytkownika RADIO...
-
Page 2: Safety Information
SAFETY INFORMATION IMPORTANT SAFETY INSTRUCTIONS The exclamation mark symbol located inside an equilateral triangle informs the user about important instructions for operation and maintenance (repairs), which are found in the attached device documentation. WARNING: TO PREVENT ELECTRIC SHOCK, DO NOT REMOVE THE PRODUCT COVER (OR THE BACK SIDE). - Page 3 10. IF THE DEVICE IS TO BE LEFT UNUSED - If you plan to leave your device unused for a prolonged period of long time, unplug the OFF). product's power cord and turn the power switch ( 11. ENTRY OF FOREIGN OBJECTS AND LIQUIDS - Never push objects of any kind into this product through openings as they may touch dangerous voltage points or short out parts which could result in a fire or electric shock.
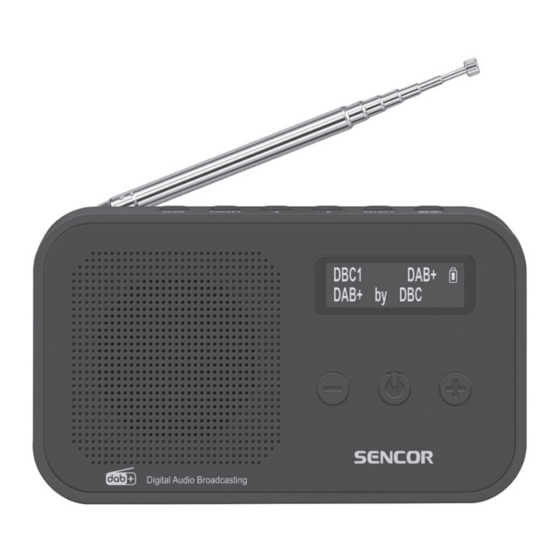
- Page 4 SUPPLY CONTENT SRD 7200 UNIT Power/charging cable User’s manual EN – 4...
-
Page 5: Equipment Description
Equipment description: SCAN – search available stations PRESET – set presets LEFT ( TUNING - ) – switch to the previous station RIGHT ( TUNING + ) – switch to the next station SELECT– select (confirm the choice) / snooze the alarm INFO/MENU –... -
Page 6: Power Adapter
OPERATING INSTRUCTIONS Battery power ((built-in rechargeable battery) Connect the device by inserting the charging cable into the DC 5 V IN connector and inserting the other end into your charging adapter. The charging time is approximately 3 hours depending on your charging adapter specifications. -
Page 7: Dab Mode
DAB mode Automatic scan 1. Adjust the length and angle of the antenna for best reception. 2. Press the POWER button to turn on the device. 3. When the radio is connected to a power source and turned on for the first time, DAB mode will be selected automatically and the quick scan of the DAB channels will be launched to find available stations. -
Page 8: Setting The Alarm
DAB/FM radio station presets: You can store up to 20 radio stations in memory. You can erase a stored frequency from the memory by storing other frequency in its position. 1. Tune a required station in the DAB mode. 2. Hold down the PRESET button until “Preset” (Preset Storage) appears with the number 1–20 (1–20 is the preset position number) The preset number is empty, “Preset”... -
Page 9: Snooze Function
7. Alarm type: BEEPER, FM, DAB options will flash. Press the LEFT ( ) or RIGHT ( ) button to select the desired alarm type and press the SELECT button to confirm. 8. Press the LEFT ( ) or RIGHT ( ) button to select the desired alarm type and press the SELECT button to confirm. -
Page 10: Locking The Buttons
Locking the buttons Press and hold the SELECT button for five seconds to activate the button lock feature (lock icon appears on the display), which locks all buttons. Press and hold the SELECT button for five seconds to deactivate the button lock feature (lock icon will disappear). EN –... -
Page 11: Technical Specifications
TECHNICAL SPECIFICATIONS Digital radio DAB+ station reception in maximum quality Easy automatic station tuning Power supply via built-in battery Sound Total power output (RMS): 1W Frequency response: 84 Hz–16 kHz Total harmonic distortion: L/R ≤ 10% (1 kHz) Display Dot-Matrix LCD display with a backlight Reception DAB+ tuner (Digital Audio Broadcasting) FM PLL radio tuner... - Page 12 INSTRUCTIONS AND INFORMATION ABOUT THE DISPOSAL OF DISCARDED PACKAGE Return the packaging to a collection centre for disposal. DISPOSAL OF DISCARDED ELECTRICAL AND ELECTRONIC EQUIPMENT This symbol placed on the product, accessories or package notifies that the product must not be treated as household waste. Please dispose of this product in a collection centre designed for recycling electric and electronic equipment.
-
Page 13: Warranty Conditions
Cases when the claiming product cannot be indentified according to the presented documents (e.g. the serial number or the warranty seal has been damaged). Authorized service centers Visit www.sencor. for detailed information about authorized service centers. EN – 13...
Need help?
Do you have a question about the SRD 7200 and is the answer not in the manual?
Questions and answers