Advertisement
Advertisement
Table of Contents

Subscribe to Our Youtube Channel
Summary of Contents for Sprout OPEN BACK SHELVING
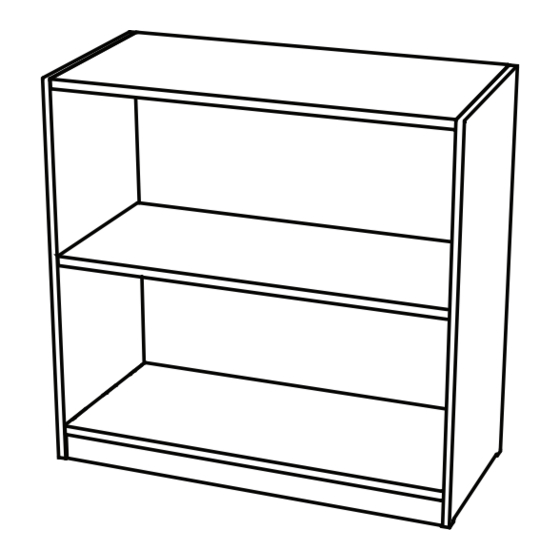
- Page 1 SCHOOL MONTESSORI OPEN BACK SHELVING ASSEMBLY GUIDE PARTS (2x) (2x) Sides (1x) Bottom (4x) Bracket (24x) (Multiple) Phillips Screw Shelves (one will be used for the top of the unit) RECOMMENDED REQUIRED SPACER Wood Glue Rubber Mallet Two Adults Power Drill...
- Page 2 BEFORE YOU START 1. With the “Groove” facing the “Notch”, 2. Apply force on push Tab into Slot until it “pops” in place. part to secure. GROOVE NOTCH RECOMMENDED: Wood glue is used to permanently attach the shelving pieces together, helping make this shelving unit rigid. The glue’s drying also makes this assembly time-sensitive.
- Page 3 ASSEMBLY INSTRUCTIONS Push tabs on Toes a into slots on bottom b . Tabs and slots must be lined up correctly or they will not properly tighten. See * for tab orientation. Turning the part upright, push down on Toes a until the ends are ush with the ends of Bottom Shelf b .
- Page 4 A second adult is recommended to hold shelves in place. Refer to * for tab orientation. Apply glue to slots on Side D and tabs on Shelves C and Bottom B . Refer to !! . Pop tabs into corresponding slots. Flat end of Slot facing up Press or hammer down Shelves B and Bottom B to tighten until they...
- Page 5 One adult holds steady Side D , Shelves C and Bottom B . Apply glue to the tabs on C and B and the slots of the other Side D . Pop tabs into corresponding slots. Thin end of Slot facing up To tighten, press or hammer down the second Side D until it makes contact with the oor.
- Page 6 Tilt the assembled shelf on its back. Place one of the Brackets E into the corner on the underside of the shelf like so. The triangular face of the bracket should be against the toe piece. Using a drill or power screwdriver, install 2 Screws F into the holes on the triangular face.
- Page 7 Install 2 more Screws F into the holes on one of the small sides of the bracket, then the other. Repeat for the other 3 corners. Allow glue to set for 1 hour before use.
- Page 8 DM us. @sprout_kids WARRANTY Learn about your warranty. SHARE YOUR INSIGHTS sprout-kids.com/warranty You’re invited to join the Sprout Advisory Board and CARE help shape future products. sprout-kids.com/board Learn how to care for your shelving with our detailed guide.


Need help?
Do you have a question about the OPEN BACK SHELVING and is the answer not in the manual?
Questions and answers