Advertisement
Quick Links
Advertisement

Subscribe to Our Youtube Channel
Related Manuals for Sprout TWIN MONTESSORI


Summary of Contents for Sprout TWIN MONTESSORI
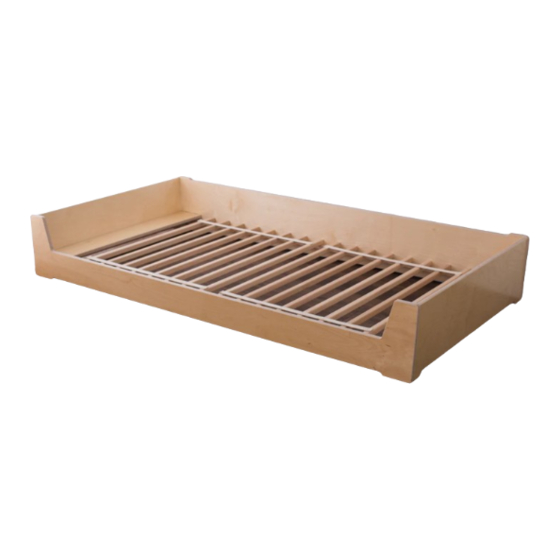
- Page 1 TWIN MONTESSORI BIRCH FLOOR BED ASSEMBLY & USE GUIDE Freedom of Movement...
- Page 2 We believe that children deserve spaces that help them thrive. Clark Davis, Founder Thank you for choosing Sprout! As parents ourselves, we know the care and consideration that goes into selecting something for your child. We appreciate your trust in allowing us to be a part of your space! We hope that these resources will serve your family for years to come.
- Page 3 We’re Here to Support You Please reach out to our support team if you need any assistance along the way! M-F 8-4 MST +1 (833) 530-0033 support@sprout-kids.com Assembly Instructions Included Parts Ba en Side* (x2) *Combination of Low, High, or Scoop Sides,...
- Page 4 Low Position Assembly 1. With the “Groove” facing the 2. Apply force “Notch”, push Tab into Slot until it on part to “pops” in place. secure. GROOVE NOTCH Insert tabs on End c into slots on Side a in the orienta- tion shown.
- Page 5 Repeat Steps 1 & 2 for opposite End c . carpeted surface, lift up frame onto Side a , as On a shown. Then insert both End Slats d into slots indicated. This Slot...
- Page 6 Place opposite Side a onto tabs on Ends c and End Slats d . Make sure to “pop” the slots over the tabs on Ends. Carefully lay bed back down, then tighten both ends of the second Side a as shown.
- Page 7 With webbing on top, align the Slat Roll b holes with the holes in the ba en of Side a , as shown. Webbing One at a time, insert Phillips Screw e through the holes in Slat Roll b into the holes in the ba en of Sides a . Tighten down the screws with a screwdriver or a drillgun using the supplied Phillips Driver f .
- Page 8 Repeat Steps 7 & 8 with the other Slat Roll b . You are now done! Changing from Low to High Position Using a screwdriver or a drillgun with Phillips Driver f , remove all (8) Phillips Screws e . Then remove the two Slat Rolls b .
- Page 9 Place a piece of wood or hardbound book under the foot of Side a , as shown, then press down on the top of Ends c to loosen. Do this for both ends of (1) Side a . Place piece of wood here to Also loosen loosen this corner...
- Page 10 Carefully move End Slat d from its current slot to the slot on the opposite side of the ba en, as shown. Repeat for other End Slat d . To this slot Ba en Replace Side a onto the bed frame, making sure to pop the slots over the tabs on Ends.
- Page 11 Carefully lay frame back down as shown, then tighten both Ends c as shown. Rea ach Slat Rolls b onto the top of the ba ens of Sides a , as shown, installing per Steps 7-9. You are now done!
-
Page 12: Safety Information
There are di erent age recommendations for items that can be in the bed with your child. Please scan the QR code below to read more. sprout-kids.com/FB... - Page 13 Making the Transition Transitioning to a “big kid bed” can be an exciting time for parents and children alike! Here are some things that may help as you make the change: A new bed can be a big change and, for a time, it may disrupt your child’s rhythm.
- Page 14 Some of the best things in life can take time, and the same is true when it comes to learning to sleep independently. Read about how Grant transitioned to his new bed: “ It took two months before our son actually slept in his bed.
- Page 15 Want to dive deeper with additional Floor Bed resources? Scan the QR code to learn more! sprout-kids.com/FB...
- Page 16 Let’s Be Friends Join the community by following Sprout on Instagram! We frequently share inspiring and informative experiences from parents like you, educational tips from Montessori-trained professionals, and updates about new products and how they can be used in your home.
Need help?
Do you have a question about the TWIN MONTESSORI and is the answer not in the manual?
Questions and answers