Advertisement
Quick Links
Advertisement

Subscribe to Our Youtube Channel
Related Manuals for DREAMS Rainbow Single Bed


Summary of Contents for DREAMS Rainbow Single Bed
- Page 1 Rainbow Single Bed 1 hour approx Two person assembly me assembly...
- Page 2 Thank you Hello, thanks for choosing to purchase your bed from Dreams - you're now on your way to your best ever night's sleep. Before you begin building your bed, please take a moment to read through the instructions and make sure that you've got all the relevant parts listed on the following pages.
- Page 3 IMPORTANT! KEEP FOR FUTURE REFERENCE WARNING. Do not place this child’s bed near heat sources, windows, and other furniture. WARNING. Do not use this child’ s bed if any part is broken, torn or missing. WARNING. Not suitable for children under 4 years. Care and Maintenance of your Furniture Please periodically check all fi�ngs and re-�ghten as necessary.
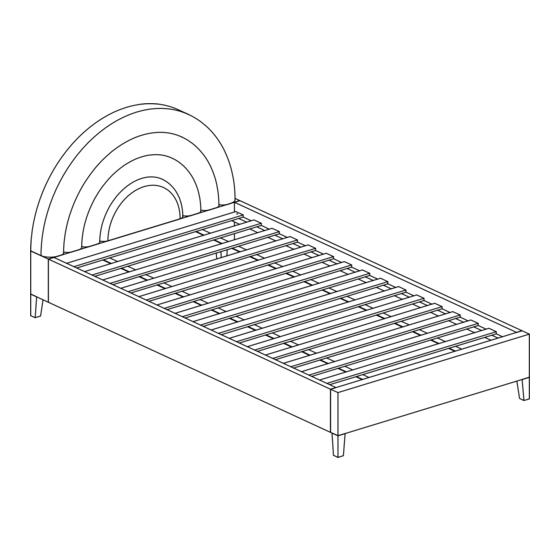
- Page 4 Parts Parts list HEADBOARD WOODEN FEET FOOTBOARD SIDE RAILS SLATS Rainbow bed- Assembly Guide - Page 4...
-
Page 5: Tools Required
Please check you have all the parts listed below with your product: H1: M8 x 30mm H2: M6 x 50mm H3: M6 Nut H4: M8 Flat Washer H5: M8 Allen key Qty: x8 Qty: x6 Qty: x6 Qty: x8 Qty: x1 H6: M6 Allen key Spring Washer H8: M6 Flat Washer... -
Page 6: Bed Assembly
Bed assembly H11 : 1 x35 mm H10 : M8 x 50mm H5: M8 Allen key Qty: x4 Qty: x4 Qty: x1 Headboard (A) and Footboard (C) by using Bolt (H10) with Allen key M8(H5) A�er a�ach the Wooden Feet, Place wool felt pads(H11) on the bo�om of the wooden legs to cover the round holes Rainbow bed - Assembly Guide - Page 6... - Page 7 Bed assembly H1: M8 x 30mm Spring Washer H5: M8 Allen key H4: M8 Flat Washer Qty: x8 Qty: x8 Qty: x1 Qty: x8 Use Bolt (H1), Spring washer (H7) and Flat washer (H4) to fix the Side Rail ( D ) onto Headboard ( A ) and Footboard ( C ) by using Allen Key ( H5 ).
- Page 8 Bed assembly H9: M6 Spanner H8: M6 Flat Washer H3: M6 Nut H2: M6 x 50mm H6: M6 Allen key Qty: x1 Qty: x6 Qty: x6 Qty: x6 Qty: x1 Carefully locate the slats(E) onto the unit. Use Bolt (H2), Flat Washer (H8) and M6 Nut (H3) to fix the unit using Allen Key (H6) and Spanner Key (H9).
-
Page 9: Care And Maintenance
Care and maintenance Here are some tips to keep your new bed in tip-top condition Cleaning To clean your new bed, we'd advise using a warm damp cloth - please do not use abrasive chemicals or bleach as this may damage the product. Checking and moving Periodically we recommend you check that the screws or fixtures haven't been become loose, over time. - Page 10 Little dreamers Keep the little ones entertained while you assemble your new purchase.
Need help?
Do you have a question about the Rainbow Single Bed and is the answer not in the manual?
Questions and answers