
Subscribe to Our Youtube Channel
Related Manuals for Viking CFGNI515


Summary of Contents for Viking CFGNI515
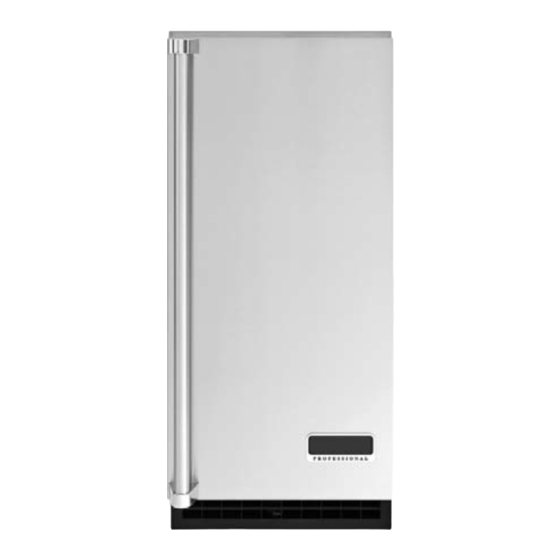
- Page 1 Use & Care 5 SERIES 15”W. Undercounter/Freestanding Nugget Ice Machine FGNI515 / CFGNI515 FPNI515 / CFPNI515...
-
Page 2: Table Of Contents
Congratulations We hope you will enjoy and appreciate the care and attention we have put into every detail of your new, state-of-the-art ice machine. Your new appliance is designed to offer years of reliable service. This Use and Care Guide will provide you with the information you need to become familiar with your ice machine’s care and operation. -
Page 3: Important Safety Instructions
Important - Please read and follow • Before beginning, please read these instructions completely and carefully. • DO NOT remove permanently affixed labels, warnings, or plates from the product. This may void the warranty. • Please observe all local and national codes and ordinances. •... -
Page 4: Initial Start Up
Initial Start Up 1. Turn on the water supply. 2. Switch on the electrical power. 3. Push and release the On/Off switch to start the machine. The Ice Making light next to the On/Off switch will glow Blue. CLEAN CHECK TIME TO ON/OFF RESET... -
Page 5: Maintenance
Using Your Ice Machine (con’t) OUTDOOR USE Keep from freezing. Severe damage will occur to the unit if left in or operated in temperatures beyond the limits listed in this manual. That damage is NOT covered by warranty. Keep dry. Do not locate in low lying areas where puddles will accumulate. Provide Shade: Heat gain from the sun will reduce the unit’s ability to make and store ice, and ultraviolet radiation from the sun can potentially damage the unit’s plastic components. -
Page 6: Care And Cleaning
Care and Cleaning Condenser cleaning The condenser is like the radiator on a car, it has fins and tubes that can become clogged with dirt and lint. To clean: 1. Remove the kickplate and front service panel. 2. Locate the condenser surface. 3. - Page 7 Care and Cleaning (con’t) 3. Open door and locate screws at upper back wall of bin. Remove the two screws CHECK CLEAN ON/OFF TIME TO WATER RESET MAKING CLEAN Screws 4. Remove the back panel of the bin by lowering it down past the scoop holder, feel free to rotate the scoop holder loop down to make more room.
- Page 8 Care and Cleaning (con’t) 6. Locate blue float valve on/off lever. Move lever up about half way to shut water off. 7. Locate drain plug and pull the drain plug out to drain the reservoir and evaporator. When draining is complete, return the plug to its original position.
- Page 9 Care and Cleaning (con’t) Caution: Keep fingers away from moving parts. After ice making starts, continuously add scale remover solution to the reservoir to keep it about half full. When all 16 oz of the solution is used, move the float valve lever down to the On position. After 40 minutes the ice machine and all the control panel lights will shut off.
-
Page 10: Troubleshooting Guide
Be ready to clearly describe the problem that you are having with your ice machine. If you are unable to obtain the name of an authorized service agency, or if you continue to have service problems, contact Viking Range, LLC at 1-888-845-4641 or write to:... -
Page 11: Warranty
(2) years from the date of original retail purchase. Viking Range, LLC, warrantor, agrees to repair or replace, at its option, any part which fails or is found to be defective... - Page 12 Viking Range, LLC 111 Front Street Greenwood, Mississippi 38930 USA (662) 455-1200 For product information, call 1-888-(845-4641) or visit our web site at vikingrange.com in the US or brigade.ca in Canada F21311A EN (040116)) 17-3479-01...
Need help?
Do you have a question about the CFGNI515 and is the answer not in the manual?
Questions and answers