Radiodetection C.A.T and Genny, C.A.T+ and Genny+ - Manual
- User manual (2 pages)
Advertisement
- 1 Features
- 2 Genny Transmitter features
- 3 C.A.T+ Locator features
- 4 Genny+ Transmitter features
- 5 Operation of Power and Radio modes
-
6
Locating with the C.A.T and Genny
- 6.1 Direct Connection
- 6.2 Induction
- 6.3 Active search using Induction
- 6.4 Using the optional Signal Clamp
- 6.5 Using the optional Live Plug Connector
- 6.6 Using the optional Mouse Signal Transmitter
- 6.7 Taking line depth measurement using the C.A.T+
- 6.8 Taking Mouse depth measurements using the C.A.T+
- 6.9 C.A.T+ error codes
- 7 Documents / Resources
Features

- On/Off
Press and hold to use C.A.T - Loudspeaker
Detachable speaker for use in noisy environment. - Sensitivity control
- Function switch
Selects locate mode:
Power, Radio, Genny. - Battery compartment
To replace batteries, open the access cover using a screwdriver or coin. Use eight LR6 or AA alkaline batteries.

When using the C.A.T in noisy environments, the speaker can be detached and held closer to the ear. To avoid excessive noise exposure it is advisable to hold the speaker no closer than 15cm (6") from the ear. Prolonged use at this level should be avoided.
Genny Transmitter features


- On/Off button
Press and hold to reduce speaker volume. - Direct Connection socket
- Loudspeaker
- Battery compartment
To replace batteries, open the access cover using a screwdriver or coin. Use four LR20 or D alkaline batteries. - Storage compartment
holding Connection Cable, Ground Stake and Ground Cable.
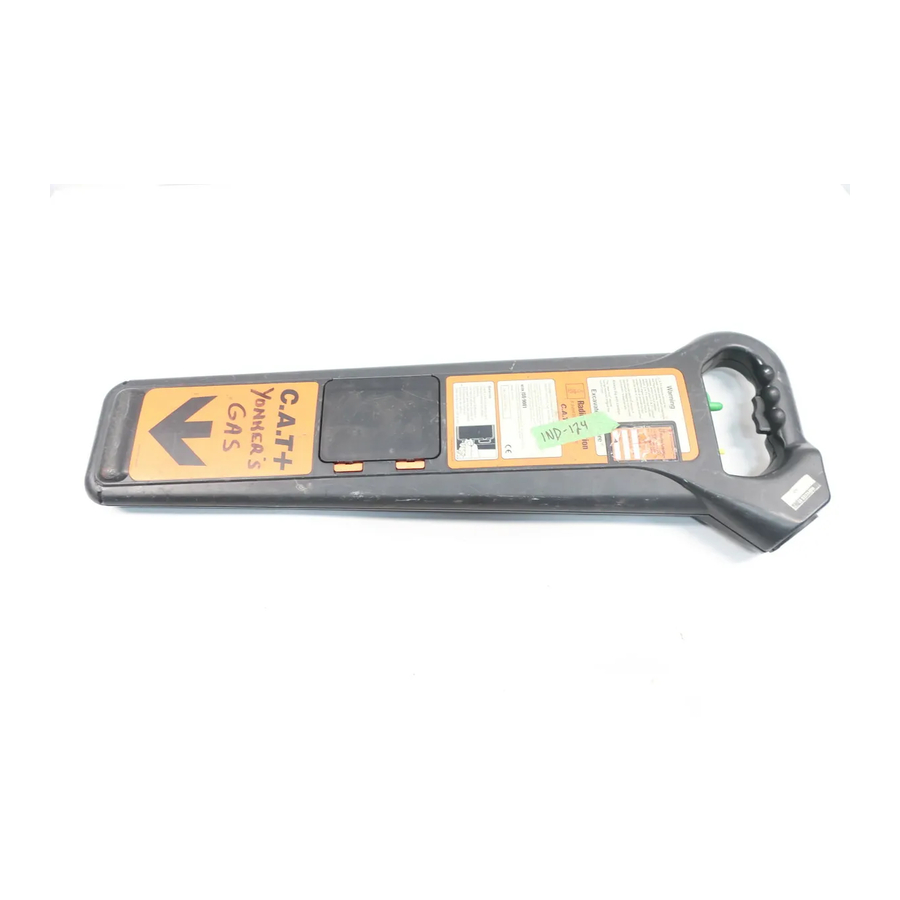
C.A.T+ Locator features
The basic features of the C.A.T+ are the same as the C.A.T but with the addition of a liquid crystal display.

Genny+ Transmitter features
The only differences between the Genny and Genny+ are that the signal radiating from the Genny+ and the tone from its speaker are continuous rather than pulsed. Operationally they are similar.
Operation of Power and Radio modes
Regularly check your C.A.T and Genny, in all modes, over a cable which gives a response you are familiar with.
Power mode


For detection of 'power' signals radiated by loaded cables. These are often found 're-radiated' by other, nearby conductors. Select Power using the Function switch. Press and hold the On/Off switch. Replace batteries if no initial 'bleep' is heard to confirm good battery condition.
Rotate the Sensitivity Control fully clockwise for maximum sensitivity but reduce if there is a blanket signal across the site.
Define the area to be excavated and carry out a grid pattern sweep.
Sweep holding the C.A.T upright and at your side. Contunue the sweep beyond the perimeter of the area to be excavated.
The presence of a buried conducting pipe or cable will be indicated by a tone emitted from the loudspeaker.
Keep the blade of the C.A.T vertical and move slowly backwards and forwards over the conductor, reducing the sensitivity for a narrower response. With the
C.A.T+ use the meter deflection to aid pinpointing. Maximum meter deflection will indicate the position of the conductor.
When directly over the conductor and with the sensitivity level set for a narrow response, rotate the C.A.T on its axis until the signal minimum is found. The blade is now in line with the conductor.
Trace the conductor out of the area, marking the position as required with chalk or paint.
Radio mode
For detection of radio signals originating from distant radio transmitters. These penetrate the ground and are re-radiated by buried conductors. However, they are not always present.
After completion of Power mode sweep, repeat the procedure with Radio mode selected.
The C.A.T will detect almost all buried conductors but there are some which do not radiate any signal which the C.A.T will not detect.
There are also some live power cables which the C.A.T is not able to detect in the Power mode.
The C.A.T does not indicate whether a signal is from a single cable or from several in close proximity.
Note
The C.A.T+ will not provide depth information in either the Power or Radio modes.
Locating with the C.A.T and Genny
The Genny is used to apply a tone to a buried conductor. This signal can be traced using the C.A.T locator switched to the Genny mode.
Direct Connection
Direct Connection is the most effective form of signal application and is suitable for connection to a valve, meter, junction box or other access point.
Connection to a power cable sheath should only be undertaken by qualified personnel.
Method
Plug the Connection lead into the Genny connection socket and attach the red lead to the target line. If necessary clean the connection point to ensure a good electrical contact.

Clip the ground lead to the earth stake which should be placed in the ground 3 to 4 paces away from, and at right angles to the target line.
Alternatively the ground lead may be clipped to the rim of a valve box or manhole cover. Use the spool lead to extend the earth connection if necessary.
Switch the Genny on. A good connection is indicated by a drop in loudspeaker tone. If there is no tone or it is a very slow bleep, replace the batteries.
Switch the C.A.T to Genny mode and begin to trace the line from the point of application. Pinpoint using the same method as described for Power and Radio modes.
Induction

Induction is a convenient and quick way of applying the Genny signal to a pipe or cable where limited access does not permit direct connection or use of the Signal Clamp.
Place the Genny over the assumed position of the conductor in the orientation shown.
Start tracing the cable or pipe at least five paces from the Genny with the C.A.T in Genny mode. Working too close to the Genny may give false readings as the C.A.T will detect more signal directly from the Genny than from the conductor.
If using the C.A.T+ do not attempt to take depth readings unless the distance between the C.A.T+ and Genny+ is greater than 30 paces (see 'Taking depth readings using the C.A.T+').
Active search using Induction

Placing the Genny on its side swamps an area with Genny signal.

Alternatively, use a two man technique to search an area for buried utilities.
Using the optional Signal Clamp

The Signal Clamp applies a Genny signal safely to a pipe or live cable of up to 76mm (3 inches) diameter, without interrupting the supply.
Method
Plug the Clamp into the Genny Connection socket.
Place the Clamp around the pipe or cable ensuring the jaws are closed. Switch the Genny on. Open and close the Clamp. If the jaws are closing correctly a drop in speaker tone will be heard.
An earth connection is not necessary but efficient signal transfer is only achieved if the target conductor is grounded at both ends. This is usually the case with power cables.
The Signal Clamp can be used with either Genny or Genny+
Using the optional Live Plug Connector

The Live Plug Connector applies the Genny signal to a live domestic power socket and, via the domestic wiring system, to the service cable and supply cable in the street.
Method
Connect the Live Plug Connector to the Genny socket and the power socket.
Switch on the power socket and the Genny.
Note
The Live Plug Connector provides protection to 250Vac.
Using the optional Mouse Signal Transmitter

The Mouse is a small self-contained watertight transmittter which can be detected by the C.A.T when switched to the Genny mode.
Method
Replace the battery in the Mouse. Attach the Mouse to a drain rod using an appropriate connector (purchased separately).
Place the Mouse on the ground, set the C.A.T to Genny mode and, whilst holding the C.A.T in line with the Mouse, check that a signal is being received.
Insert the Mouse approximately 1m/yd into the duct/drain and adjust the C.A.T sensitivity to receive the signal.
A ghost signal appears before and behind the main signal position. Reduce the C.A.T sensitivity to receive only the main signal.

Taking line depth measurement using the C.A.T+

Depth measurement is only possible when using the C.A.T+ in the Genny mode with a Genny+ transmitter.
Method
Locate the utility as described previously.
Ensure that the depth measurement position is at least 30 paces from the Genny, especially if signal application is by Induction method.
Hold the C.A.T still, vertical and at right angles to the buried line. Momentarily depress the depth button. The display will show a moving clockface followed by the depth measurement.
Taking Mouse depth measurements using the C.A.T+
Depth measurement is only possible when using the C.A.T+ in the Genny mode with a Mouse+ transmitter, identified with a central orange band.
Method
Locate the main Mouse signal as previously described.
Hold the C.A.T vertically and in linewith the Mouse. Press and hold the depth button until 'M' appears on the display. A clockface will appear in the top right hand corner of the display while the depth calculation is made. The approximate depth to the Mouse will then be displayed on the meter.
C.A.T+ error codes

indicates very shallow conductor

indicates conductor out of range

indicates depth measurement attempted in R or P mode which is not available.
Do not use the C.A.T+ depth measurement to decide if mechanical digging over buried conductor is appropriate.

Radiodetection Ltd, Western Drive, Bristol, BS 14 0 AZ, United Kingdom Tel +44 (0)117 9767776 Fax +44 (0)117 9767775 sales.uk@radiodetection.com

Radiodetection Corp, 35 Whitney Road, Mahwah, NJ 07430, USA Tel +1 (201) 848-8070 Fax +1 (201) 848-1303 sales.us@radiodetection.com

Documents / ResourcesDownload manual
Here you can download full pdf version of manual, it may contain additional safety instructions, warranty information, FCC rules, etc.
Download Radiodetection C.A.T and Genny, C.A.T+ and Genny+ - Manual
Advertisement


Need help?
Do you have a question about the C.A.T and is the answer not in the manual?
Questions and answers