Table of Contents
Advertisement
Quick Links
DESIGNED BY:
Quick Assembly Guide
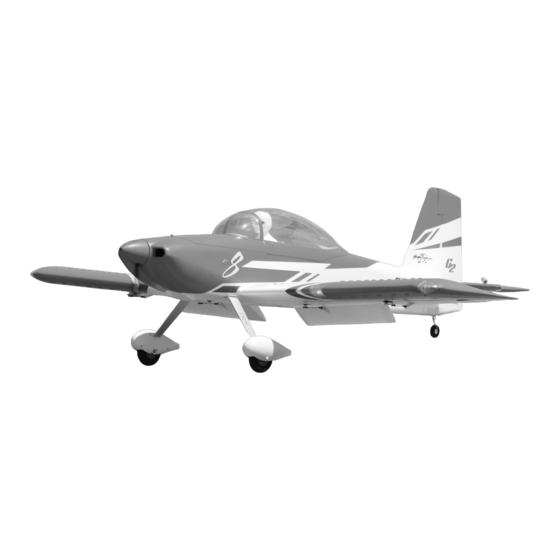
Thank you for purchasing the Flex Innovations RV-8 60E G2!
Flex Innovations airplanes are now shipping with digital manuals. This ensures that you always have
the most up-to-date information, including any future modifications, upgrades or even future product
generations. It also makes your assembly and flying experience as accurate and enjoyable as possible.
You can find the most updated version of the manual at the link shown below or simply by scanning
the QR code with your phone. If you would like a printed version of the manual and did not order one
with your airplane you can also find information on how to order
one at the same location.
If you have experience assembling Flex Innovations Super PNP
aircraft then this quick assembly guide is for you. Inside you
will find general assembly sequence recommendations, radio
setup details and everything you need pre-flight. This
assembly guide is not comprehensive and assumes a certain
level of familiarity and comfort with the process.
For full details on how to put together your RV-8 60E G2, for
any last minute updates, for additional details such as parts
lists please follow the link or the QR code for the complete
manual.
https://www.flexinnovations.com/product/rv-8-60e-g2-super-pnp/
Advertisement
Table of Contents

Related Manuals for Flex innovations RV-8 60E G2


Summary of Contents for Flex innovations RV-8 60E G2
- Page 1 Quick Assembly Guide Thank you for purchasing the Flex Innovations RV-8 60E G2! Flex Innovations airplanes are now shipping with digital manuals. This ensures that you always have the most up-to-date information, including any future modifications, upgrades or even future product generations.
- Page 2 It will include a small quantity of pictures wherever necessary to clarify or illustrate these steps. This information should be enough to put the RV-8 60E G2 together but if you have any doubts please reference the full manual.
- Page 3 Assembly Sequence Continued Horizontal Stabilizer Insert and roughly center the carbon fiber horizontal stabilizer tube in the fuselage. Insert both halves of the horizontal stabilizer onto the tube. Ensure that the control horn faces the bottom of the fuselage and that the elevator jointer tabs line up properly. If you have the night version, connect the LED power connectors.
- Page 4 Connect your serial receiver to the Aura and bind it to your transmitter. Once this is complete proceed with final configuration. For more details on compatible receivers, on connecting and binding different receivers, flight modes and radio configuration download the complete RV-8 60E G2 manual (link on the cover page) or visit the Aura Wiki at: https://wiki.flexinnovations.com/wiki/Aura...
- Page 5 Power on your transmitter, DISABLE any throttle hold or throttle kill switches, completely lower the throttle trim and set the stick to full throttle. Connect the flight pack to your RV-8 60E G2. Listen for the tones coming from the ESC through the motor, after Note: After throttle calibration about 2 seconds you should hear two tones.
- Page 6 Control Direction Test Refer to the chart below to determine the proper control surface directions. If controls are reversed, DO NOT REVERSE CONTROLS IN YOUR TRANSMITTER OR IN THE AURA CONFIG TOOL. Email us at support@flexinnovations.com for corrective action. Note that BOTH the Transmitter Control Direction Test AND the Flight Controller Sensor Direction Test MUST BE PASSED! IF EITHER ONE DOES NOT PASS, DO NOT FLY! NOTE: There is pre-configured rudder to aileron and rudder to elevator mixing programmed into the Aura.
- Page 7 Aura Sensor Direction Test Perform a test of the gyro system to verify the corrections made for a given movement are correct. If any of the tests do not result in the correct reaction from the airplane's gyro system, DO NOT FLY THE AIRPLANE, and contact us via email at support@flexinnovations.com The flight control system activates with RF broadcast.
- Page 8 Completion and Flight Readiness Once your radio and Aura 8 configuration is complete there are only a few steps left to get your RV-8 60E G2 in the air: Mount the propeller to the motor using the provided washer and nut.
Need help?
Do you have a question about the RV-8 60E G2 and is the answer not in the manual?
Questions and answers