Sign In
Upload
Download
Add to my manuals
Delete from my manuals
Share
URL of this page:
HTML Link:
Bookmark this page
Add
Manual will be automatically added to "My Manuals"
Print this page
×
Bookmark added
×
Added to my manuals
Manuals
Brands
Asko Manuals
Oven
OP8637A1
Instructions for use manual
Asko OP8637A1 Instructions For Use Manual
Hide thumbs
1
2
3
4
5
6
7
8
9
10
11
12
13
14
15
16
17
18
19
20
21
22
23
24
25
26
27
28
29
30
31
32
page
of
32
Go
/
32
Bookmarks
Advertisement
Quick Links
Download this manual
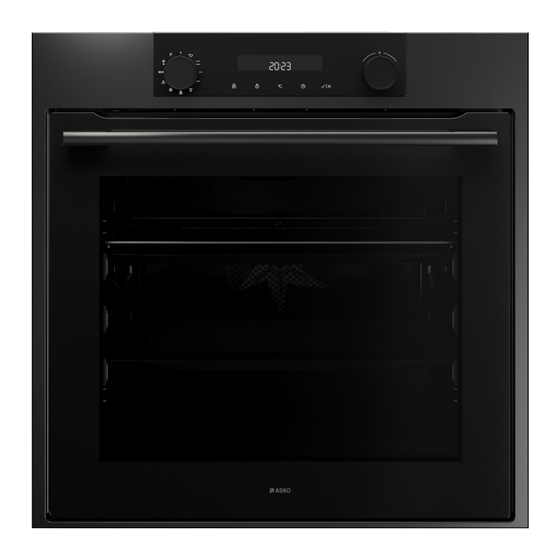
Instructions for use
OVEN
OP8637A / BO6PY4I3-42
OP8637S / BO6PY4I3-42
OP8637A1 / BO6PY4I3-42
OP8637B / BO6PY4I3-42
Previous
Page
Next
Page
1
2
3
4
5
Advertisement
Need help?
Do you have a question about the OP8637A1 and is the answer not in the manual?
Ask a question
Questions and answers
Related Manuals for Asko OP8637A1
Oven Asko BO6PY4I3-42 Operating Instructions Manual
Electric pyrolytic oven (44 pages)
Oven Asko OP8637S Instructions For Use Manual
(32 pages)
Oven Asko OP8637A Instructions For Use Manual
(32 pages)
Oven Asko OP8631S Operating Instructions Manual
(56 pages)
Oven Asko BO6PY4I1-42 Operating Instructions Manual
The electric pyrolytic oven (44 pages)
Oven Asko OP8637B Instructions For Use Manual
(32 pages)
Oven Asko OP86331BG Instructions For Use Manual
(51 pages)
Oven ASKO OP8640 Instructions For Use Manual
Pyrolytic oven (28 pages)
Oven Asko OP8651 Operating Instructions Manual
Multi-function pyrolytic oven (40 pages)
Oven Asko OP8487S Instructions For Use Manual
(44 pages)
Oven Asko OP8687B Instructions For Use Manual
(40 pages)
Oven Asko OP8487A Instructions For Use Manual
(40 pages)
Oven Asko OP8687A1 Instructions For Use Manual
(40 pages)
Oven Asko OP8621S Operating Instructions Manual
Electric pyrolitic oven (53 pages)
Oven Asko OP8687 Instructions For Use Manual
(40 pages)
Oven Asko BO6PY4T1-42 OP8676S Operating Instructions Manual
(48 pages)
This manual is also suitable for:
Op8637s
Op8637a
Op8637b
Bo6py4i3-42
Print
Rename the bookmark
Delete bookmark?
Delete from my manuals?
Login
Sign In
OR
Sign in with Facebook
Sign in with Google
Upload manual
Upload from disk
Upload from URL


Need help?
Do you have a question about the OP8637A1 and is the answer not in the manual?
Questions and answers