Advertisement
Table of Contents
Advertisement
Table of Contents

Subscribe to Our Youtube Channel
Related Manuals for BED BATH & Beyond ID405-29


Summary of Contents for BED BATH & Beyond ID405-29
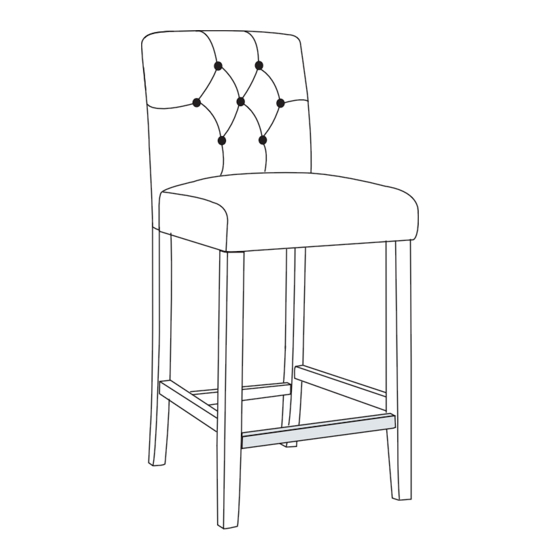
- Page 1 INSTRUCTION MANUAL 29" Linen Fabric Tufted Upholstered Counter Stool SKU: ID405-29 V1.0...
- Page 2 CARE & MAINTENANCE • Be careful when assembly, avoid hurting the paint . • Clean the dust with lukewarm water, mild detergent & soft cloth. • Firmly secure all bolts before use, do not use any part of this item as a step ladder. •...
- Page 3 PRODUCT ASSEMBLY Put chair back on a clean flat surface. Align holes of back and seat pad as shown in the diagram. Using SHORTER SCREW (4) with Washer (#2, 1). DO NOT FULLY TIGHTEN. First HAND tighten then tightened using key up-to 60-80% only at this stage.
- Page 4 PRODUCT ASSEMBLY Insert Side footrest (E) into the holes as shown in the diagram. Please noted the end front leg joint. Align front legs in the seat pad , also insert front footrest into the holes as shown in the diagram. Using LONGER SCREW (5) with Washer (#2, 1 ).
- Page 5 PRODUCT ASSEMBLY Using your own screwdriver 100% lock Self-tapping Screw (6) as shown in the diagram Put chair in the upright position and SIT ON THE CHAIR to press downwards on the seat pad. Ensuring that all 4 feet touch the ground and chair is leveled.
- Page 6 PRODUCT ASSEMBLY Then close the black fabric cover It is an option to add Parts G Front Metal Footrest on Parts F Front Footrest, to prevent from paint scratching when stepping on. GENTLY PUT IT ON AND DO NOT TAKE OFF FREQUENTLY IN CASE HURT THE PAINT.
Need help?
Do you have a question about the ID405-29 and is the answer not in the manual?
Questions and answers