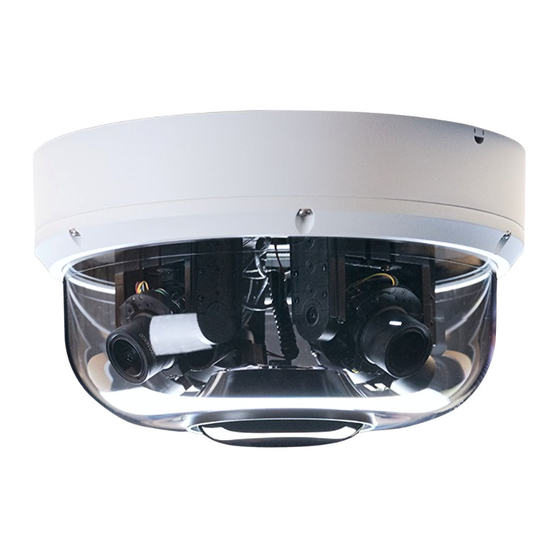
OpenEye OE-C9912M20 Quick Installation Manual
20mp outdoor multisensor camera
Hide thumbs
Also See for OE-C9912M20:
- User manual (60 pages) ,
- Quick installation manual (12 pages) ,
- Hardware manual (8 pages)
Advertisement
PREPARING THE CAMERA
1.
Loosen the 6 screws to remove
the bottom cover.
2.
Remove and discard the
protective EPE from the lens
modules.
(EPE)
3.
Remove the desiccant packet
from its package. Peel away the
protective paper to expose the
adhesive strip and install the
desiccant in the recommended
position with the adhesive strip
down.
DESICCANT
NPT PLUG
4.
Attach the spring cable and
tighten the 6 screws to secure
the cover.
OE-C9912M20 20MP Outdoor Multisensor Camera
WALL MOUNT INSTALLATION
1.
Loosen the anti-drop screw on
the lateral side of the bottom
cover.
2.
Rotate the cap ( ) from LOCK
to OPEN in order to remove the
cap.
3.
Disconnect the safety wire from
the hook.
4.
Loosen the 3 screws on the
bottom plate and open it.
5.
Route the network and
applicable I/O cables through
the grommets.
Quick Installation Guide
6.
Reinstall the bottom plate and
tighten the 3 screws.
7.
Thread the pendant cap onto
the wall mount arm and tighten
the set screw.
8.
Reconnect the safety wire.
9.
Rotate the camera from OPEN
to LOCK in order to fi x the
camera. The
aligned with the LOCK (
10.
Tighten the screw on the lateral
side of the bottom cover.
mark should be
) mark.
37901AC
Advertisement
Table of Contents

Related Manuals for OpenEye OE-C9912M20


Summary of Contents for OpenEye OE-C9912M20
- Page 1 Quick Installation Guide OE-C9912M20 20MP Outdoor Multisensor Camera PREPARING THE CAMERA WALL MOUNT INSTALLATION Loosen the 6 screws to remove Loosen the anti-drop screw on Reinstall the bottom plate and the bottom cover. the lateral side of the bottom tighten the 3 screws.
- Page 2 Reconnect the safety wire. Secure the plate to the ceiling PENDANT MOUNT INSTALLATION using the included screws. Loosen the anti-drop screw on the lateral side of the bottom cover. Thread the pendant cap onto the pendant mount and tighten the set screw. the set screw.
Need help?
Do you have a question about the OE-C9912M20 and is the answer not in the manual?
Questions and answers