Emerson FloBoss S600+ Field Upgrade Manual
Hide thumbs
Also See for FloBoss S600+:
- Instruction manual (156 pages) ,
- Specification manual (30 pages)

Subscribe to Our Youtube Channel
Related Manuals for Emerson FloBoss S600+


Summary of Contents for Emerson FloBoss S600+
- Page 1 Form Number A6299 Part Number D301668X412 February 2011 ™ FloBoss S600+ Field Upgrade Guide Remote Automation Solutions...
- Page 2 FloBoss, ROCLINK, Bristol, Bristol Babcock, ControlWave, TeleFlow and Helicoid are trademarks of RAS. AMS, PlantWeb and the PlantWeb logo are marks of Emerson Electric Co. The Emerson logo is a trademark and service mark of the Emerson Electric Co. All other trademarks are property of their respective owners.
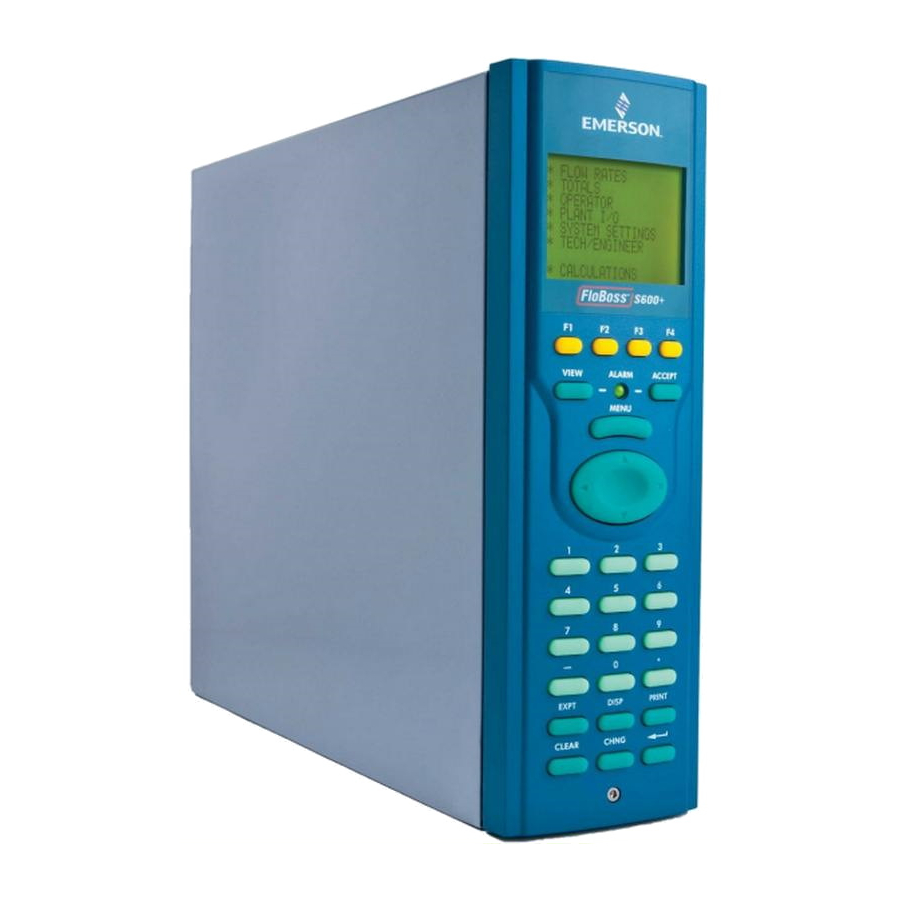
- Page 3 S600+ Field Upgrade Guide Overview This guide describes the processes required to upgrade your FloBoss S600 to a FloBoss S600+. Two general processes are involved: replacing the CPU module and replacing the front panel faceplate. The new CPU module provides increased processing speed, increased memory, additional communication ports, and an enhanced operating system, and represents a significant improvement from the current CPU module.
-
Page 4: Save Configuration
S600+ Field Upgrade Guide Before you begin, open the upgrade kit and verify that you have all S600+ Upgrade Kit the components you need to complete this process: CPU module (P152 R5, part number 7381520) in an anti-static bag. New S600+ front panel faceplate. Front panel connector cable (with ferrite clamp filter) Modified security plate. - Page 5 S600+ Field Upgrade Guide A security cap may cover this hex screw. Note: Carefully slide the front panel up 4 mm to allow it to clear the retaining groove at the top of the case, and then allow the panel to come forward to clear the case completely.
- Page 6 S600+ Field Upgrade Guide Screw Screw Screws Screws Figure 4. Securing Screws Lift the PCB from the old faceplate and place the PCB in the new faceplate. Replace and secure the two top-most screws and the two bottom- most screws (see Figure 4). Replace and gently tighten the four central screws.
- Page 7 S600+ Field Upgrade Guide Hex nuts Figure 5. Protective Plate Carefully pull the connector cable free from its connection in the chassis. Note the orientation of the cable connector. Select the longer connector cable from the upgrade kit and plug it into the connection in the S600 chassis.
- Page 8 S600+ Field Upgrade Guide Figure 6. Installed Ferrite Clamp Proceed to the next step. Reattach the Front Panel Connect the ribbon cable to the front panel. Note how the connector fits into the keyway. You must insert the Caution ribbon cable correctly. Do not force the connector into the keyway. Place the top of the front panel over the retaining groove on the top boss and slide the front panel downwards.
- Page 9 S600+ Field Upgrade Guide Remove Current CPU Module Before you can remove the current CPU module, you may have to open the case for the S600. Depending on how the S600 is installed at your site, you may first have to remove a security plate that prevents easy access to the modules.
- Page 10 S600+ Field Upgrade Guide Security jumper (P3) Cold start jumper P2) Communication jumpers (P7 through- P15, P17, and P18) Figure 7. S600+ CPU Module Jumpers Proceed to the next step. Set Communcations Jumpers Use the communication jumpers to configure comm port settings. An explanatory diagram printed on the CPU module helps you determine what settings to choose (see Figure 8).
- Page 11 S600+ Field Upgrade Guide Jumpers P10, P11, and P12 set the communication mode (RS-422 or RS-485). Jumpers P7, P8, and P9 provide the termination resistor required for RS-422 or RS-485 communications. Jumpers P7 and P10 work together. Comm 5 (TB2) Mode: For RS-422 (full) mode, place the top four jumpers on P10 onto the left-most pair of pins.
- Page 12 S600+ Field Upgrade Guide To disable termination, place the two jumpers on P9 onto the right-most pair of pins. Jumper P14 manages pins 1 and 2 of Comm 9 (TB5). RS-485 mode is Comm 9 (TB5) always active for Comm 9. Place jumpers on the lowermost pair of pins to enable termination, or the uppermost pair of pins to disable termination.
- Page 13 S600+ Field Upgrade Guide Install New CPU Module Once you have set all jumpers, slide the CPU module into the S600 chassis, ensuring that the module fits between the metal glides. Press the module firmly to secure the module’s connector to the backplane, and tighten the retaining screws.
-
Page 14: Apply Power
S600+ Field Upgrade Guide Typically the ground tag “shield of wire” from the Note: communications cable connects to ground at only one point. This may be the field end, or within the cubicle to a ground, or very rarely to the S600 itself. The previous CPU module provided a 13th pin (the last pin after Comm 7) for this purpose. -
Page 15: Download Configuration
S600+ Field Upgrade Guide Enter the default access code (1111). Change this default value to your site’s chosen value as Note: soon as possible to prevent unauthorised access to the system. Select Cold St and confirm your selection. The system restarts and displays the Cold Start menu: 1* WARM START 2* COLD START... - Page 16 S600+ Field Upgrade Guide Only version 3.0 (and greater) of Config600 supports the Note: enhanced functionality of the new CPU module. Start Config600. Select Tools > Transfer from the PCSetup main menu. The Config Transfer screen displays (see Figure 13). Figure 13.
- Page 17 S600+ Field Upgrade Guide When the message Transfer completed successfully displays in this dialog, the process has finished. Click OK to close the dialog and redisplay the Config Transfer Send tab. You can download additional configs (repeating steps 4-8) or click Quit to exit the utility.
- Page 18 S600+ Field Upgrade Guide [This page is intentionally left blank.] Revised Feb-11...
Need help?
Do you have a question about the FloBoss S600+ and is the answer not in the manual?
Questions and answers