Advertisement
Table of Contents
- 1 Table of Contents
- 2 Before Using
- 3 Parts Name
- 4 Cautions
- 5 Installation and Adjustment
- 6 How to Use Drainpipe
- 7 Water Inlet Installation
- 8 Operation
- 9 Preparation before Operation
- 10 Load Laundry
- 11 Use of Detergent
- 12 Control Panel Instructions
- 13 Operation Steps
- 14 Maintenance
- 15 Troubleshooting
- 16 Other Functions
- Download this manual
Advertisement
Table of Contents

Summary of Contents for Dawlance DWT 1470 PL
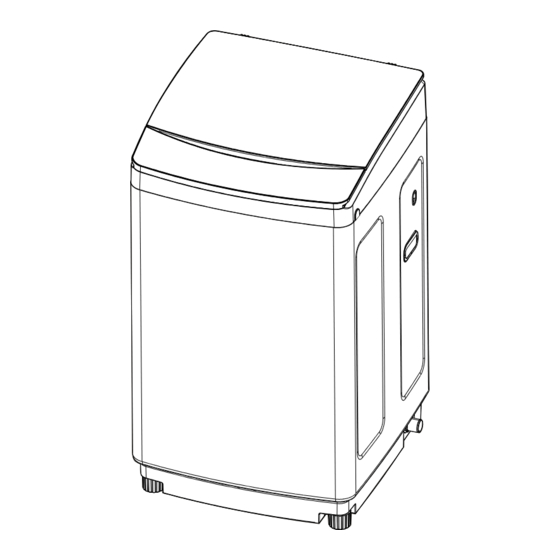
- Page 1 FULLY AUTOMATIC WASHING MACHINE User Manual DWT 1470 PL...
-
Page 2: Table Of Contents
Control panel instructions................. 10 Operation steps..................12 Maintenance.................... 13 Troubleshooting..................14 Other functions..................16 Speci cations Model DWT 1470 PL Rated voltage and frequency 220V~ 50Hz Water level/water volume (about) 70 Litre Product dimension (WxDxH) 585x610x970 (mm) Drum dimension (Dia x H) -
Page 3: Before Using
Parts name Cautions Before using Before using Top lid Please insert the plug into the power socket with voltage rating Top frame Feed valve Always unplug the appliance and turn off the water when 220V A/C. the power is cut, the machine is moving or getting cleaned, or it is not in use. -
Page 4: Installation And Adjustment
Installation and adjustment Before using Cautions Before using Before using Please install and adjust the machine according to the requirements of the manual. It is very important for your safety and correct operation. Unpacking Do not put your hands while the machine is working. It is dangerous to alter the speci cations or It is dangerous even if the speed is very slow. -
Page 5: How To Use Drainpipe
How to use drainpipe Water inlet installation Before using Before using Install drainpipe Tap selection Set drainpipe clip into the drainpipe to above 2-3cm (from the drainpipe end without pothook). Now, install the drainpipe into the right drainpipe connector and x the drainpipe and drainpipe connector with the clip. -
Page 6: Operation
Preparation before Water inlet installation Before using operation Operation Connect the inlet hose with the washing machine 1. Do not take off the water absorption cushion. Please check if the cushion is dropped or damaged before Preparation before washing each use. If it is, contact the seller immediately. Inlet hose nut 1. -
Page 7: Load Laundry
Control panel instructions Load laundry Operation Mode and meaning of the indicator light On: Indicates the selected mode. Flashing: Indicates the program is running. The capacity of washing and spinning of the machine refers Additional functions to the largest weight of the standard laundry under dry At the start of the program, press WATER LEVEL and PRESET at the same time. -
Page 8: Operation Steps
Operation steps Operation Operation Power Button Before washing, the digital timer shows preset time. The unit displayed is HOUR. Press this button once to operate. Press it again to turn the power off. If AIR DRY is selected, the digital timer displays air dry time. -
Page 9: Maintenance
Troubleshooting Maintenance Operation Maintenance methods Before contacting the technicians, please make the following checks: External cleaning After the end of the programme Clean the exterior cabinet of the appliance with a The machine will stop automatically and the soft cloth. Do not use cleanser or volatile chemical buzzer will remind you to take out the laundry Possible reason Phenomena... -
Page 10: Other Functions
Other functions Settlement 1. Give an alarm Display Explanation Settlement Settlement The top lid is opened Close the top lid and clear up the alarm. when preset is started. Open top lid, according to before After draining for 5 minutes, troubleshooting and settlement to Insert the plug tightly.


Need help?
Do you have a question about the DWT 1470 PL and is the answer not in the manual?
Questions and answers
What option should be selected after putting bleach
After adding bleach, you should use the DIY program on the Dawlance DWT 1470 PL, as the bleach is not suitable for the preset program.
This answer is automatically generated