Table of Contents
Advertisement
Quick Links
Advertisement
Table of Contents

Related Manuals for Dawlance DWT 9060 EZ


Summary of Contents for Dawlance DWT 9060 EZ
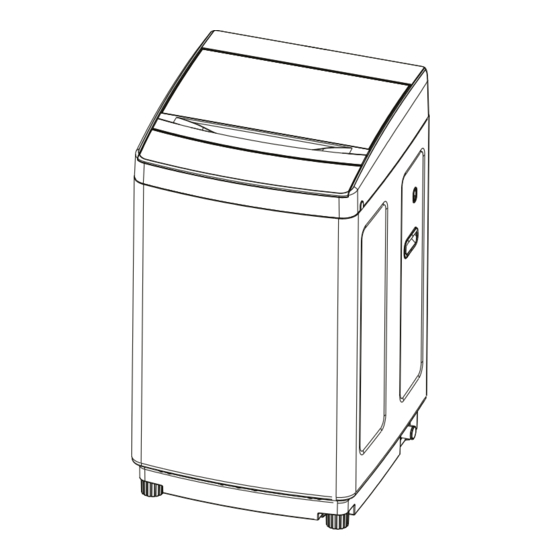
- Page 1 FULLY AUTOMATIC WASHING MACHINE User Manual MODEL: DWT 9060 EZ Read This Manual...
-
Page 2: Table Of Contents
Parts name Contents Before using Before using Parts name....................1 Top lid Cautions..................... 2 Top frame Feed valve Installation and adjustment................ 4 How to use drainpipe................. 5 Detergent box Water inlet installation................6 Lint lter Operation Control panel Power cord Preparation before operation.............. -
Page 3: Before Using
Cautions Cautions Before using Before using Please insert the plug into the power socket with voltage rating Always unplug the appliance and turn off the water when Do not put your hands while the machine is working. It is dangerous to alter the speci cations or 220V A/C. -
Page 4: Installation And Adjustment
Installation and adjustment How to use drainpipe Before using Before using Install drainpipe Please install and adjust the machine according to the requirements of the manual. Set drainpipe clip into the drainpipe to above 2-3cm (from the drainpipe end without pothook). It is very important for your safety and correct operation. -
Page 5: Water Inlet Installation
Water inlet installation Water inlet installation Before using Before using Connect the inlet hose with the washing machine Tap selection 1. Do not take off the water absorption cushion. Please check if the cushion is dropped or damaged before Unsuitable tap Suitable tap each use;... -
Page 6: Operation
Preparation before Load laundry operation Operation Operation The capacity of washing and spinning of the machine refers to the largest weight of the standard laundry under dry conditions. Washing quantity shall be lower than the rated Preparation before washing capacity. 1. -
Page 7: Control Panel Instructions
Control panel instruction Control panel instruction Operation Operation Mode and meaning of the indicator light on: indicate the selected mode At the begi nning of start, the program is "norm al ", press "PROGRAM" button, Digital timer displays program code choo se diffe rent prog rams. -
Page 8: Operation Steps
Operation steps Operation steps Operation Operation Delay Start Time Button Power Button Adjusts delay start time. Max. 24 h Press this button once to operate. Press it again to turn the power off. Water Level Button Start/Pause Button The water level is automatically adjusted. However, you can select the water level manually by Use to pause and restart the operation. -
Page 9: Troubleshooting
Troubleshooting Settlement Before contacting the technicians, please make the following checks: Possible reason Phenomena Settlement Insert the plug tightly. Plug is not inserted tightly. Control panel has no display Make sure the socket is functioning, else change to another socket. No electricity is in the socket. -
Page 10: Other Functions
Other functions 1. Give an alarm Display Explanation Settlement The top lid is opened Close the top lid and clear up the alarm. when preset is started. Open top lid, according to before After draining for 5 minutes, troubleshooting and settlement to it still does not reach to settle it, then close the top lid and the water level.
Need help?
Do you have a question about the DWT 9060 EZ and is the answer not in the manual?
Questions and answers
How open door switch
To open the door switch on the Dawlance DWT 9060 EZ, you need to lift the top lid. However, if the machine is working, opening the top lid will stop the machine and trigger an alarm. If you close the lid within 5 seconds, the alarm will stop and the machine will continue working. If not closed within 5 seconds, the machine will start draining and continue the alarm.
This answer is automatically generated