Table of Contents
Advertisement
Quick Links
Advertisement
Table of Contents

Related Manuals for Intelbras AMT 1000 SMART


Summary of Contents for Intelbras AMT 1000 SMART
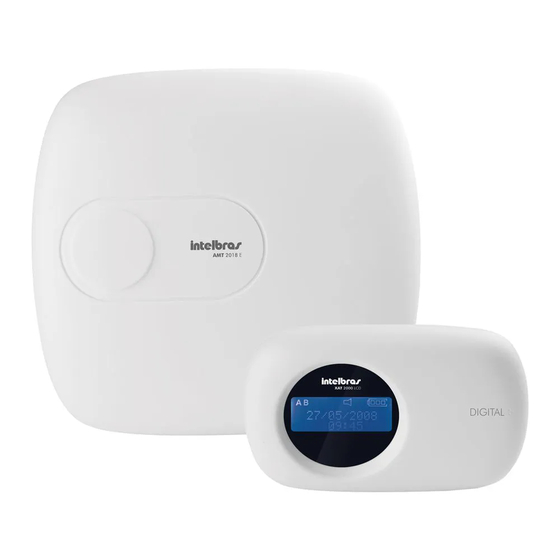
- Page 1 English Installation guide AMT 1000 SMART AMT 2018 E SMART...
- Page 3 Congratulations, you have just purchased a product with Intelbras quality and safety. It is an installation guide for units AMT 1000 SMART and AMT 2018 E SMART. For further information, refer to Installation Manual and Technical Description on Intelbras website.
-
Page 4: Table Of Contents
Summary 1. Technical specifications 2. Installation 2.1. Connection schematic ...............7 2.2. -
Page 5: Technical Specifications
1. Technical specifications Model AMT 1000 SMART AMT 2018 E SMART Eth connection Yes and provided in the unit Yes and provided in the unit Eth speed 100 Mbps and Full Duplex 100 Mbps and Full Duplex Remotely via Eth... -
Page 6: Installation
XG 2G XG 3G XG 4G Technology GPRS 3G and GPRS 4G and GPRS Chip quantity 2 Chips 2 Chips 2 Chips Antenna 0 dBi external 0 dBi external 0 dBi external Quadri band: Penta band: Hexa band: Frequency 850/900/1800/1900 MHz 800/850/900/1900/2100 MHz 700/850/900/1800/2100/2600 MHz Chip dialing... -
Page 7: Connection Schematic
2.1. Connection schematic Alarm unit Zonas Zonas Zonas Zonas... -
Page 8: Network Cable Connection Connector
Jumper position in Address connector defines which will be Keyboard 1, Keyboard 2, Keyboard 3 and Keyboard 4. Keyboard 4 Keyboard 3 Keyboard 2 Keyboard 1 The following table provides zone identification according to keyboard jumper addressing. AMT 1000 SMART AMT 2018 E SMART Keyboard Blue wire White wire Keyboard... - Page 9 Position of jumpers JP1, JP2, JP3 and4 define which will be Receiver 1, Receiver 2, Receiver 3 and Receiver 4. Busbar selection must be performed in jumper JP5 and needs to be in position T1 T2, as units AMT 1000 SMART and AMT 2018 E SMART have only this busbar.
-
Page 10: Auxiliary Output
2.5. Register wireless sensors and remote controls through the following buttons: Sensor and Control Units AMT 1000 SMART and AMT 2018 E SMART enable performing wireless sensor registrations through the button Sensor and registering remote controls through the button Control found in the unit main board. - Page 11 2.5.1. Wireless sensor registration 1. Upon selecting the modulation, press the Sensor button in the unit until LED (LD13) is lit in selected modulation color 2. Perform wireless sensor actuation: » Registered: LED will turn off and a sound signal of 2 quick confirmation beeps will be released in the keyboard being used;...
-
Page 12: Communication With Module Fxo 8000
2.6. Communication with module FXO 8000 Telephone line module FXO 8000 FXO 8000 installation must be performed with alarm unit turned off to prevent damage to equipment and installer. Next, turn on FXO 8000 grounding in the unit GROUND, as provided in the next image. It is mandatory that the ground- ing is performed to increase protection against lightning bolts and overloads. -
Page 13: Communication With Modules Xg 2G, Xg 3G And Xg 4G
SIM 2 Antenna SIM 2 Antenna SIM 2 2.8. Zone input AMT 1000 SMART AMT 2018 E SMART Lower zone Upper zone Lower zone Upper zone When any zone is enabled, the unit generates the event Contact ID 1535 - Zone Enabled with zone number to notify the monitoring company. - Page 14 sors and not directly in the unit. If they are installed in the unit, short circuit and tamper safety will be compromised and the location will be vulnerable. The following figure show wrong and right installation forms. Zona da central Unit zone Sensor (0) Single zones without end-of-line resistor...
- Page 15 (2) Single zone with end-of-line resistor and wiring short circuit detection Alarm unit Sensor (3) Single zone with end-of-line resistor, tamper and wiring short circuit detection Alarm unit Alarm unit Sensor Sensor Sensor connection with tamper Sensor connection without tamper (4) Double zone without end-of-line resistor Alarm unit Alarm unit...
- Page 16 (6) Double zone with end-of-line resistor, tamper and wiring short circuit detection Alarm unit Alarm unit Zone 11 sensor Zone 1 sensor Zone 11 sensor Zone 1 sensor Sensor connection with tamper Sensor connection without tamper (7) Parallel duplication with wiring short circuit detection Alarm unit Zone 11 sensor Zone 1 sensor...
-
Page 17: Cloud Connection
3. Cloud connection To keep easy connection between alarm unit and our application, and provided enhance security to customers, we have developed a new QR Code label model, according to the following image, that has the following fields: » MAC; »... -
Page 18: Problem Display And View
: if this icon is blinking, it indicates that some problem was detected. If it is one, the keyboard is in problem » display mode. » Letter P: if letter P icon is on in the lower left corner, the unit is ready to be activated. It means every zone is closed. Remark: if letter P icon is on in the upper right corner, the unit is in programming mode. -
Page 19: View Zone Status
» Activation or deactivation of partition A: to activate partition A, insert a valid password in the keyboard. It is also possible to activate partition A by inserting Activate + 1 + password. The password inserted must have permission to activate and permission in partition A. -
Page 20: Event Map
9. Event map Enter + 90 + X + Enter Enter + 91 + X + Enter Failure/trigger events Recovery events Contents Event Description Contents Event Description 401 User Deactivation 401 User Activation 456 Partial Activation 130 Zone Trigger 130 Zone Trigger Recovery 133 24h Zone Trigger 133 24h Zone Trigger Recovery 131 Electric fence trigger... -
Page 41: Update
» Turn on the unit with button Control pressed. Status yellow LED must always remain on; » Run Intelbras Bootloader program and connect a micro USB cable to the unit and computer; » Select the port, the new version file and the unit model;... -
Page 42: Warranty Term
In case of doubt on reverse logistics process, contact us through telephones (48) 2106-0006 or 0800 704 2767 (from Monday to Friday, 8 AM to 8 PM, and Saturdays from 8 AM to 6 PM) or through email: suporte@intelbras.com.br. - Page 44 Support via e-mail: suporte@intelbras.com.br Customer Service: 0800 7042767 Where to buy? Who installs it? 0800 7245115 Produced by: Intelbras S/A – Indústria de Telecomunicação Eletrônica Brasileira Rodovia BR 459, km 124, 1325 – Distrito Industrial – Santa Rita do Sapucaí/MG – 37540-000 02.23 CNPJ 82.901.000/0016-03 –...
Need help?
Do you have a question about the AMT 1000 SMART and is the answer not in the manual?
Questions and answers