Advertisement
What's in the box?
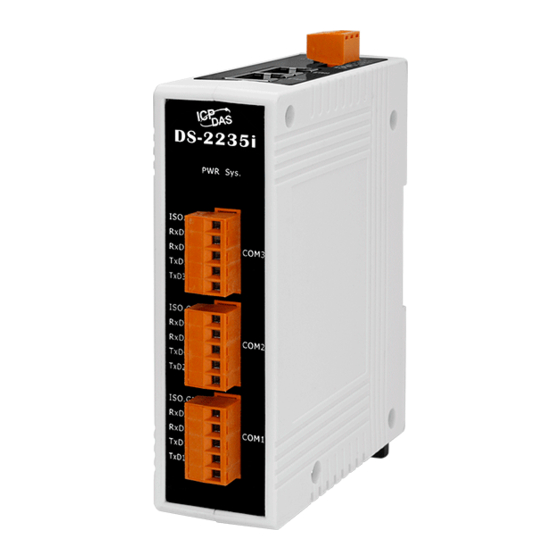
The package includes the following items:
DS-2200 Series Module x 1
Related Information
DS Series Product Page:
http://www.icpdas.com/root/product/solutions/industrial_communication/pds/tds-700.html
Documentation & Firmware:
http://ftp.icpdas.com/pub/cd/tinymodules/napdos/ds-2200/document/
http://ftp.icpdas.com/pub/cd/tinymodules/napdos/ds-2200/firmware/
NS-205/NS-205PSE Product Page (optional):
http://www.icpdas.com/root/product/solutions/industrial_ethernet_switch/ns-205.html
http://www.icpdas.com/root/product/solutions/industrial_ethernet_switch/ns-105pse.html
Technical support:
DS-2200 Series Quick Start
service@icpdas.com
Quick Start x1 (This Document)
V1.0, Mar. 2020
P1
Advertisement
Table of Contents

Subscribe to Our Youtube Channel
Related Manuals for ICP DAS USA DS-2200 Series


Summary of Contents for ICP DAS USA DS-2200 Series
- Page 1 DS-2200 Series Quick Start V1.0, Mar. 2020 What’s in the box? The package includes the following items: DS-2200 Series Module x 1 Quick Start x1 (This Document) Related Information DS Series Product Page: http://www.icpdas.com/root/product/solutions/industrial_communication/pds/tds-700.html Documentation & Firmware: http://ftp.icpdas.com/pub/cd/tinymodules/napdos/ds-2200/document/ http://ftp.icpdas.com/pub/cd/tinymodules/napdos/ds-2200/firmware/...
- Page 2 Connecting the Power and Host PC Make sure your PC has workable network settings. Disable or well configure your Windows firewall and Anti-Virus firewall first, else the “Search Servers” on Chapter 4 may not work. (Please contact with your system Administrator) Connect both the DS-2200 and your PC to the same sub network or the same Ethernet switch.
- Page 3 Self-Test Wiring Wiring Notes for RS-232/485/422 Interfaces: : Here, the RS-232 and RS-485 wiring is used as an example. RS-232 Wiring RS-422 Wiring RS-422 DS-2200 Modbus Device TxD+ RxD+ TxD- RxD- RxD+ TxD+ RxD- TxD- RS-485 Wiring RS-485 DS-2200 Modbus Device...
- Page 4 Installing Software on Your PC Install VxComm Utility, which can be obtained from the web site: http://ftp.icpdas.com/pub/cd/8000cd/napdos/driver/vxcomm_driver/windows/ ftp://ftp.icpdas.com/pub/cd/8000cd/napdos/driver/vxcomm_driver/windows/ Configuring Network Settings 1) Double-click the VxComm Utility shortcut on the desktop. 2) Click the “Search Servers” to search your DS-2200. 3) Double-click the name of DS-2200 to open the “Configure Server (UDP)” dialog box.
- Page 5 4) Contact your Network Administrator to obtain a correct network configuration (such as IP/Mask/Gateway). Enter the network settings and click “OK”. Note: The DS-2200 will use the new settings 2 seconds later. Configuring Virtual COM Ports 1) Wait 2 seconds and click “Search Servers” button again to ensure the DS-2200 is working well with new configuration.
- Page 6 3) Click the “Add Server[S]” button. 4) Assign a COM Port number and click “OK” to save your settings. 5) Click on DS-2200 name and check the virtual COM Port mappings on the Technical support: service@icpdas.com...
- Page 7 6) Click the “Restart Driver” item in the “Tools” menu to display the “VxComm Utility: Restarting Driver” dialog box. 7) Click the “Restart Driver” button. Self-Test 1) Right click Port1 and then choose the “Open COM Port” item. 2) Check that the configuration of the COM Port is correct and then click the “Open COM”...
- Page 8 Type a string in the “Send” field. Click the “Hex/Text” option in the “Display” section. Click the “Send” button to send the message. If a response is received, it will be displayed in the received field. Note that if you intend to use Internet Explorer, ensure that the cache function is disabled in order to prevent browser access errors, please disable your Internet Explorer cache as follow: (If you are not using IE browser, please skip this step.)
Need help?
Do you have a question about the DS-2200 Series and is the answer not in the manual?
Questions and answers