Advertisement
Quick Links
Description:
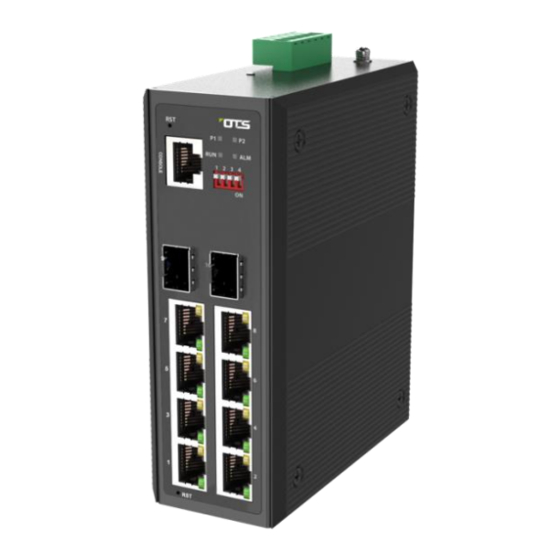
L2+ Hardened Grade Managed 8-port 10/100/1000Base-TX (PoE++) + 2-port
100/1000Base-SFP Ethernet Switch
Overview:
IES8222MPp9H-S-DR is a new generation, managed, industrial grade, L2+ Gigabit PoE++
(Power over Ethernet plus plus) switch that provides 8x10/100/1000Base-TX RJ45 ports
plus 2x100/1000Base-SFP ports. It provides stable and reliable Ethernet transmission
with high quality design and reliability.
Package Content
⚫
Managed PoE Switch x 1
⚫
DIN-Rail Clip x 1
⚫
RJ-45 Console Cable x 1
⚫
Quick Installation Guide x 1
◎
Keep power off during installation
◎
use Antistatic Wrist Strap correctly
◎
Make sure using correct power supply, voltage must match
◎
Make sure enough power supply from PSU that will not overload
◎
Double check the wiring ( +/- ) is correct.
◎
Keep installation dry and clean.
Quick Installation Guide
IES8222MPp9H-S-DR
Read Before Install
Quick Installation Guide
IES8222MPp9H-S-DR / version 1.1
OT Systems Ltd. | www.ot-systems.com
Advertisement

Related Manuals for OTS IES8222MPp9H-S-DR


Summary of Contents for OTS IES8222MPp9H-S-DR
- Page 1 L2+ Hardened Grade Managed 8-port 10/100/1000Base-TX (PoE++) + 2-port 100/1000Base-SFP Ethernet Switch Overview: IES8222MPp9H-S-DR is a new generation, managed, industrial grade, L2+ Gigabit PoE++ (Power over Ethernet plus plus) switch that provides 8x10/100/1000Base-TX RJ45 ports plus 2x100/1000Base-SFP ports. It provides stable and reliable Ethernet transmission with high quality design and reliability.
- Page 2 Quick Installation Guide IES8222MPp9H-S-DR / version 1.1 ◎ Do not open the chassis DIN Rail Installation DIN rail. Installation methods are as follows: Power Input The Industrial Switch has two redundant power inputs, PRW1 and PWR2. The Phoenix terminal patch panel connector is located on the top panel of the switch. The front view of the patch panel is shown below.
- Page 3 Quick Installation Guide IES8222MPp9H-S-DR / version 1.1 c) After the device is powered on, the PWR indicator will all be on. If the indicators are not on, check the power supply connection. d) After all cables are correctly connected, the indicators will be lit as per port status LEDs.
Need help?
Do you have a question about the IES8222MPp9H-S-DR and is the answer not in the manual?
Questions and answers