Table of Contents
Advertisement
Quick Links
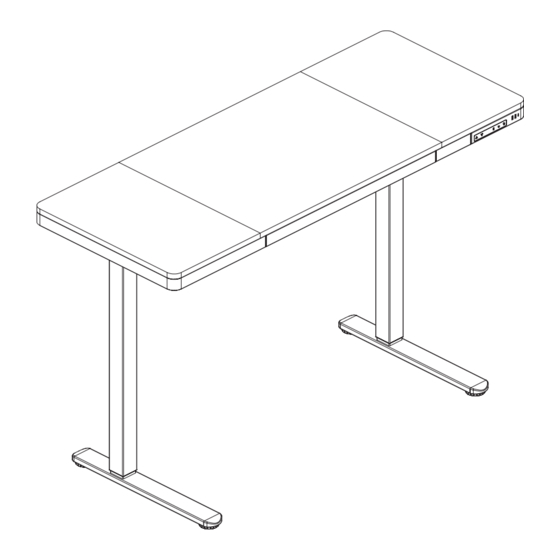
Black 60" x 24" Electric Desk
with Built-in Drawer
Instruction Manual
SKU: DESK-E-D60B
Scan the QR code with your mobile device or follow the link
for helpful videos and specifications related to this product.
https://vivo-us.com/products/desk-e-d60b
GET IN TOUCH | Monday-Friday from 7:00am-7:00pm CST
help@vivo-us.com
www.vivo-us.com
Chat live with an agent!
309-278-5303
Advertisement
Table of Contents

Subscribe to Our Youtube Channel
Summary of Contents for Vivo DESK-E-D60B
- Page 1 Black 60" x 24" Electric Desk with Built-in Drawer Instruction Manual SKU: DESK-E-D60B Scan the QR code with your mobile device or follow the link for helpful videos and specifications related to this product. https://vivo-us.com/products/desk-e-d60b GET IN TOUCH | Monday-Friday from 7:00am-7:00pm CST help@vivo-us.com...
-
Page 2: Electrical Safety Instructions
WARNING! If you do not understand these directions, or if you have any doubts about the safety of the installation, please call a qualified technician. Check carefully to make sure there are no missing or defective parts. Improper installation may cause damage or serious injury. -
Page 3: Tools Needed
TOOLS NEEDED 110lbs DO NOT EXCEED WEIGHT CAPACITY. (50kg) Failure to do so may result in serious injury. Phillips Screwdriver ASSEMBLY STEPS STEP 1 Attach Left Crossbar (D) to Leg (K) using M6x11mm Screws (S-A) and 5mm Allen Wrench (T-B). Connect Left Side Bracket (I) to Leg (K) using M6x11mm Screws (S-A) and 5mm Allen Wrench (T-B). - Page 4 STEP 2 Connect Right Crossbar (E) to Motorized Leg (L) using M6x11mm Screws (S-A) and 5mm Allen Wrench (T-B). Connect Right Side Bracket (J) to Motorized Leg (L) using M6x11mm Screws (S-A) and 5mm Allen Wrench (T-B). Install Foot (P) to underside of Motorized Leg (L) using M6x35mm Screws (S-B) and 5mm Allen Wrench (T-B).
- Page 5 STEP 3 Connect Left and Right Crossbars (D, E) using Crossbar Connector (F), M6x11mm Screws (S-A), and 5mm Allen Wrench (T-B). STEP 4 1. Loosen the nut on Sync Rod (H). 2. Insert the hex end into Leg (K). 3. While holding the hex end, pull the larger rod out until the connector engages with Motorized Leg (L).
- Page 6 STEP 5 Apply Rubber Pads (R) to assembled frame. STEP 6 Set out Left, Middle, and Right Desktop Panels (A, B, C) in the order shown below. Place Back Facade (G) on back edge of Middle Desktop Panel (B). Connect Desktop Panels (A, B, C) together using Wooden Dowels (S-E), pressing plastic end caps on Left and Right Desktop Panels (A, C) into the ends of Back Facade (G).
- Page 7 STEP 7 Secure Back Facade (G) to Desktop Panels (A, B, C) using M5x55mm Screws (S-D) and a Phillips screwdriver. STEP 8 Secure the frame assembly to the desktop assembly using M5x16mm Screws (S-C) and a Phillips screwdriver.
- Page 8 STEP 9 Slide Left and Right Drawer Support (M,N) onto Drawer (O) with bracket facing away from Drawer (O). STEP 10 Install drawer assembly to underside of desktop using M5x12mm Screws (S-F) and a Phillips screwdriver.
- Page 9 STEP 11 Connect AC Adapter (Q) and cable from Motorized Leg (L) to back of controller, as shown below. Remove adhesive backing from Cable Clips (S) and apply them to the underside of the desktop to keep cables secure.
- Page 10 CONTROLLER Up Arrow Down Arrow Press and hold for continuous Press and hold for continuous upward movement. Short press downward movement. Short press for 0.39"/1cm movement. for 0.39"/1cm movement. Sitting Height Preset Press once and then select one After programming preset, of two memory preset buttons to press once for desk to return to save the height.
-
Page 11: Troubleshooting
USB Function Controller includes two USB-A ports and one USB-C port compatible with charging mobile devices. Ports are ready to use whenever desk is fully powered. TROUBLESHOOTING Error Description/Resolution Code Overheated Warning: Hot is displayed when desk has been working continuously for 2 minutes. - Page 12 AVG. RESPONSE TIME (within office hrs) - 23% within < 15m - 38% within < 30m - 61% within < 1hr - 83% within < 2hr - 92% within < 3hr FOR MORE VIVO PRODUCTS, CHECK OUT OUR WEBSITE AT: www.vivo-us.com...


Need help?
Do you have a question about the DESK-E-D60B and is the answer not in the manual?
Questions and answers