Videotec MAXIMUS MVXHD Instruction Manual
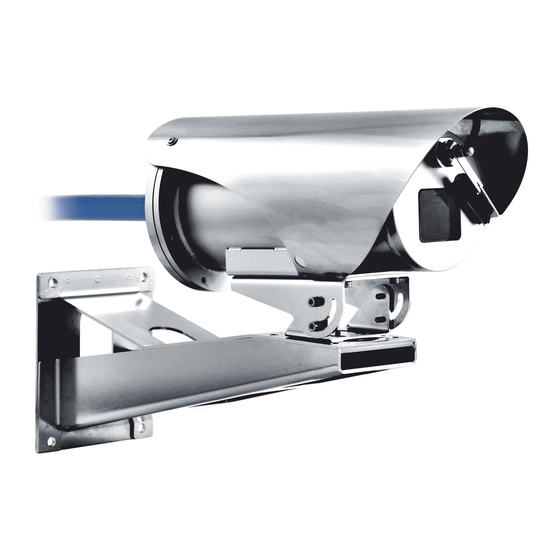
High-spec ex-proof hd camera in a compact design
Hide thumbs
Also See for MAXIMUS MVXHD:
- Instruction manual (172 pages) ,
- Instruction manual (12 pages) ,
- Instruction manual (88 pages)

Related Manuals for Videotec MAXIMUS MVXHD


Summary of Contents for Videotec MAXIMUS MVXHD
- Page 1 ENGLISH MAXIMUS MVXHD High-spec ex-proof HD camera in a compact design anual English - Instruction manual...
-
Page 2: Table Of Contents
Contents E N G L I S H 1 About this manual ........................3 1.1 Typographical conventions ..............................3 2 Notes on copyright and information on trademarks ............3 3 Product description and type designation ................3 3.1 Product marking label ................................3 4 Installation .......................... -
Page 3: About This Manual
3 Product description and reliance on the information presented herein. type designation For greater certainty, the use of "manufacturer" in this manual means "VIDEOTEC s.r.l.". 3.1 Product marking label 1.1 Typographical conventions See the label attached to the product. DANGER! High level hazard. -
Page 4: Installation
4 Installation 4.2 Connecting the power supply Electrical connections must be performed CAUTION! Device installation and with the power supply disconnected and maintaining must be performed by the circuit-breaker open. specialist technical staff only. When commencing installation make The external multipolar cable shield sure that the specifications for the power (armour) must be earthed. -
Page 5: Ethernet Cable Connection
4.3 Ethernet cable connection 4.4 I/O cable connection The Ethernet cable shield must always be CAUTION! TNV-1 installation type. The earthed via the connector. Always use a installation is type TNV-1, do not connect it shielded RJ45 connector. to SELV circuits. Use of Ethernet cables with the following The shielding of the I/O cable must be characteristics is highly recommended:... -
Page 6: Relay Connection
5.1 Before powering the product 4.4.1.2 Relay connection in an explosive atmosphere Each relay is usable with the specifications described below. Make sure that the unit and other • Working voltage: up to 30Vac or 60Vdc. components of the installation are closed •... -
Page 7: Configuration
6 Configuration 7 Accessories 6.1 Default IP address For further details on configuration and use, refer to the manual of the relevant accessory or support. The unit is configured to obtain an IP address from a DHCP server. 7.1 Inserting an SD Card The IP address acquired via DHCP is visible in the DHCP server log file. -
Page 8: Maintenance
8 Maintenance 8.1 Factory Default It is possible to reset to the factory default settings. The pre-installed camera can only be Execute the procedure below: replaced with one of the same brand and • Power the unit. model. • Wait for 3 minutes. Read the product Manual A before •... -
Page 9: Information On Disposal And Recycling
9 Information on disposal 10 Troubleshooting and recycling Contact an authorized support centre if the problems listed below persist or The European Directive 2012/19/EU on Waste you have any other issues that are not Electrical and Electronic Equipment (WEEE) described here. mandates that these devices should not be disposed of in the normal flow of municipal solid waste, but Read the product Manual A before... -
Page 10: Technical Data
De-fog: On/Off Privacy Zones Day/Night Control: Automatic, Manual Flicker Control: 60Hz, 50Hz Backlight Compensation: On/Off Headquarters Italy VIDEOTEC s.r.l. Via Friuli, 6 - I-36015 Schio (VI) - Italy Tel. +39 0445 697411 - Fax +39 0445 697414 Email: info@videotec.com www.videotec.com...
Need help?
Do you have a question about the MAXIMUS MVXHD and is the answer not in the manual?
Questions and answers