Subscribe to Our Youtube Channel
Summary of Contents for JWA Herring 73675
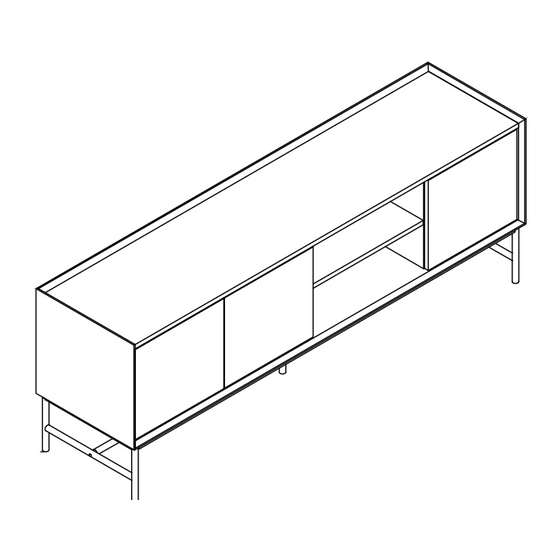
- Page 1 ASSEMBLY INSTRUCTION Herring Entertainment Unit ITEM CODE 73675 Imported by JWA Furniture Pty Ltd, Brisbane Qld, Australia. For any assistance with assembly or for missing parts please refer to your receipt...
-
Page 2: Pre-Assembly Preparation
PRE-ASSEMBLY PREPARATION Before you start: 1. Choose a clean, level, spacious assembly area. Avoid hard surfaces that may damage the product 2. Take care when lifting. Product should be assembled as near as possible to the point of use 3. Ensure that you have all required contents for complete assembly 4. - Page 3 Item code:68783 2021-08-27...
-
Page 4: Parts List
PARTS LIST Ø15x12mm 6x35mm 8x30mm 7x50mm 14pcs 22pcs 20pcs 6pcs 16pcs 3.5x14mm 67pcs 3pcs 3pcs 4pcs M6x12mm M6x28mm M6x35mm 2pcs 2pcs 10pcs 6pcs 4pcs 6x30mm 4x35mm 4x25mm 2pcs 2pcs 2pcs 5pcs 4pcs 2pcs TOP PANEL BACK PANEL BOTTOM PANEL BACK PANEL SIDE PANEL DOOR SIDE PANEL... - Page 6 STEP 1: Fix dowel (C) and cam pin (A) to panel (1). STEP 2: Fix plastic support of push open to the top panel with screw (F) and insert the push open into the plastic support.
- Page 7 STEP 3: Fix dowel (C) and cam pin (A) to panel (6)(7). STEP 4: Fix panel (6)(7) to panel (8) with cam lock (B).
- Page 8 STEP 5: Fix panel (5)(6)(7) to panel (1) with cam lock (B). Fix dowel (C) to panel (5)(6)(7). STEP 6: Fix dowel (C) and cam pin (A) to panel (3)(4).
- Page 9 STEP 7: Fix panel (1) to panel (3)(4) with cam lock (B). STEP 8: Insert panel (9)(10)(11) into grooves between panel (1)(3)(4)(5)(6)(7).
- Page 10 STEP 9: Insert the angle cam pin (O) to the bottom board and screw the cam lock (B) to 80% as shown. STEP 10: Attach panel (3)(4) to panel (2) with cam lock (B). Attach panel (5)(6)(7) to panel (2) with screw (D) and using allan key (G) to fix.
- Page 11 STEP 11: Fix side panel to top panel with screw (F). STEP 12: Fix metal leg (16) to meta leg (17) and support tube (18) with screw (N).Using allen key (G) to fix 80% as shown.
- Page 12 STEP 13: Fix metal leg (16)(17) to bottom panel (2) with screw (M)(L).Using allen key (G) to fix 100% as shown. STEP 14: Fix filler (15 ) to top panel (1) with screw (S).
- Page 13 STEP 15: Insert the back panel hook (E) into the back and using screw (F) to fix, as shown. STEP 16: Screw (F) into washer (U) and the wall strap (Q) and fix with top panel.
- Page 14 STEP 17: Glue the Part (U) to the back panel, screw (R) from inside of the TV stand into wall plug (P). STEP 18: Insert screw (F) through washer (I) into panel (12)(13)(14). Attach hinge (J) to panel (12)(14) with screw (F). Attach hinge (K) to panel (13) with screw (F).
- Page 15 STEP 19:Fix door panel (12)(14) to side panel with screw(F). Fix door panel (13) to middle panel (6) with screw(F). ASSEMBLY COMPLETE...
- Page 16 To protect your furniture, we suggest the following: • Avoid placing your furniture in direct sunlight. • Do not place furniture directly under windows. • Do not place sharp materials (knife, fork, etc.) directly onto your furniture as sharp material may scrape and damage the finish.


Need help?
Do you have a question about the Herring 73675 and is the answer not in the manual?
Questions and answers