
Related Manuals for Vent-Axia MULTIVENT MV250H


Summary of Contents for Vent-Axia MULTIVENT MV250H
- Page 1 MULTIVENT MV250H MEV Unit Installation and Wiring Instructions Stock Ref. N° MV250H 183010C 220-240V~50Hz IP22 PLEASE READ INSTRUCTIONS IN CONJUNCTION WITH THE ILLUSTRATIONS. PLEASE SAVE THESE INSTRUCTIONS...
- Page 2 C. Ensure that the mains supply (Voltage, Frequency and Phase) complies with the rating label. D. The Unit should only be used in conjunction with the appropriate Vent-Axia products. E. It is recommended that the connection to the terminal box is made with flexible cable/conduit.
- Page 3 INTRODUCTION NOTES The MULTIVENT is designed for simultaneous ventilation for a maximum of up to four separate areas such as bathrooms, kitchens and toilets. The range can be mounted in three different orientations for convenient installation in roof voids with a height of 250mm or greater. An integral humidistat is provided to automatically trigger an increased airflow in order to quickly remove any build up of humid air caused by showers, cooking etc.
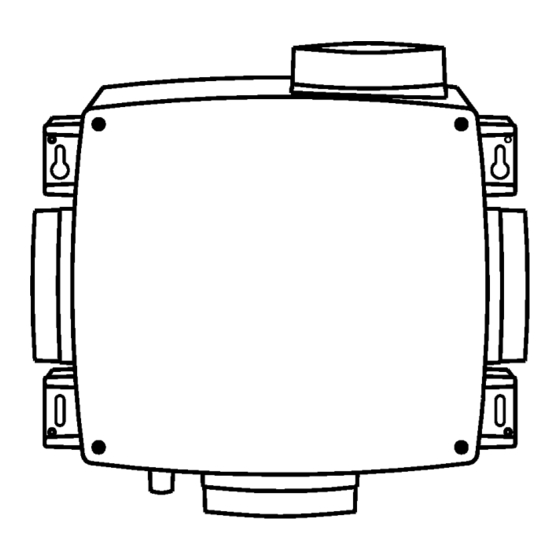
- Page 4 See the dimensional details below for the mounting hole positions. Condensate drain Under the lid Condensate drain On the unit housing INSTALLATION 1. Position the MULTIVENT, taking into consideration the position of the rooms to be ventilated, the exhaust position, the drainage position and the electrical services. Ensure there is adequate access for installation and maintenance.
- Page 5 HUMIDITY ADJUSTMENT. Adjust potentiometer to the required humidistat setting, Fig. 2. To increase the humidistat set point, rotate the adjuster anticlockwise and to decrease the humidistat set point rotate the adjuster clockwise. Fig. 2 Humidity adjustment The Multivent reacts automatically to an increase in %RH above the set point value. If high humidity is detected, the fan speed increases to medium for 30 minutes.
- Page 6 b) The Transmitter Selection Switch Remove battery compartment cover on the back of the transmitter unit. Set the transmitter selection switch to the same number sequence as used for the Multivent receiver, see Fig 4. Connect battery terminal connector to the battery. Fig.
- Page 7 PRODUCT FICHE For Residential Ventilation Units (Complying Commission Delegated Regulation (EU) No 1254/2014) Name: Vent‐Axia Model ID (Stock Ref.) : MV250H ‐ 183010 ‐ LDC SEC Class C SEC Value ('Average') ‐25.71 SEC Value ('Warm') ‐10.21 SEC Value ('Cold') ‐52.78 Label Required? (Yes/No=Out of scope) Yes Declared as: RVU or NRVU/UVU or BVU RVU/UVU Speed Drive Multi‐Speed Type HRS (Recuperative, Regenerative, None) None Thermal Eff: [ (%), NA(if none)] N/A Max. Flow Rate (m3/h) 489.6 Max. Power Input (W): (@Max.Flow Rate) 63.3 LWA: Sound Power Level (dB) 51.53452373 ...
- Page 8 Vent-Axia guarantees its products for two years from date of purchase against faulty material or workmanship. In the event of any part being found to be defective, the product will be repaired, or at the Company’s option replaced, without charge, provided that the product:- ...
Need help?
Do you have a question about the MULTIVENT MV250H and is the answer not in the manual?
Questions and answers