Sign In
Upload
Download
Table of Contents
Contents
Add to my manuals
Delete from my manuals
Share
URL of this page:
HTML Link:
Bookmark this page
Add
Manual will be automatically added to "My Manuals"
Print this page
×
Bookmark added
×
Added to my manuals
Manuals
Brands
Kold-Draft Manuals
Ice Maker
KD-50
User manual
Kold-Draft KD-50 User Manual
Automatic ice cube maker
Hide thumbs
1
Table Of Contents
2
3
4
5
6
7
8
9
10
11
12
13
14
15
16
17
18
19
20
21
22
23
24
25
26
page
of
26
Go
/
26
Contents
Table of Contents
Troubleshooting
Bookmarks
Table of Contents
Table of Contents
Ice Maker Safety
Important Safeguards
Technical Information
Component Locations
Ice Maker Installation
Unpacking
Installing the Adjustable Feet
Location Requirements
Electrical Requirements
Leveling the Ice Maker
Water Supply and Drain Connections
Installation
Operation
Final Checklist before Operation
Operating Method
How the Machine Makes Ice
Normal Sounds
Preparing the Ice Maker Long Storage
Cleaning.and Maintenance
Exterior Cleaning
Condenser Cleaning
Interior Cleaning
Ice Making System Cleaning
Control Box
Major Functions
Troubleshooting
Advertisement
Quick Links
1
Control Box
2
Troubleshooting
Download this manual
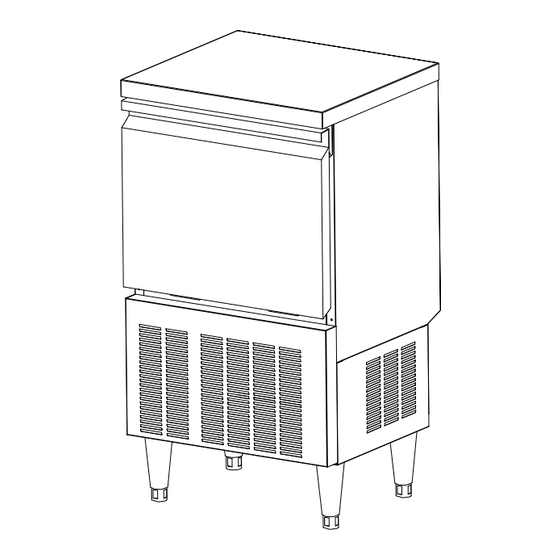
Automatic Ice Cube Maker
User Manual
Be sure unit is standing upright 24 hours prior to plug-in.
Model: KD-50/KD-70/KD-110
Table of
Contents
Previous
Page
Next
Page
1
2
3
4
5
Advertisement
Table of Contents
Need help?
Do you have a question about the KD-50 and is the answer not in the manual?
Ask a question
Questions and answers
Related Manuals for Kold-Draft KD-50
Ice Maker Kold-Draft KD-70 User Manual
Automatic ice cube maker (26 pages)
Ice Maker Kold-Draft KD-110 User Manual
Automatic ice cube maker (26 pages)
Ice Maker Kold-Draft GT36 Series Installation, Operation, Technical Service And Replacement Parts Manual
Ice cube makers, stacking instructions, ice cube crushers, pre-charged remote air-cooled condenser (85 pages)
Ice Maker Kold-Draft GT36 Series Installation And Operation Manual
(32 pages)
Ice Maker Kold-Draft RC314APV SC200 Installation, Operation, Technical Service And Replacement Parts Manual
(107 pages)
Ice Maker Kold-Draft SC200 Series Installation & Operation Manual
(26 pages)
Ice Maker Kold-Draft Classic MGT550 Assembly, Installation And Operation Instructions
Marine cuber (12 pages)
Ice Maker Kold-Draft GT301A Service Manual
Electromechanical and electronic ice cuber (85 pages)
Ice Maker Kold-Draft CLASSIC MGB454W Installation Instructions Manual
Marine cuber with manifold (16 pages)
Ice Maker Kold-Draft CLASSIC GB1258W Series Installation & Operation Instructions
(12 pages)
Ice Maker Kold-Draft CLASSIC GB457 Installation & Operation Instructions
Classic series (11 pages)
Ice Maker Kold-Draft GT357 Classic Installation & Operation Instructions
Ice cubers (10 pages)
Ice Maker Kold-Draft MGB654A Installation Instructions Manual
Air cooled marine cuber with manifold (15 pages)
Ice Maker Kold-Draft MGT350 Series Installation & Operation Instructions
Marine cuber with manifold (12 pages)
Ice Maker Kold-Draft T261 Assembly, Installation And Operation Instructions
Ice crushers (10 pages)
Ice Maker Kold-Draft HD200 Series Installation & Operation Manual
(15 pages)
This manual is also suitable for:
Kd-70
Kd-110
Table of Contents
Print
Rename the bookmark
Delete bookmark?
Delete from my manuals?
Login
Sign In
OR
Sign in with Facebook
Sign in with Google
Upload manual
Upload from disk
Upload from URL


Need help?
Do you have a question about the KD-50 and is the answer not in the manual?
Questions and answers