Table of Contents
Advertisement
Quick Links
Advertisement
Table of Contents

Related Manuals for Equinox Systems MicroPar UV EQLED028


Summary of Contents for Equinox Systems MicroPar UV EQLED028
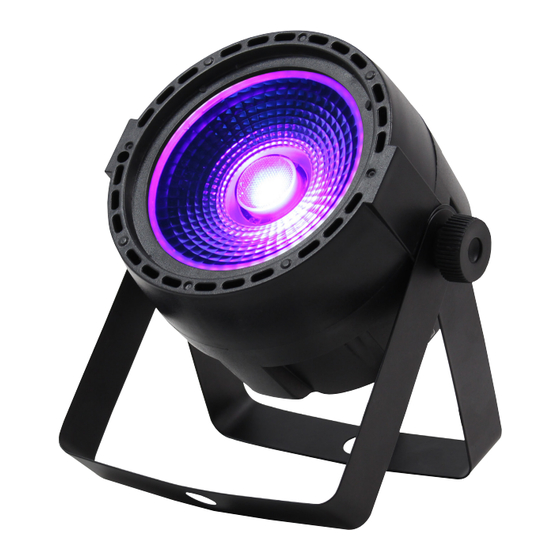
- Page 1 MicroPar UV User Manual Order code: EQLED028...
-
Page 2: Safety Advice
Safety advice WARNING FOR YOUR OWN SAFETY, PLEASE READ THIS USER MANUAL CAREFULLY BEFORE YOUR INITIAL START-UP! • Before your initial start-up, please make sure that there is no damage caused during transportation. • Should there be any damage, consult your dealer and do not use the equipment. •... - Page 3 Product overview & technical specifications MicroPar UV The MicroPar UV creates impressive UV effects yet only consumes 30W of power. The light is also DMX controllable, making it suitable for small stages, entertainers and parties. • 1 x 30W UV COB LED •...
-
Page 4: Technical Specifications
Technical specifications Technical specifications 01 - Hanging bracket POWER 02 - Hanging bracket adjustment knob 03 - LED display DMX IN DMX OUT 04 - Function buttons 05 - Captive power connection MENU DOWN ENTER 06 - Fuse: F1A 250V 07 - 3-Pin DMX input In the box: 1 x fixture 08 - 3-Pin DMX output... -
Page 5: Master/Slave Mode
Operating instructions Operating instructions Operating instructions DMX mode: To access the DMX address mode, press the “MENU” button and use the “UP” and “DOWN” buttons to A001 show on the LED display. Now press the “ENTER” button and use the “UP” and “DOWN” buttons to set the required DMX address. -
Page 6: Dmx Setup
DMX setup Setting the DMX address: The DMX mode enables the use of a universal DMX controller. Each fixture requires a “start address” from 1- 512. A fixture requiring one or more channels for control begins to read the data on the channel indicated by the start address. -
Page 7: Line Termination
DMX setup Notice: Be sure to follow the diagrams below when making your own cables. Pin Configuration Do not connect the cables shield conductor to the ground lug or 3-Pin 5-Pin allow the shield conductor to come in contact with the XLRs Pin 1 - Ground outer casing. -
Page 8: Weee Notice
WEEE notice Correct Disposal of this Product (Waste Electrical & Electronic Equipment) (Applicable in the European Union and other European countries with separate collection systems) This marking shown on the product or its literature, indicates that it should not be disposed of with other household wastes at the end of its working life.
Need help?
Do you have a question about the MicroPar UV EQLED028 and is the answer not in the manual?
Questions and answers