Table of Contents
Advertisement
Quick Links
Advertisement
Table of Contents

Related Manuals for Russell Hobbs RHFPT2


Summary of Contents for Russell Hobbs RHFPT2
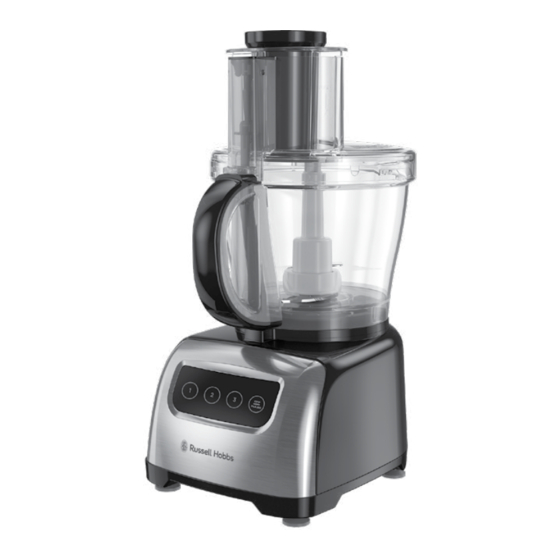
- Page 1 FOOD PROCESSOR 2 YEAR WARRANTY MODEL RHFPT2 INSTRUCTIONS & WARRANTY...
-
Page 2: Important Safeguards
IMPORTANT SAFEGUARDS When using this appliance, basic safety precautions should always be followed, including the following: Read all instructions before, and follow whilst using this appliance. 1. To protect against electric shock do not immerse the cord, plug or motor base of unit in water or any other liquid. - Page 3 23. The use of attachments/accessories not recommended by the appliance manufacturer may cause injuries or damage to the appliance and void warranty. 24. Do not run the motor continuously for more than 1 minute, it may overheat. After 1 minute switch OFF for at least 2 minutes to allow the motor to cool down.
- Page 4 Congratulations on the purchase of your new Russell Hobbs Food Processor. Each unit is manufactured to ensure safety and reliability. Before using the appliance for the first time, please read the instruction booklet carefully and keep it for future reference. Pass it on if you pass on the appliance.
-
Page 5: Getting Started
GETTING STARTED • Remove all packing material, any stickers, and the plastic band around the power plug. BEFORE FIRST USE • Remove and save literature. • Please visit www.prodprotect.com/applica to register your warranty. CAUTION: Handle chopping blade and disc carefully. •... - Page 6 Place the lid with the front feed chute latch (black part) to the left of the handle, onto the workbowl. Align the tabs and lock the lid into place by turning counterclockwise. The lid is locked when it clicks firmly into place. The lid will only lock when the feed chute is aligned with the workbowl handle.
-
Page 7: Using The Speed Controls
USING THE SPEED CONTROLS Note: If the food processor does not run, make sure the workbowl and lid are properly locked on the base and the large food pusher is SPEED CONTROLS fully in place. There is an automatic safety lock that causes the food processor to stop working if the large food pusher pops out and/or The control panel buttons are located on the front of the base. - Page 8 USING THE SLICE/GRATE DISC IN THE WORKBOWL Lock the large workbowl into place. Fit the blade shaft onto the centre post in the large workbowl. Using the 2 large round holes to hold the disc you wish to use, with the desired side up (slice or grate), place the disc onto the blade shaft (G). Place lid on workbowl and lock into place by rotating counterclockwise.
- Page 9 USING THE S BLADE IN THE WORKBOWL Lock the workbowl into place on base. Carefully attach the S blade to the blade shaft. When the S blade gets to the bottom of the blade shaft, turn clockwise to lock (J). You will feel it lock into place.
-
Page 10: Helpful Tips When Using The Dough Blade
USING THE DOUGH BLADE IMPORTANT: Only run the food processor on speed 1 when using the dough blade. Lock the workbowl into place on the base. Place the dough blade onto the blade shaft and turn it clockwise to lock it into place (N). Push the dough blade and the blade shaft down onto centre post in workbowl until fully fitted. -
Page 11: Care And Maintenance
CLEANING • To minimise slender foods, such as carrots or celery, from falling Important: Blades are sharp. Handle blades and discs carefully. over in the feed chute, cut food into several pieces and pack the • Completely disassemble processor parts before washing. feed chute with the food. -
Page 12: Cleaning Tips
• If you are having trouble closing the lid over the workbowl, apply a small amount of vegetable oil to the rim of the lid and workbowl. This should make the pieces work more smoothly. CLEANING TIPS • For quick clean up, combine 1 cup warm water and a drop of liquid dish soap in the food processor workbowl. -
Page 13: Troubleshooting
TROUBLESHOOTING PROBLEM SOLUTION Food processor does not operate • Make sure the large work bowl and lid are properly aligned and locked in place and the large food pusher is inserted in the feed chute. • Check to make sure the food processor is plugged in. - Page 14 Spectrum Brands Australia Pty Ltd Spectrum Brands New Zealand Ltd Locked Bag 3004 Braeside PO Box 9817 Newmarket Victoria 3195 Australia Auckland 1149 New Zealand Customer Service in Australia Customer Service in New Zealand TollFree: 1800 623 118 TollFree: 0800 736 776 Email: info@spectrumbrands.com.au Email: service@spectrumbrands.co.nz Website: www.spectrumbrands.com.au...
- Page 15 Warranty Conditions 4. The Goods must be used in accordance with the manufacturer’s instructions. This Warranty does not apply should the defect in or failure of the Goods be attributable to misuse, abuse, accident or non-observance of manufacturer’s instructions on the part of the user.
- Page 16 NOTES:...
- Page 17 NOTES:...
-
Page 18: Recipe Book
RECIPE BOOK FOOD PROCESSOR RHFPT2 INSTRUCTIONS & WARRANTY... - Page 19 ©2019 Spectrum Brands, Inc. Recipes are to be used in conjunction with the RHFP5000 Classic Food Processor by Russell Hobbs. All rights reserved. No part of this publication may be reproduced, stored in a retrieval system or transmitted in any form or by any means, electronic,...
- Page 20 DOUGH MIXING FOR TORTILLAS Dough blade INGREDIENTS 350g flour 210g water 30g olive oil METHOD Using the dough blade in the workbowl, process the ingredients on speed 1 until smooth. Divide dough into balls to make medium pan size flat circles. Cook tortillas in a pan for 3 minutes, then flip over and cook the other side.
-
Page 21: Pizza Dough
PIZZA DOUGH Dough blade Makes 1 base, approx. 35cm diameter INGREDIENTS 1¼ tsp active dry yeast 330g cups warm water (40°C) ¼ tsp sugar 440 to 495 unsifted plain flour 1 tsp salt 2 tbsp olive oil METHOD Sprinkle yeast over water, add sugar and let stand for 5 minutes until yeast is dissolved. Add 3 cups flour, salt and olive oil. - Page 22 SPINACH PESTO PIZZA S blade, slicing/grating disc Makes one 35cm pizza INGREDIENTS 1 pizza base 440g mozzarella cheese 4 tomatoes, sliced 70g parmesan cheese ¼ cup loosely packed basil leaves Salt & pepper, to taste SPINACH PESTO 2 cups spinach leaves 1 cup basil leaves ½...
- Page 23 FRENCH CREPES Dough blade Serves 4 INGREDIENTS 250g plain flour, sifted 2 eggs 0.5L milk 50g butter, melted 1 tsp vanilla sugar 1 pinch of salt 1 tbs rum METHOD Combine flour, eggs, melted butter, salt, vanilla sugar and rhum in the workbowl. Using the dough blade, process on speed 1 and gradually pour in the milk, until batter is smooth.
-
Page 24: Stuffed Mushrooms
STUFFED MUSHROOMS S blade Serves 6 INGREDIENTS 200g sausage meat 12 large mushrooms 1 large spring onion 1 large clove garlic 1 slice white bread 2 tbsp parsley, chopped 2 tbsp vegetable stock 4 tbsp melted butter ½ cup parmesan cheese, grated METHOD Preheat the oven to 175°...
Need help?
Do you have a question about the RHFPT2 and is the answer not in the manual?
Questions and answers