
Related Manuals for Russell Hobbs RHFP3000 Series


Summary of Contents for Russell Hobbs RHFP3000 Series
-
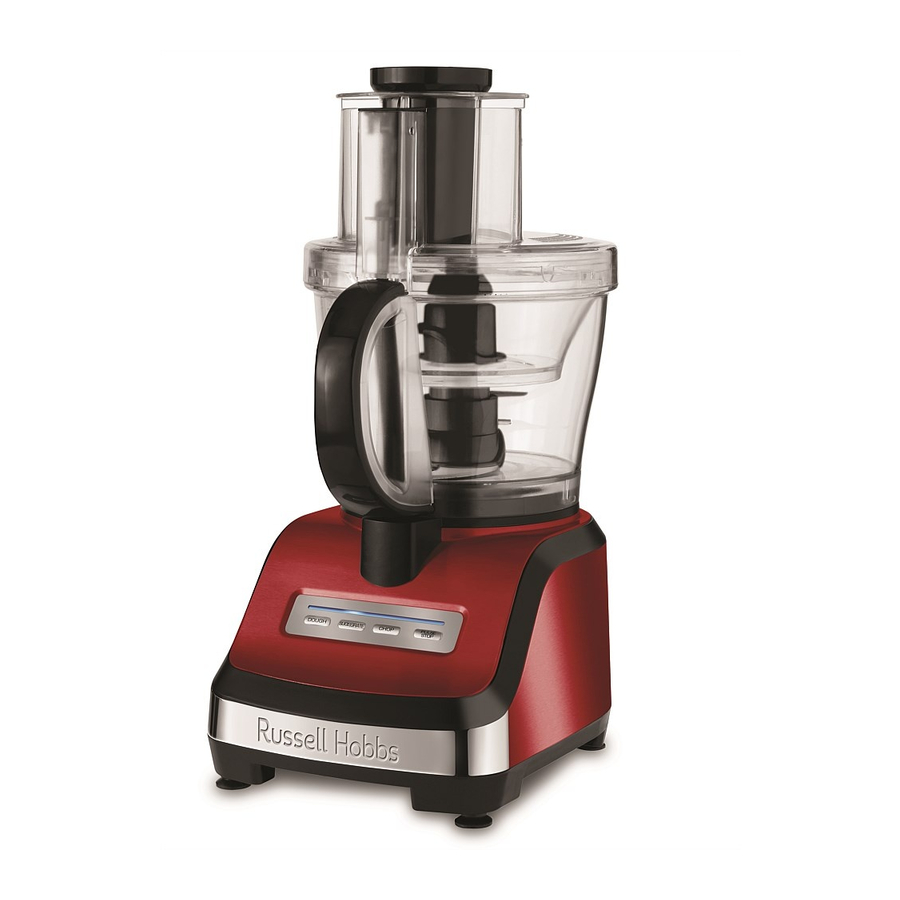
Page 1: Food Processor
Kitchen Metallics Food Processor 2 YEAR WARRANTY RHFP3000 SeRieS instructions & Warranty... - Page 2 (Warranty Period), for the period of:- (a) Two (2) years for Russell Hobbs products (see product packaging for details) (b) Two (2) years with ve (5) year motor warranty for Russell Hobbs products (see product packaging for details) (c) Limited Lifetime, Ten (10) years for Russell Hobbs cookware.
- Page 3 Warranty Conditions 4. The Goods must be used in accordance with the manufacturer’s instructions. This Warranty does not apply should the defect in or failure of the Goods be attributable to misuse, abuse, accident or non-observance of manufacturer’s instructions on the part of the user.
- Page 4 Congratulations on the purchase of your new Russell Hobbs Food Processor. Each unit is manufactured to ensure safety and reliability. Before using the appliance for the first time, please read this instruction booklet carefully and keep it for future reference. Pass it on if you pass on the appliance.
-
Page 5: Important Assembly Information
BEFORE FIRST USE CAUTION: Handle chopping blades and slicing and grating discs carefully. • Remove all packaging material and any stickers from the product. • A s some parts may be packed separately, check to ensure all items have been unpacked before disposing of the packaging. • Remove all accessories and components from the processor bowl. • Wash all removable parts as instructed in “CARE AND CLEANING” section of this manual. • S elect a level, dry countertop where the appliance is to be used, allowing air space on all sides to provide proper ventilation for the motor (50mm gap min). IMPORTANT ASSEMBLY INFORMATION Due to the safety interlock features present in this food processor, the following parts must be in position in order for the food processor to operate:... - Page 6 ASSEMBLY OF THE PROCESSOR BOWL AFTER WASHING CAUTION: Always turn off and unplug from the wall power outlet before fitting or removing attachments. INSERTING AND REMOVING CENTRE POST 1. Place the processor bowl on a flat surface with the bowl turned upside down (see Illustration A).
- Page 7 LOCKING THE LID Place the lid over the processor bowl with the tab on the outer rim of the lid to the left of the processor bowl handle (see Illustration C). Hold the food chute and rotate lid counter-clockwise until lid locks into place.
- Page 8 • The motor of the processor runs as long as this button is held down. Press the button down and then release; allow the blades to stop running and the food to fall to the bottom of the processor bowl before pressing again. • Pulsing gives better control when chopping, mincing, mixing and blending foods.
- Page 9 NOTE: Remove the processor bowl from the motor unit before removing the blade to prevent food from leaking through the centre opening of the processor bowl. 11. Carefully remove the chopping blade and empty processor bowl. 12. Unplug appliance when not in use. HOW TO CHOP IN THE SMALL PROCESSOR BOWL The small processor bowl is perfect for chopping and blending smaller amounts of ingredients.
-
Page 10: Using The Dough Blade
USING THE DOUGH BLADE This blade makes preparing dough efficient and time saving. NOTE: The dough blade can only be used in the large processor bowl. TIP: This blade does not extend to the outside rim of the processor bowl so it cannot incorporate flour when very small amounts of flour are being processed. - Page 11 When slicing and grating, cut foods into smaller pieces accordingly. For smaller foods, place the large food chute in place and feed food through the centre opening using the small food pusher to guide the food through the chute. P ress the SLICE/GRATE button; press lightly but firmly on the large or small food pusher to guide food through the processor.
-
Page 12: Care And Cleaning
GENERAL TIPS FOR USING THE PROCESSOR • Organise processing tasks to avoid multiple cleanups of the bowl; process dry before wet. • Although plastic parts of the processor are dishwasher safe, wash them by hand to retain their clear appearance. • To easily clean the processor bowl, once empty add a drop of detergent and a little hot water and pulse several times. - Page 13 • All removable parts can be washed by hand or in dishwasher. Hand-washing of plastic parts will help to maintain the food processor’s appearance. • Do not use alkaline cleaning agents or harsh abrasives when cleaning this appliance. • If washing by hand, wash with warm to hot soapy water and use a soft cloth. • If washing in a dishwasher, place removable parts on the top rack only—not in or near utensil basket.
-
Page 14: Troubleshooting
TROUBLESHOOTING PROBLEM POSSIBLE CAUSE SOLUTION Food is unevenly Processor bowl is Smaller amounts will process more evenly. chopped. overfilled. Use the Pulse button in 5 second You may be running the intervals or less. Allow the blades to stop bowl continuously instead completely before pressing the PULSE of using Pulse. -
Page 15: Important Safeguards
IMPORTANT SAFEGUARDS When using this appliance, basic safety precautions should always be followed, including but not limited to the following: 1. To protect against electric shock do not immerse cord, plug or motor unit in water or liquid. 2. Do not use outdoors or in damp or moist areas. 3. - Page 16 KITCHEN METALLICS FOOD PROCESSOR RHFP3000 SeRieS instructions & Warranty...
- Page 17 TOO EASY CHOCOLATE CAKE WITH CHOC-MINT ICING Preparation Time: 10 minutes Cooking Time: 25-30 minutes Ingredients: 1½ cups castor sugar ¾ cup cocoa 1tsp salt 1 ½ tsp baking powder ¼ cup canola oil 1½ cups water 2 large eggs 1 ½...
-
Page 18: Pizza Dough
PIZZA DOUGH Preparation Time: 10 minutes Resting Time: 45-60 minutes Cooking Time: 12-15 minutes Ingredients: 3 cups plain flour 1 cup semolina 10g salt 300ml mineral water 30ml olive oil 1 sachet 7g dry yeast Method: 1. P lace the flour, semolina and salt in the large food processor bowl and pulse to combine 2. - Page 19 ITALIAN COLESLAW Preparation Time: 10 minutes Ingredients: 1 cup podded peas ¼ white cabbage 1 baby Cos lettuce 1 small fennel bulb ½ red onion 4 radishes ½ cup each of loosely packed basil, continental parsley & mint, coarsely torn 1 tbs salted baby capers, rinsed Dressing: 80ml extra virgin olive oil...
- Page 20 ©2013 Spectrum Brands, Inc. Recipes are to be used in conjunction with the Kitchen Metallics Food Processor by Russell Hobbs. All rights reserved. No part of this publication may be reproduced, stored in a retrieval system or transmitted in any form or by any means, electronic, mechanical, photocopying,...
Need help?
Do you have a question about the RHFP3000 Series and is the answer not in the manual?
Questions and answers
Why does my grater disc not stay firm It wobbles