Table of Contents
Advertisement
Quick Links
TD Series Transmitter
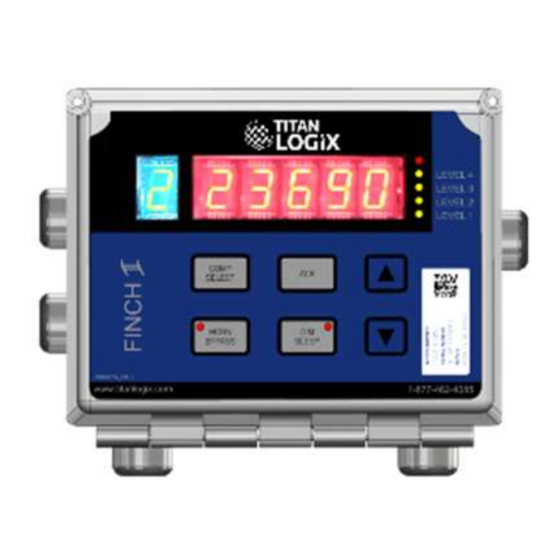
FINCH II-6W Display
Dual Rod Probe
Coaxial Probe
&
Cone
A Titan system must be installed and operated in accordance with the
details described in the Titan Logix manuals, application notes, and all
other relevant publications.
WARNING: Only qualified personnel familiar with the installation and
operation of this equipment should install, adjust, operate, or service this
equipment. Failure to observe these instructions could result in bodily
injury or loss of life.
Step 1
Mount The Finch Ii Display, pg. 2
Step 2
Enable Remote Display, pg. 3
Step 3
Connect Td100 To Finch II, pg. 3
Step 4
Connect To The Vehicle Power, pg. 4
Step 5
Step 6
Step 7
Step 8
Step 9
Complete The Installation, pg. 6
www.titanlogix.com
FINCH II – 6W Installation
Quick Reference Guide(v1.4)
Page 1
Advertisement
Table of Contents

Subscribe to Our Youtube Channel
Related Manuals for Titan Logix TD Series


Summary of Contents for Titan Logix TD Series
- Page 1 FINCH II – 6W Installation Quick Reference Guide(v1.4) A Titan system must be installed and operated in accordance with the details described in the Titan Logix manuals, application notes, and all other relevant publications. WARNING: Only qualified personnel familiar with the installation and operation of this equipment should install, adjust, operate, or service this equipment.
- Page 2 FINCH II – 6W Installation Quick Reference Guide(v1.4) INSTALLATION GUIDE CHECKLIST Ensure no flammable gases and/or fumes are present before installation or repair. Turn the vehicle power off before any installation activity. Ensure the tank is drained of liquid and free of vapors. Observe all federal, state/provincial, and local safety standards and industry best practices.
- Page 3 FINCH II – 6W Installation Quick Reference Guide(v1.4) Enable Remote Display To enable the display to stay ON while in use, access the FINCH II- 6W circuit board and connect DISPLAY EN and GND using a jumper wire as shown. Connect TD100 to FINCH II-6W Use the Titan-supplied explosion-proof harness (wire kit) to connect the TD100 cable to the FINCH II-6W.
- Page 4 FINCH II – 6W Installation Quick Reference Guide(v1.4) Connect to the Vehicle Power TRAILERS - connect the FINCH II power and ground to the nose box or junction box electrical connector. TANK TRUCKS - connect FINCH II system power to a switched accessory power connection from the battery.
- Page 5 FINCH II – 6W Installation Quick Reference Guide(v1.4) Connect to Compartments 3 and Install wire harness from TD100 through a gland to the terminal block for COMP #3 on the SV3/4 daughter card following the colour sequence as shown in the picture. Install wire harness from TD100 through a gland to the terminal block for COMP #4 on the SV3/4 daughter card following the colour sequence as shown in the picture.
- Page 6 FINCH II – 6W Installation Quick Reference Guide(v1.4) Connect to the Rack Control Module Install wire harness from Rack Control through a gland to the SV out connector of the FINCH II Connect Power and Ground (Black & White Wires) to the terminal strip and connect the Red &...
Need help?
Do you have a question about the TD Series and is the answer not in the manual?
Questions and answers