
Related Manuals for PSI HX-400


Summary of Contents for PSI HX-400
- Page 1 Pupilometer HX-400 Operating Instructions (02/12/18) PRACTICAL SYSTEMS, INC. 11617 Prospect Dr. • Odessa, FL 33556 (800) 237-8154 • Fax (800) 330-3800 www.LookToPSI.com...
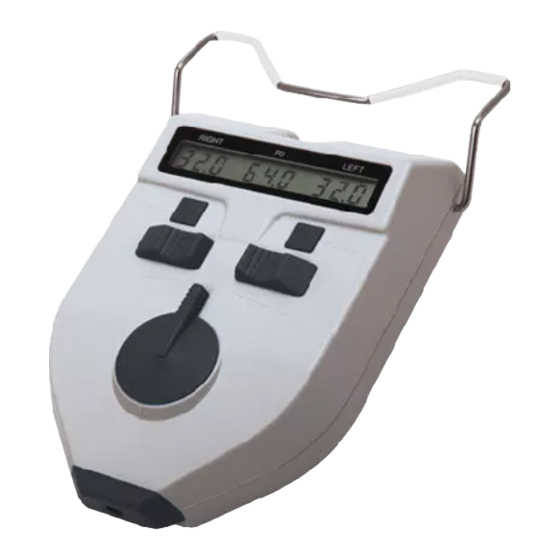
- Page 2 OPERATING INSTRUCTIONS MODEL HX-400 PUPILOMETER PSI’s digital Pupilometer is used to measure patient’s intraocular pupil distances. This instrument is compact and light weight with an easy to read digital display. This pupilometer measures PD’s from 45-82mm. WARNING: Never attempt to operate this instrument before you have thoroughly read and un- derstand all the instructions.
- Page 3 Components F1 Measuring Window - the working window for the tester. F2 Optic Distance Knob - set different pupillary distances by turning the knob. F3 Left Pupil Measuring Slide - used to measure left pupillary distance. Slide to the outside, the numerical value of the left eye and binocular pupillary distance will rise. Slide to the inside and the value of the left eye binocular pupillary distance will decrease.
- Page 4 Components F7 Nose Rest - The testee places their nose on the rest to be correctly positioned. F8 Observation Window - Two windows for the testee to stare at the target with their eyes. F9 Brow Bar - The testee’s forehead rests on the brow bar to assist in orienting the pupils. F10 On/O Key - Press to turn the device on and off.
- Page 5 Measuring Window C1 Benchmark Hairspring - The left or right pupil measuring slide to align the benchmark hairspring with the reflecting light spot of the testee’s pupils. C2 Measuring Window - Used to observe the green target for testee. Observation Window Stare at the eyeball-shaped target in the center of the device’s inner visual eld. The green target is surrounded with a bright ring. The testee should stare at the target with two eyes when measuring. The LED brightness can be adjusted, see page 7 for details.
- Page 6 Operation Battery Before using the device, put two AA batteries into the battery compartment. When it is not in use, take them out. WARNING: Use only high quality alkali batteries. Be careful to align the polarity of the battery properly. Properly dispose of the used batteries. Start-Up Press the ON/OFF key to activate the device. When data is displayed in the LED window you are able to begin measurements. Binocular PD Measurements 1. Turn the device on and set the pupillary distance using the Optic Distance Knob. T o change the pupil- lary distance turn the Optic Distance Knob to the desired optic distance. T he device can be set to optic distances of 30cm, 35cm, 40cm, 50cm, 65cm, 1m ,2m and ∞. 2. Rest the brow bar and nose rest lightly on the testee’s forehead and nose. Hold the device level. 3. Have the testee stare at the green target inside of the device. 4. Observe the reflecting light spot on the testee’s pupil through the measuring window. Slide the left and right Pupil Measuring Slides until the left and right pupillary distance pointers coincide with the reflecting light spots on the testee’s pupils (as shown below). The data in the display window is the measured pupillary distance.
- Page 7 5. To adjust the measurement increments in measuring mode, slide the Left Pupil Measuring Slide to set precision display to 0.1, 0.2 or 0.5. When done, press Function Transition Button to save and machine returns to measurement mode. Contact PSI at 800-237-8154 or 727-376-7900, if you have any questions or problems with your machine. Thank you for Looking To PSI.
- Page 8 PRACTICAL SYSTEMS, INC. 11617 Prospect Dr • Odessa, FL 33556 (800) 237-8154 • Fax (800) 330-3800 www.LookToPSI.com...
Need help?
Do you have a question about the HX-400 and is the answer not in the manual?
Questions and answers