Advertisement
FORGE-36IFT, FORGE-36AIFT, FORGE-42IFT, FORGE-42AIFT,
Leave this manual with party responsible for use
and operation.
DANGER
DO NOT TOUCH GLASS
NEVER ALLOW CHILDREN
A barrier designed to reduce the risk of
burns from the hot viewing glass is provided
with this appliance and shall be installed for
the protection of children and other at-risk
individuals.
WARNING! Risk of Fire! Combustible materials MUST
NOT overlap or be placed under a surround.
CAUTION! Risk of Cuts or Abrasions. Wear protective
gloves and safety glasses during installation. Sheet metal
edges are sharp.
CAUTION! Do not install damaged components. If
you received components that are damaged, contact your
dealer for assistance.
Note: These decorative fronts are designed to overlap
finishing materials such as tile or marble with thickness 1
inch or less (including backer material such as mortar, lath,
etc). These may also be installed as an "inside fit" where
the finishing materials are installed adjacent to the perimeter
of the decorative decorative front. See appliance installation
instructions for more information.
NOTE: The hammered pattern, decorative wire placement
and other features of the Forge decorative front may vary
from the showroom display model due to the handcrafted
nature of the Forge decorative front.
NOTICE: DO NOT adhere or allow any adhesive backed
materials to come into contact with the Forge decorative
front surface.
Hearth & Home Technologies • FS and FORGE Decorative Front Instructions • 2461-910 Rev. C • 8/18
FS-36, FS-36A, FS-36IFT, FS-36AIFT,
FS-42, FS-42A, FS-42IFT, FS-42AIFT,
FS-50, FS-50A, FS-50IFT, FS-50AIFT,
FORGE-50IFT, FORGE-50AIFT
Decorative Front Installation Instructions
HOT GLASS WILL
CAUSE BURNS.
UNTIL COOLED.
TO TOUCH GLASS.
KIT CONTENTS
• Decorative Front
• Vanity Panel (FORGE Fronts only)
PREPARATION OF THE APPLIANCE
1. ARCHED FRONTS:
Refer to instructions included with Arch Trim Kit to pre-
pare the arched fronts.
NOTE: Decorative fronts with an (A) in the model name
denote "Arch". Arch decorative fronts require the ARCH-
KIT-36, ARCH-KIT-42 or ARCH-KIT-50. See Figure 7.
2. SQUARE FRONTS: Remove finishing templates if not
already removed. Retain screws and black finishing
trim.
3. Attach left and right finishing trim back on the appli-
ance using the machine screws that held the finishing
template in place.
4. Attach top finishing trim using the screws that held the
top finishing template in place.
PREPARATION OF THE DECORATIVE FRONT
1. Remove decorative front from packaging.
2. The J-hooks are bent down for protection in shipping.
Bend the hooks upward so they are positioned at a
90 degree angle from the back of the decorative front.
FS-36
FS-36IFT
FS-42
FS-42IFT
FS-50
FS-50IFT
FORGE-36IFT
FORGE-42IFT
FORGE-50IFT
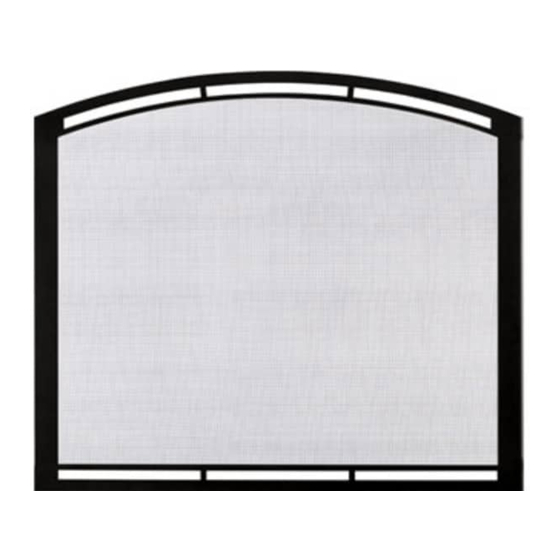
Figure 1. Available Doors
FS-36A
FS-36AIFT
FS-42A
FS-42AIFT
FS-50A
FS-50AIFT
FORGE-36AIFT
FORGE-42AIFT
FORGE-50AIFT
1
Advertisement
Table of Contents

Subscribe to Our Youtube Channel
Related Manuals for Hearth & Home FS-36


Summary of Contents for Hearth & Home FS-36
- Page 1 FS-36, FS-36A, FS-36IFT, FS-36AIFT, FS-42, FS-42A, FS-42IFT, FS-42AIFT, FS-50, FS-50A, FS-50IFT, FS-50AIFT, FORGE-36IFT, FORGE-36AIFT, FORGE-42IFT, FORGE-42AIFT, FORGE-50IFT, FORGE-50AIFT Decorative Front Installation Instructions KIT CONTENTS Leave this manual with party responsible for use • Decorative Front and operation. • Vanity Panel (FORGE Fronts only)
- Page 2 VANITY PANEL INSTALLATION (FORGE Fronts Only) 1. Locate the lower portion of the glass frame on the ap- pliance. See Figure 2. 2. Insert vanity panel onto glass frame as shown in Fig- ure 3. The installed vanity panel is shown in Figure 4. BOTTOM VANITY PANEL FORGE ONLY Figure 5.
- Page 3 ARCH-KIT INSTALLED Figure 7. ARCH-KIT Installed Cleaning Instructions for Decorative Fronts Use a microfiber cloth and Windex® Original Glass Cleaner or 03M003 Stove Bright® Glass Cleaner to clean the decorative front immediately after installation to remove acids deposited by the installer or technician. Spray the cleaner onto the microfiber cloth and carefully wipe the entire surface.
Need help?
Do you have a question about the FS-36 and is the answer not in the manual?
Questions and answers