Advertisement
Quick Links
Advertisement

Related Manuals for AudioPressBox APB-400R


Summary of Contents for AudioPressBox APB-400R
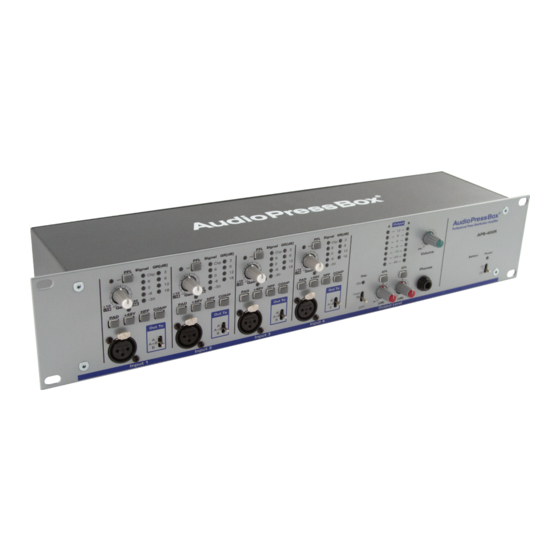
- Page 1 APB-400R Press Conference Audio Distribution Amplifier Owner’s manual...
-
Page 2: Important Notice For The United Kingdom
IMPORTANT NOTICE FOR THE UNITED KINGDOM Connecting the Plug and Cord IMPORTANT. The wires in this mains lead are coloured in accordance with the following code: BLUE : NEUTRAL BROWN : LIVE As the colours of the wires in the mains lead of this apparatus may not correspond with the coloured makings identifying the terminals in your plug proceed as follows: The wire which is coloured BLUE must be connected to the terminal which is marked with the letter N or coloured BLACK. - Page 3 Do not open • Do not open the device or attempt to disassemble the internal parts or modify them in any the outlet, and have the device inspected by qualified AudioPressBox service personnel. way. The device contains no user-serviceable parts. If it should appear to be malfunctioning, • If this device or the AC power adaptor should be dropped or damaged, immediately turn...
- Page 4 Use only the adaptor included with this Be sure to unplug the adaptor from the outlet To avoid generating unwanted noise, make AudioPressBox. Use of a different adaptor may when not using AudioPressBox, or when there sure there is 50 cm or more between the result in equipment damage, overheating, or fire.
- Page 5 No more hassle with the multiple microphones on the table or disturbing late-coming reporters. With AudioPressBox® you are set in a minute with providing the perfect signal to every reporter! APB-400R Unpacking your AudioPressBox®...
- Page 6 APB-400R - Front panel (Input section) Signal GR[dB] Signal GR[dB] Signal GR[dB] Signal GR[dB] Output Clip Clip Clip Clip - 12 - - 6 - - 0 - - -6 - - -12 - APB-400R - -24 - Volume +48V...
- Page 7 13) Global group output level indicators With the power switch, you can turn your AudioPressBox® too loud or too silent in the output. You can check output levels of each group individually ON or OFF.
- Page 8 APB-400R - Rear panel (Output section) Extender Parallel Inputs DC 24V 22) Power supply connector 23) XLR / Phoenix (optional) connectors for output 24) XLR Parallel Inputs connectors Plug the mains cable to AudioPressBox® here. extenders Rear inputs are in parallel with the front inputs. Since the...
- Page 9 Get your AudioPressBox® operational: Plug mains cable to connector of the AudioPressBox® (22). Turn AudioPressBox® on by switching Power switch (21) ON. Plug your microphone into input XLR connector (1). If you are using condenser microphone, switch Phantom power (2) ON.
-
Page 10: Specifications
Specifications Audio Press Box APB-400 R Type 4 in Groups Input section Inputs Input connectors Balanced, XLR Input Gain LINE +22/+62 dB -4/+36 dB Max. input level Limiter ON Limiter OFF MIC: -10/-30dBu MIC: -2/-42dBu LINE: +36/-4dBu LINE: +24/-16dBu Phantom Voltage Input Impedance MIC: 2,4 kOhm LINE: 3,5 kOhm... -
Page 11: Mic Input
Indicators Input section: Output section: Input Clip, Phantom power, Input level, Output level for Bus A and Bus B, Oscillator, Gain reduction, PFL Power, Battery status Power Supply 24V DC, 300mA external adaptor Dimensions (WxHxD) 480x88x100mm Weight 2,4kg Jack list Input and Output Jacks Polarities Configurations... -
Page 12: Block Diagram
Block diagram ... - Page 13 | web: www.audiopressbox.com MediaTech Central Europe, a.s., Drienova 34, 821 02 Bratislava, Slovak Republic (EU) Tel: +421 2 4341 7777 | Fax: +421 2 4342 7777...
Need help?
Do you have a question about the APB-400R and is the answer not in the manual?
Questions and answers