
Related Manuals for Panasonic KX-NS Series


Summary of Contents for Panasonic KX-NS Series
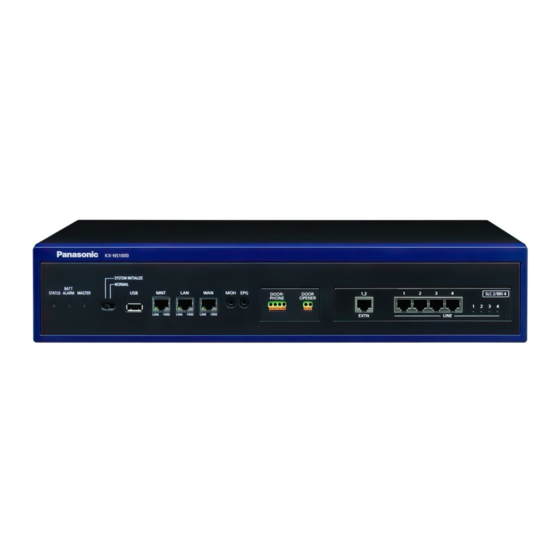
- Page 1 Setup Reference guide for KX-NS Series (Tested with NS1000 Ver4.5) “I-Net Connect” SIP Trunk service with Built-in Router Version 1.2 (PSCEU) 11 April, 2017...
-
Page 2: Table Of Contents
Attention: This document was created based on the results of test environment accounts. Panasonic cannot guarantee SIP Trunk operation in all environments, however as a result of completing this Inter-Operability Test Panasonic will provide technical support for any issues experienced an assist as far as possible in providing a resolution. -
Page 3: Provisioning A Sip Trunk
(1) Provisioning the SIP Trunk SIP Trunk – Port Property First, place the V-SIPGW Card into [OUS] condition and select [Port Property] [Main] Tab 1. Channel Attribute: Basic Channel Enter a name – reference only 2. Provider Name: 3. SIP Server Location – Name: ipbx.inetplc.org –... - Page 4 SIP Trunk – Port Property continued [Account] Tab 1. User name: Enter the Username as supplied by I-Net Connect. (Note this is username without @ipbx.inetplc.org) For example: Username = 12345670 Enter: 12345670 2. Authentication ID: Enter the Authentication ID as supplied by I-Net Connect. (Note this is Authentication ID without @ipbx.inetplc.org) For example: Authentication ID = 12345670...
-
Page 5: Incoming Call Routing
(2) Incoming Call Routing Go to [CO & Incoming call] and select [3.DDI /DID Table] 1. DDI/DID Number: Enter the Username in the format (as below) Example: 12345671 Enter: 12345671 2. DDI/DID Name: Determined by the installer (optional setting) 3. DDI/DID Destination: Determined by the installer (extension number, group etc) Click [OK]. -
Page 6: Outgoing Call Cli
(3) Outgoing Call CLI Go to [V-SIPGW16] - [Port Property] and select [Calling Party] Tab From Header – User Part: PBX-CLIP Click [OK] [4.Extension] – [1.Wired Extension] – [1.Extension Settings] Go to & select [CLIP] tab Enter a valid CLI number for each required extension in the CLIP ID field. -
Page 7: Clir Outgoing Call
(4) CLIR Outgoing Call (Withholding Number) Dial using the 141 prefix in order to withhold CLI presentation number. (e.g.) 141 055 1234 0020... -
Page 8: Built-In Router And Wan Settings
(5) Built-in Router and WAN Settings NS1000 has a Built-in Router and filtering functions (Ver3.2 or later) so advanced routing configuration can be managed by the NS1000 and the internet router/modem simply providing internet access. Go to [Router Configuration] - [1.Setup] - [2.WAN] - [1.Connection Settings] Connection Mode: Select the appropriate the Connection Type. - Page 9 LAN Setting. Go to [Network Service] - [1.IP Address/Ports] Default Gateway: Blank * Delete the “LAN Default Gateway IP address” if it’s entered IP address. Note: NS1000 will work as the router, Not need the LAN Gateway. DNS IP Address: Blank * Delete the “Preferred DNS”...
-
Page 10: Packet Filtering Settings
(6) Packet Filtering Settings Go to [Router Configuration] - [2.Firewall] - [2.Packet Filtering] Click [Advanced Setting] LAN->WAN Basic Policy: Leave Accept WAN -> LAN Basic Policy: Leave Discard Entry No.: Select [1] Filter: Select [Enable]... - Page 11 Configure Filter 1, this is the setting pass through packet from one of I-Net Connect server, port 5060. Protocol Number: [Protocol Name] and choose [UDP] TCP/UDP Source Port: /Port Number [Port Number] / [5060] - [5060] TCP/UDP Destination Port /Number: [Port Number] / [35060] - [35060] Source: [Address]...
- Page 12 I-Net Connect has 7 servers. In the same way as entry 1, make settings for each server in entries 2 to 7. Other server addresses are: 213.120.228.167 213.120.228.168 213.120.228.169 213.120.228.177 213.120.228.178 213.120.228.179...
- Page 13 Set Filter 8, this is the setting block packet from except I-Net Connect server port 5060. Click [Advanced Setting] LAN->WAN Basic Policy: Leave Accept WAN -> LAN Basic Policy: Leave Discard Entry No.: Select [8] Filter: Select [Enable]...
- Page 14 Protocol Number: [Protocol Name] and choose [UDP] TCP/UDP Source Port: [Any] TCP/UDP Destination Port /Number: [Port Number] / [35060] - [35060] Source: [Any] Destination: [Any] Direction: [WAN->LAN] Policy: [Discard] Click [OK] Go to following page.
- Page 15 Confirm the Packet Filtering Settings IMPORTANT! To secure the PBX from illegal attacks, please restrict the above ports to only be accessible from the I-Net Connect source IP addresses. END OF DOCUMENT...
Need help?
Do you have a question about the KX-NS Series and is the answer not in the manual?
Questions and answers