Advertisement
WHAT'S IN THE BOX

SPECIFICATIONS
| Motor: | 600W |
| Max. Flow Rate: | 3,600l/h |
| Max. Lift | 8m |
| Max. Head: | 40m |
| Outlet & Inlet: | 25mm (1")Female |
| Max. Delivery Pressure: | 4.0 bar |
| Water Temp.: | 1°C - 35°C |
| Hmin=: | 2m |
| Weight | 10kg |
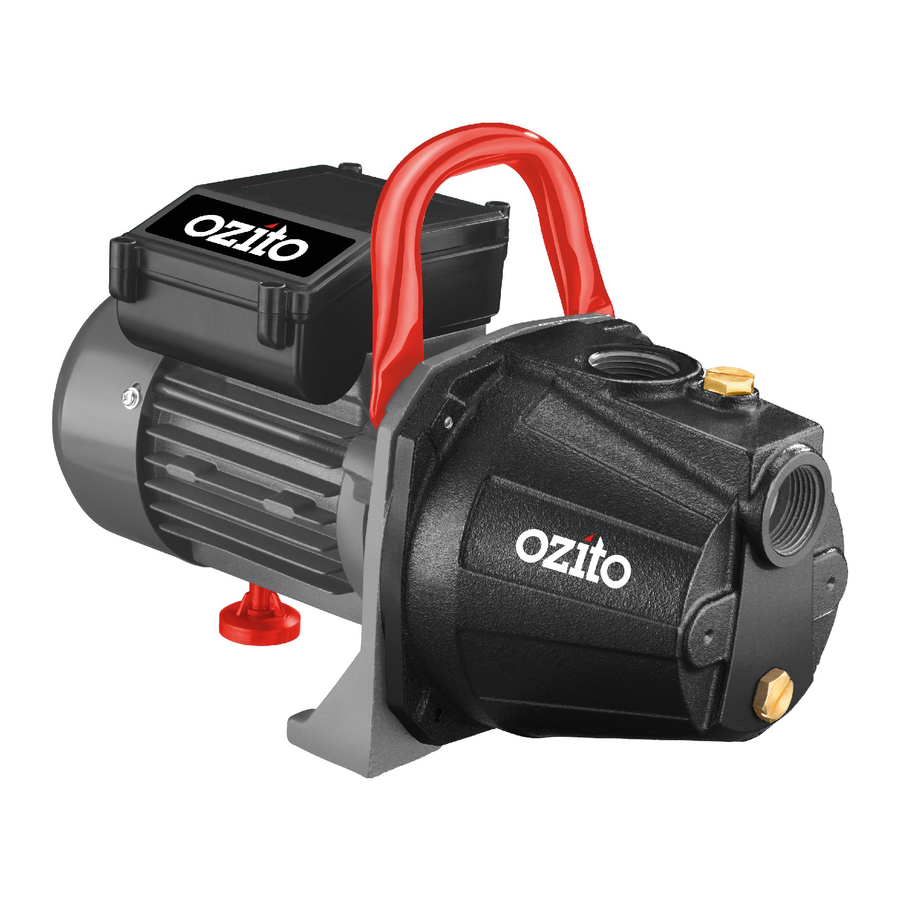
KNOW YOUR PRODUCT
TRANSFER PUMP

- Induction Motor
- Electrical Box
- Adjustable Foot
- Carry Handle
- Pumping Housing
- Discharge Outlet
- Priming Screw
- Drain Plug
- Suction Inlet
SETUP & PREPARATION
SUCTION INLET
Ensure the pump is disconnected from the power supply before performing any of the following operations.
Preparing the Pump: Your pump requires no assembly before use other than the connection of a suitable inlet/outlet hose and hose connections (not included).
Connecting Hose or Pipe to the Suction Inlet
- Teflon tape (not included) is required on threads to ensure a water tight seal and prevent any leakage. Wind Teflon clockwise on fittings

- Remove the plastic protection cover from the suction inlet and insert a 1" male threaded hose adaptor (not included).
Tighten firmly with a spanner (not included).

- Securely attach the input hose or pipe to the other end of the adaptor. Ensure you have the correct diameter hose or pipe that is compatible with your water drawing source.
![]()


NOTE: The input hose or pipe you are using must have a minimum diameter of 25.4mm (1'').
NOTE: Ensure the input hose or pipe is not restricted in any way.
DISCHARGE OUTLET
Connecting Hose or Pipe to the Discharge Outlet
- Teflon tape (not included) is required on threads to ensure a water tight seal and prevent any leakage. Wind Teflon clockwise on fittings

- Remove the plastic protection cover from the discharge outlet and insert a 1" male threaded hose adaptor (not included)..

- Securely attach the output hose or pipe to the other end of the adaptor. Ensure you have the correct diameter hose or pipe that is compatible with your water. discharge application.


NOTE: The discharge hose or pipe you are using must have a minimum diameter of 19mm (3/4'').
NOTE: Ensure the discharge hose or pipe is not restricted in any way and no pressure is obstructing the hose or pipe when the pump is in operation.
PRIMING THE PUMP
Priming the pump is required to purge air from the hose
Don't operate the pump without being primed.
- Ensure the pump's on/off switch is in the off (0) position and off at the mains power.
- Using a spanner or screwdriver remove the priming screw from the top of the pump housing by turning the screw counter clockwise.

- Using a hose, fill the pump completely with water.
Ensure the pump and inlet pipe or hose are full.
Replace the priming screw.


THIS PRODUCT IS INTENDED FOR PUMPING WATER IN A HOME DOMESTIC APPLICATION. DO NOT USE IT FOR CORROSIVE, ABRASIVE, EXPLOSIVE OR DANGEROUS LIQUIDS.
OPERATION
OPERATING THE PUMP
NOTE: When the pump is fully primed and air is flushed out, the pump is ready to operate. The pump may take several minutes to fully prime air from inside the pump and inlet pipe or hose.
The pump is recommended for use with a residual current device with a rated residual current of 30mA or less.
- Turn the pump on at the mains power.

- Depress the ON/OFF switch to the ON ( l ) position

- To turn the pump off, depress the ON/OFF switch to the OFF (0) position.


MAINTENANCE & STORAGE
Make sure the pump is disconnected from electric power supply before performing maintenance procedures.
- Use a moist cloth to wipe down the pump housing. Allow to dry thoroughly before storing in a dry location that is protected from bad weather conditions.
- Before storing the pump. It is recommended to drain the pump. Turn the drain plug anti-clockwise and remove from the pump. This will drain any excess water. Replace the drain plug by turning clockwise


NOTE: Ensure the gate valve on your water tank is not left open as this will allow water to drain from the water tank.
INSTALLATION
CONNECTION WITH TANK BASE BELOW WATER PUMP

CONNECTION WITH TANK BASE LEVEL WITH WATER PUMP

CONNECTION WITH TANK BASE ABOVE THE WATER PUMP

TROUBLESHOOTING
| Problem | Possible Cause | Solution |
The pump does not start, or pump water | Pump is not connected to the power supply | Check that the pump is connected to the mains power supply |
| Pump is blocked | Disconnect the pump from the mains power. Inspect the discharge outlet and filter | |
| Pump is not connected to the water supply | Ensure the pump is connected to the water supply | |
| The pump does not supply water when the motor is running | The pump has not been primed | Fill the pump with water, ensure the suction line and pump are filled with water |
| Suction line is leaking | Check the suction line for leaks and replace hose or pipe if it is damaged or worn | |
| The pump is sucking air | Ensure all connections and fittings are secured tightly | |
| Pump is blocked | Disconnect the mains power and check the discharge outlet and filter for any foreign matter | |
| Pump is not producing enough pressure | Check all parts of the pump and clean | |
| Water source does not have enough water | Wait until the water source increases so the pump can operate | |
| The suction height is too high | Ensure the suction height is no higher than 8m | |
| The hose diameter is too small | Ensure the hose diameter is at least 25mm (suction line) and 19mm (discharge line) | |
| Tube or piping does not stay on the male thread when water is travelling through | The hose or tubing may be worn or vary slightly with the dimensions | Add a hose clamp to prevent leaks and secure the hose or pipe |
The pump operates intermittently | There is a water leak in the household plumbing | Inspect and fix any leaks |
| The voltage is out of range | Supply the pump in accordance with the rating label requirements (230-240V) | |
| Air flow is not allowing the motor to cool | Ensure the pump is in a well ventilated area | |
| The motor is faulty or damaged l | Contact Ozito customer service | |
Poor Performance low pressure flow | Faulty suction line | Check all the suction lines for leaks or any damage. Replace if they are faulty and check that you are using a reinforced hose to prevent the hose from collapsing |

Documents / ResourcesDownload manual
Here you can download full pdf version of manual, it may contain additional safety instructions, warranty information, FCC rules, etc.
Advertisement


Need help?
Do you have a question about the TRP-650 and is the answer not in the manual?
Questions and answers