Advertisement
Quick Links
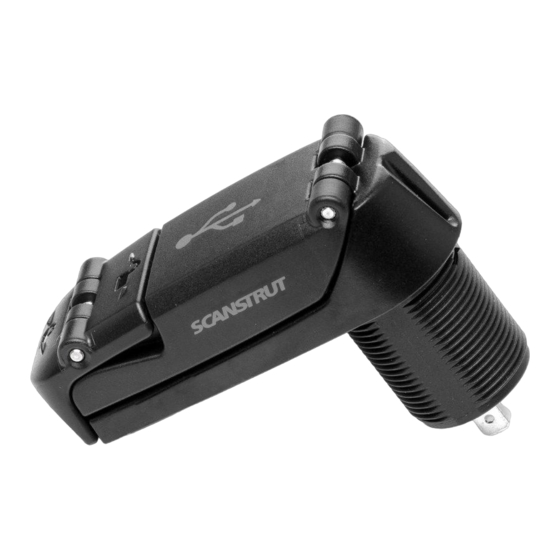
Scanstrut ROKK Charge Pro - SC-USB-03
Part List
Shell
X1
1
Mark hole centre for drilling
Drill mounting holes (see tools required).
2
ø
29mm (1 1/8")
Pilot Hole Size
Material
Soft Material e.g Plywood
Hard Material e.g Fiberglass
Gasket
X1
Lock Ring
3mm Min
25mm Max
No. 6 Screw
2.5mm (3/32")
3mm (1/8")
19-01-2023 (Issue 2)
X1
No.6 x 16
X1
-
Feed SC-USB-03 through the gasket and hole.
3
-
Tighten lock ring onto product until securely fixed.
-
Screw product into place.
Connect to 12/24V supply, ensuring a waterproof connection. Fuse
4
and select cable diameter according to input voltage and current
for your specific installation.
UK & International
+44 (0)1392531280
sales@scanstrut.com
Installation Instructions
Tools Required
ø
2.5mm (3/32")
Drill Bit
ø
29mm (1 1/8")
Hole Saw
For further installation
and warranty information
please visit:
+1 860 308 1416
www.scanstrut.com
usasales@scanstrut.com
Pozi Screwdriver
Silicone
USA
Advertisement

Summary of Contents for Scanstrut ROKK Charge Pro
- Page 1 19-01-2023 (Issue 2) Scanstrut ROKK Charge Pro - SC-USB-03 Installation Instructions Part List Tools Required ø Pozi Screwdriver 2.5mm (3/32") Drill Bit ø Silicone 29mm (1 1/8") Shell Gasket Lock Ring No.6 x 16 Hole Saw Feed SC-USB-03 through the gasket and hole.
- Page 2 19-01-2023 (Issue 2) Scanstrut ROKK Charge Pro - SC-USB-03 Installation Instructions Cutting Template Technical information. 1:1 Scale Input voltage 10-32V DC 12/24V System Ø 29 mm Input current Max (1 1/8") Output Type C 5V⎓3A, 9V⎓3A, 12V⎓3A MAX (12V System) Output Type C 5V⎓3A, 9V⎓3A, 12V⎓3A, 15V⎓...


Need help?
Do you have a question about the ROKK Charge Pro and is the answer not in the manual?
Questions and answers