Table of Contents
Advertisement
Quick Links
PASSIVE INFRARED DETECTOR
«FOTON-SH»
Installation Guide
1 General Information
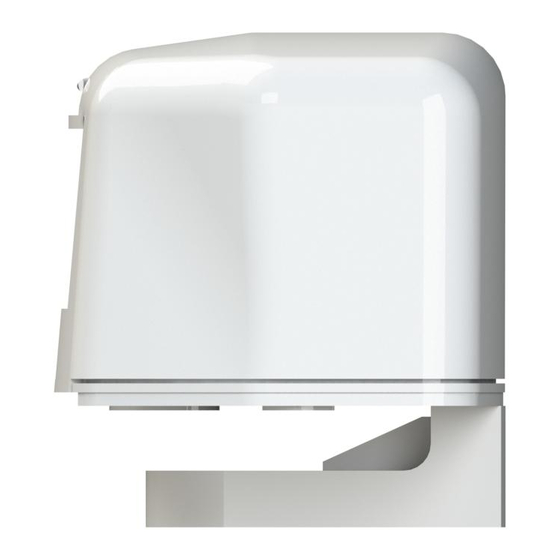
Passive infrared detector «Foton-SH» (hereinafter, the Detector)
is designed for detecting intrusion into the protected closed area
of a room through door and window openings, for generating and
transmitting alarm messages by the relay contacts opening.
The Detector provides tamper protection by the relevant message
generation.
The Detector has pet immunity to small animals movement
interference.
2 Features of the Detector
- Dual-element pyrodetector;
- «Vertical curtain» detection zone;
- Microprocessor-based signal processing;
- Alarm memory;
- Supply voltage and temperature control;
- Temperature compensation of the detection sensitivity;
- Wide range of mounting height from 2,5 to 5 m;
- Possibility of LED indication disabling;
- Ability of detection zone repositioning;
- The Detector is intended for hooking up to the power supply unit
with output voltage (9...15) V
- High resistance to ambient light – 12000 lx.
3 Scope of Delivery
Each Detector unit package contains the items listed in Table 1.
Table 1
Name
Passive infrared detector «Foton-SH»
Swivel bracket
Screw 3х10.01.016
Woodscrew 3-3х30.016
Passive infrared detector «Foton-SH».Installation Guide
4 Choosing an Installation Place for the Detector
The Detector is designed fir using in closed premises (shops, offices,
museums, flats, etc.). When choosing locations for the Detector
installation, it is advisable to take note of the fact that the detection
zone may be limited by non-transparent objects (curtains, curtain
holders, door trims, etc)., as well as glass partitions. There must be no
air conditioners, space heaters or heating radiators in the Detectors'
detection zone. Maximum installation height of the Detector is 5 m.
Alarm loop wiring should be conveyed far enough from high-energy
electrical power cables.
5 LED Indication
LED indicator located on the front side of the Detector cover. For
LED indicator disabling, remove IND jumper
Table 2
Message
LED indication
Continuous lighting
Warm-up time
Norm
Alarm
Blinking during
15 min with 5 Hz
Alarm memory
frequency in 5
min after «Alarm»
message generation
Single blinks with
2 s repetition cycle
Voltage drop failure
during 15 min after
voltage recovery
Double blinks with
2 s repetition cycle
Temperature
during 15 min
exceeding failure
after temperature
Relay state
Opened during 45 s
during 45 s
OFF
Closed
ON
Opened
Closed
Opened under
power supply
reduction during
15 min after voltage
recovery
Opened under
high temperature
during 15 min
after temperature
recovery
recovery
6 Specifications
Table 3
Installation height, m, max
Alarm message duration, s, not less
Power supply, V, DC
Consumption current, mA, not more
Operating temperature, °С
Relative humidity under 25 °С without water
condensation, %, up to
Detection zone type
Dimensions, mm, max
Weight, g, not more
7
0
a)
7 Installing the Detector
Attention! During the Detector mounting be careful with the optical
filter located on pyrodetector.
Qnt
1 Insert a flat screwdriver into the
1 pc.
clip slit trench in the lower part of the
1 pc.
Detector case and depress the clip
(See Figure 2).
2 pcs.
2 pcs.
1 сорy
2 Remove port plugs for wire
installation at the swivel bracket. Run
the wires through the swivel bracket
openings and fasten the swivel
bracket at the chosen place on the
wall (See Figure 3).
Run the wires above the PCB. Fulfill connections in accordance with
Figure 6a (for hooking up to a single alarm loop (AL) or Figure 6b (for
hooking up to independent tamper control AL). Install the Detector
cover on its place.
Detector
Contact
Circuit
1
+12V
2
-12V
3
4
5
Tamper
6
Tamper
а)
Parameter
7
0
10
0
b)
Figure 1
printed circuit board (PCB) on
the swivel bracket at such a
distance from the wall, where
curtain-rods would not shut in
the detection zone.
Figure 2
bracket by means of tap
screws (See Figure 4).
Wires
For wire
installation
Figure 3
Detector
Contact Circuit
To power
1
supply
2
AL
3
AL
4
To CP
5
R
term
6
Figure 6
Value
5
2
9 ...15
15
minus 30 ...50
98
Vertical curtain
91х52х56
112 g
70
0
-2
5 m
6,8 m
3 Install the base with the
Figure 4
Fix the base on the swivel
Recesses on
lens
Figure 5
+12V
To power
supply
-12V
AL
AL
R
AL
term
Tamper
Tamper
R
AL
Tamper
term
b)
Advertisement
Table of Contents

Related Manuals for Rielta FOTON-SH


Summary of Contents for Rielta FOTON-SH
- Page 1 Consumption current, mA, not more Operating temperature, °С minus 30 …50 1 General Information Passive infrared detector «Foton-SH» (hereinafter, the Detector) Relative humidity under 25 °С without water is designed for detecting intrusion into the protected closed area condensation, %, up to...
- Page 2 Figure 7) 1,2 - 1,5 m Figure 7 Rev. 6 of 17.11.16 Made in Russia № Э00263 «RIELTA» JSC, www.rielta.ru Chapaeva Str. 17, Saint Petersburg 197101, Russia, rielta@rielta.ru Tel./fax: +7 (812) 233-0302, 703-1360, Technical support, tel. +7 (812) 233-29-53, 703-13-57, support@rielta.ru...
Need help?
Do you have a question about the FOTON-SH and is the answer not in the manual?
Questions and answers